Last updated November 18, 2026


Free written scope consultation - allowances, timeline, and change-order rules on paper before a single trade is scheduled
Driveway & Pavers Troubleshooting: Common Problems and How to Fix Them
If your pavers are sinking in one specific spot and nowhere else, that’s not a settling issue. That’s almost certainly a drainage failure or an underground void, and patching the surface without fixing it is like painting over a water stain without fixing the pipe. Here’s the part most homeowners never hear: nine out of ten driveway problems people call us about are symptoms. The actual failure already happened six inches underground, months or years earlier. In this guide, we’ll teach you how to read those symptoms, run a few simple tests yourself, and know exactly when a fix is cosmetic and when it’s structural. We’ve walked thousands of driveways across Lewisville, and the pattern holds nearly every time.
Quick Answer
Most driveway and paver problems – sinking, cracking, rocking, shifting – trace back to a failed base, poor drainage, or soil movement, not the surface material itself. A simple visual inspection and tap test will tell you whether you’re dealing with a cosmetic issue or structural base failure. Cosmetic fixes last; structural fixes require addressing what’s underneath before resurfacing anything.
Styles & brands we work with
- Kitchen remodeling
- Bathroom remodeling
- Home additions & ADU
- Roofing
- Windows & doors
- Driveway & pavers
- Fence
Table of Contents
- Cosmetic Cracking vs. Structural Base Failure
- The Tap Test: A 5-Minute Diagnosis Any Homeowner Can Run
- Rocking Pavers vs. Tree Root Intrusion
- Efflorescence: White Powder on Pavers
- Low Spots: Drainage Design Flaw vs. Soil Settlement
- Three Repairs That Make Things Worse Without Base Fixes
- Why Lewisville Soil and Climate Worsen These Problems
- Maintenance That Actually Prevents Failures
Cosmetic Cracking vs. Structural Base Failure
The first thing to understand is that cracks lie. Hairline cracks that follow no pattern, especially in concrete, are usually cosmetic. They happen as concrete cures and are accelerated by north Texas temperature swings – Lewisville sees 70-degree days in February followed by hard freezes, and that cycling stresses slab surfaces. A crack that’s less than 1/8 inch wide, hasn’t grown, and doesn’t have vertical displacement (one side higher than the other) is cosmetic. Clean it, fill it with a flexible sealant like Sakrete concrete repair, and move on with your day.
Structural failure looks different. Watch for these signals:
- Cracks wider than 1/4 inch that continue to widen over months
- Vertical displacement – one side of a crack jutting up above the other
- Spiderweb cracking radiating from a single point, which usually means a point load or void beneath
- Cracks that run parallel to the driveway edge, often a sign of edge settlement
- Pavers that dip collectively rather than one paver rocking alone
- Depressions holding water after rain for more than 24 hours
In our experience across Lewisville neighborhoods like Castle Hills and Old Town, the wider, displaced cracks almost always sit above a base that wasn’t compacted to spec or a subgrade that has since shifted. The crack is the announcement – the base is the disease.
The Tap Test: A 5-Minute Diagnosis Any Homeowner Can Run
You don’t need a contractor to tell you whether your pavers are sitting on solid ground. You can find out in five minutes with a screwdriver handle, a hard-soled shoe, or the handle of a hammer.
- Walk the full surface. Note any pavers that feel slightly soft, spongy, or that shift underfoot. Mark them with chalk.
- Tap each suspect paver. Use the handle of a screwdriver (not the metal head – you’ll chip the surface). A solid paver gives a dull, dead thud. A hollow paver gives a distinct higher-pitched tap-tap.
- Tap a known-good paver for reference. Always compare against one you know is sitting correctly.
- Map the hollowness. Is it one isolated paver? A cluster? A diagonal band? The shape of the hollow area tells you the shape of the problem underneath.
- Check after rain. Tap again two days after a heavy rain. If the hollows grew or shifted, you have a drainage issue feeding the base.
A single hollow paver near an edge is usually a repair-and-replace job. A cluster of hollows in the middle of the driveway, or along a line that follows the slope, means the base material has washed out or settled. That’s a different conversation entirely.
Rocking Pavers vs. Tree Root Intrusion
Rocking and root intrusion both cause pavers that “move,” but they look nothing alike once you know the pattern.
Rocking pavers
Rocking is a see-saw motion – press one side down, the opposite side rises. It affects one paver at a time, usually near a corner or edge, and the neighbors stay flat. The cause is almost always a void of sand or base material directly under that single paver. It happens in Lewisville most often on driveways where joint sand has washed out over several seasons or where an edge restraint has given way. The fix is straightforward: lift the paver, re-bed it in fresh base material and sand, re-set, re-sand the joints, compact.
Tree root intrusion
Roots don’t rock individual pavers. They lift entire rows. You’ll see a ridge – a distinct hump across several pavers in a line that traces from a nearby tree trunk toward the house. Individual pavers stay locked to their neighbors but tilt together as the root mass grows. You may also see the soil lifting near the tree, or the pavers separating from the walkway meeting point.
The critical difference: a rocked paver can be reset. A root-lifted row cannot be fixed by rearranging pavers – the root will keep pushing. You either cut and remove the offending root (which can kill the tree, especially on oaks common in Lewisville) or reroute the driveway around it, or install a root barrier. In our experience, homeowners who try to “just reset the pavers” without addressing the root are back on the phone within one growing season. This is one of the most common paver repairs we’re called to correct after a DIY attempt.
Efflorescence: White Powder on Pavers
Efflorescence is the chalky white powder that appears on the surface of concrete pavers, usually a few weeks to a year after installation. It’s not a defect. It’s not the wrong paver. It’s salt migrating from inside the concrete to the surface as moisture moves through, then drying on the face. The tricky part: it’s usually a sealing mistake, not a product problem.
Here’s what causes it more often than anything else:
- Sealing too soon after installation. Pavers need to dry and cure fully. Sealing traps moisture inside, and that moisture brings salt to the surface.
- Sealing a damp surface. Even a slightly damp paver will trap moisture under the sealer film.
- Using a film-forming sealer in a humid season. Lewisville’s spring humidity – 70%+ on a routine April day – is the toughest environment for sealing.
- Poor drainage at the base. If water sits under pavers, it will keep pushing salt up through the face forever, no matter how many times you clean.
To remove efflorescence safely without damaging the stone: dry-brush first with a stiff nylon brush. If that’s not enough, use a dedicated efflorescence remover (mild acid based, diluted per manufacturer spec) on a wet surface, then flush thoroughly. Never use muriatic acid straight – it etches the paver face permanently. Once cleaned, wait a full dry season and address the drainage or sealing error before re-sealing. Cambridge Pavers and Oldcastle both publish removal specs on their product lines; follow those, not a YouTube shortcut.
Low Spots: Drainage Design Flaw vs. Soil Settlement
A low spot that holds water is trying to tell you something. The question is whether the water is arriving from a design flaw or whether the ground underneath has simply moved.
Signs of a drainage design flaw
- The low spot is at the same grade as the surrounding yard or toward the house – water slopes toward the structure instead of away
- The low spot reappears in the same location every rain and doesn’t drain at all, even after a dry spell
- The driveway was installed with a flat pitch or insufficient slope (less than 1% fall) – 2% is standard
- Water pools against the garage door threshold or the foundation edge – this is a serious one that risks interior water intrusion
- There’s no visible ponding outfall – water has nowhere to leave
Signs of soil settlement
- The low spot appeared gradually – it wasn’t there at installation
- You can see the surrounding grade has dropped too, not just the paver surface
- The dip is in a single location, often near a downspout or utility trench
- There’s a visible line or seam nearby – utility trenches and old landscaping cuts settle faster than the surrounding soil
- The dip developed after a drought, then stabilized after heavy rain
Drainage design flaw = full reinstall or regrade with sub-surface drainage. Soil settlement = targeted lift-and-rebase if caught early, full reinstall if the base is compromised. The two get confused constantly in Lewisville, especially on driveways installed over old farm fields where the subgrade varies foot by foot. A $300 patch on a drainage flaw is a $300 patch you’ll make again next spring.
Three Repairs That Make Things Worse Without Base Fixes
These three repairs look simple. They’re the ones homeowners try on a Saturday, and they’re the ones that come back six months later as a bigger, more expensive problem.
- Top-dressing with sand to fill settling. Sand poured over pavers to fill low spots sounds logical. It isn’t. Sand washes out fast, blocks the joint structure, and hides the real problem underneath. Even Quikrete’s paver joint sand – which is quality material – is for joint filling, not for disguising settling. If the base is failing, sand makes the diagnosis harder six months later.
- Replacing individual cracked pavers without addressing the base. A single cracked paver replaced on a failing base cracks again – usually faster than the original. The crack is a stress release. The stress lives under it.
- Sealing over a failing surface. Sealer traps moisture. On a stable driveway it protects. On a driveway with base movement, it traps water against the underside of the paver, accelerates spalling, amplifies efflorescence, and gives you a smooth, film-coated surface that hides the failing pattern until it fails visibly in spectacular fashion. We’ve seen it happen in Lewisville more than once after a homeowner watched one tutorial video and sealed an already-rocky driveway.
The through-line: all three treat the surface. None treat the cause. If you’re going to spend money on the surface, spend it after you’ve verified the base.
Why Lewisville Soil and Climate Worsen These Problems
Lewisville sits on the eastern edge of the Blackland Prairie clay that runs through most of North Texas, and it also borders Lake Lewisville, which creates its own micro-climate challenges. Here’s what that means for driveways:
- Expansive clay soil. The clay here swells and shrinks dramatically with moisture. A dry summer will open cracks in the subgrade, and a heavy rain will refill them – but not before the pavers above have shifted with the movement. Every driveways’ base is fighting the clay.
- Intense summer heat. Soil moisture that sat all spring evaporates fast in June, and by August the subgrade has contracted. This is why late summer is when most settling calls come in.
- Lake-effect humidity. Areas near Lake Lewisville – including parts of Castle Hills and the Lake Park neighborhood – see higher ambient moisture and slower drying for any newly set concrete or paver base. Sealing too early here is very common and shows up as efflorescence within 90 days.
- Freeze-thaw cycles. January and February bring enough freeze-thaw cycling to pop weak joints, especially on driveways with poor edge restraints.
- Tree canopy. Lewisville has heavy mature tree cover in established neighborhoods like Old Town – great for shade, tough on driveways. Roots lift, shade keeps surfaces damp, and the combination accelerates both cracking and efflorescence.
In Natomas-style developments across the region – and here in Lewisville’s newer subdivisions – we regularly see spring failures that trace to a base compacted in wet winter conditions. When the soil was wet during installation, the compacted base was never truly compacted. It settles through the first full dry-wet cycle and shows up the following summer as mid-dryway dips.
None of this is a reason to avoid a driveway or paver project in Lewisville. It’s a reason to insist on a base compacted to spec, edge restraints installed properly, and a drainage plan before the first paver goes down. For a full breakdown of how we approach that in Lewisville specifically, see Driveway & Pavers in Lewisville.
Maintenance That Actually Prevents Failures
You don’t need to be a driveway expert to get a decade or more out of pavers in this climate. You do need to do these five things, and almost nobody does all five:
- Re-sand joints every two to three years. Sand washout is the single most common reversible cause of paver rocking. Top up joints once your driveway is dry after a good rain, using proper paver joint sand, not fill sand.
- Check edge restraints annually. The plastic or metal edge that holds pavers from spreading is what stops the rows from walking. If a restraint has popped up or rusted through, reset or replace it before the neighboring rows shift.
- Clear downspouts and outfalls. Water that leaves the roof needs somewhere to go that isn’t the driveway. Redirect and extend downspouts at least four feet from the pavement.
- Seal only when fully dry, and only after two full seasons. Wait out the efflorescence season. Use a breathable sealer, not a film-forming one in high-humidity Lewisville conditions. Timing matters more than product.
- Watch the crack growth rate, not just the crack. Measure any crack wider than 1/8 inch with a pencil mark each season. If it grows, the base needs a look. If it doesn’t, seal it and stop worrying.
Common Mistakes to Avoid
- Assuming a crack is the problem. A crack is a symptom. If you replace or seal without diagnosing the cause, the crack returns – usually faster than before.
- Ignoring the hollow sound. A tapping test takes five minutes. Ignoring hollows for a season turns a $200 paver reset into a $3,000 base repair.
- Sealing before the driveway has cured. In Lewisville’s humid spring, pavers need a full dry season before sealing. Sealing them early is the top cause of efflorescence we see.
- Cutting tree roots without an arborist. A live oak root can be structural to the tree. Cutting one to “fix” a lifted row can kill a mature tree worth thousands of dollars.
- Filling low spots with topsoil or sand. Both wash away, mask the problem, and shift the failure pattern so the next contractor has a harder diagnosis.
- Ignoring ponding against the foundation. Water pooled against a Lewisville home’s foundation can lead to interior water intrusion and foundation movement – that’s a different budget category entirely.
- Trusting a quote that doesn’t ask about the base. If a contractor is quoting a paver replacement without a base inspection or a drainage plan, the quote is for a surface fix. Ask what happens to the base.
See the difference
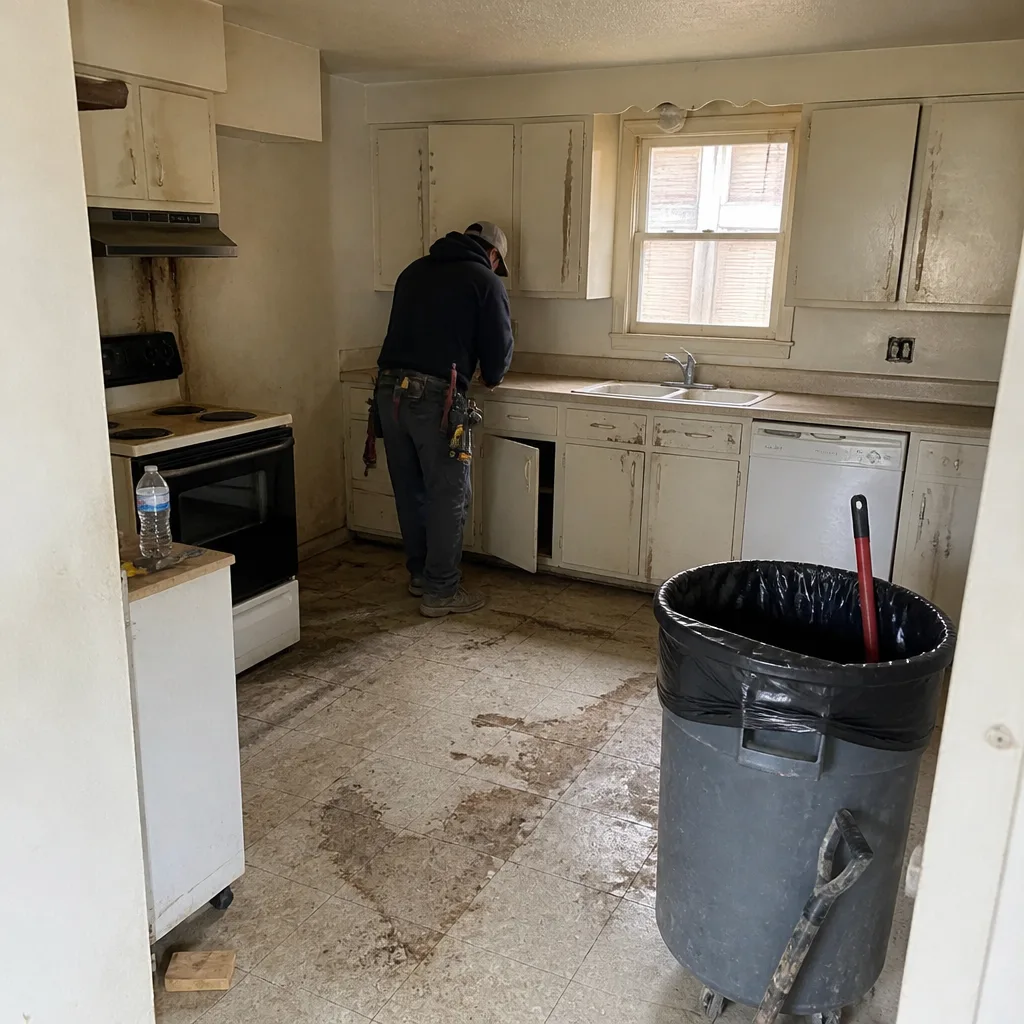 Before
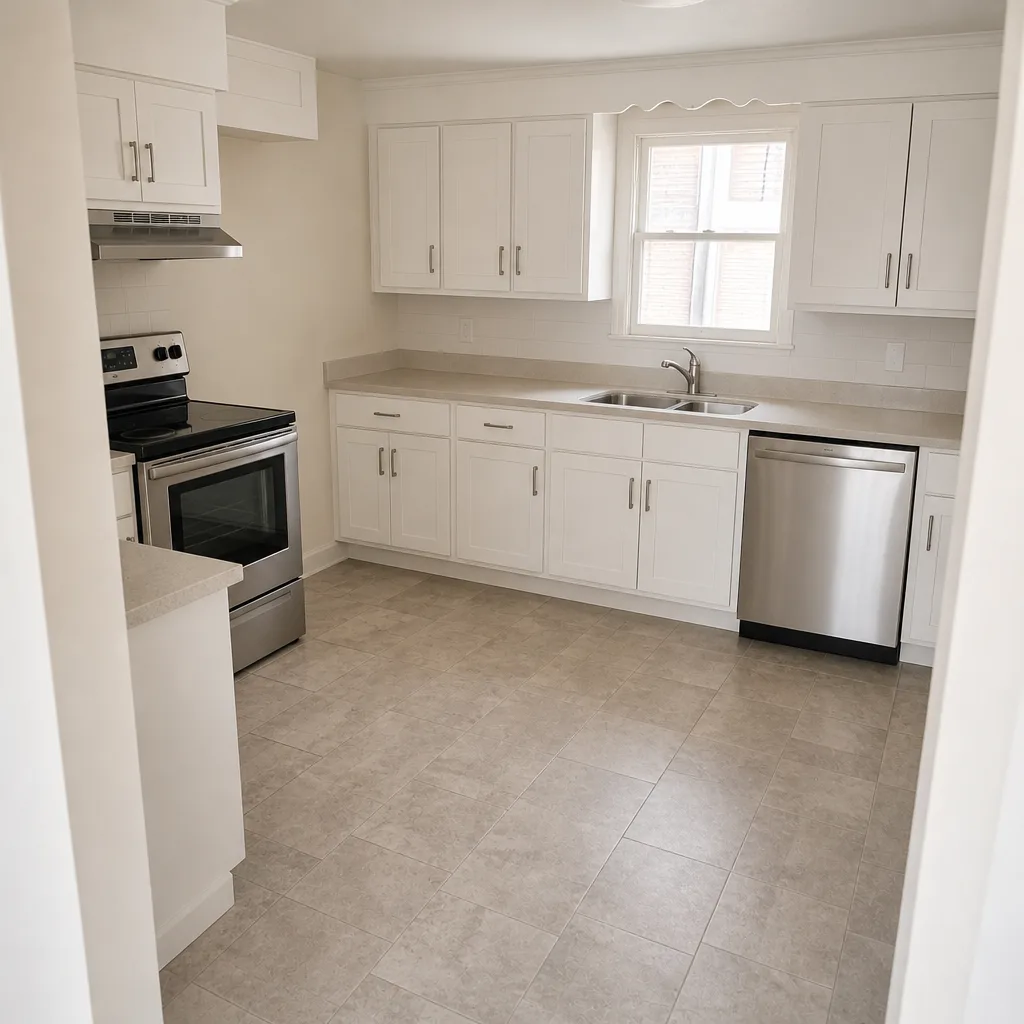 After
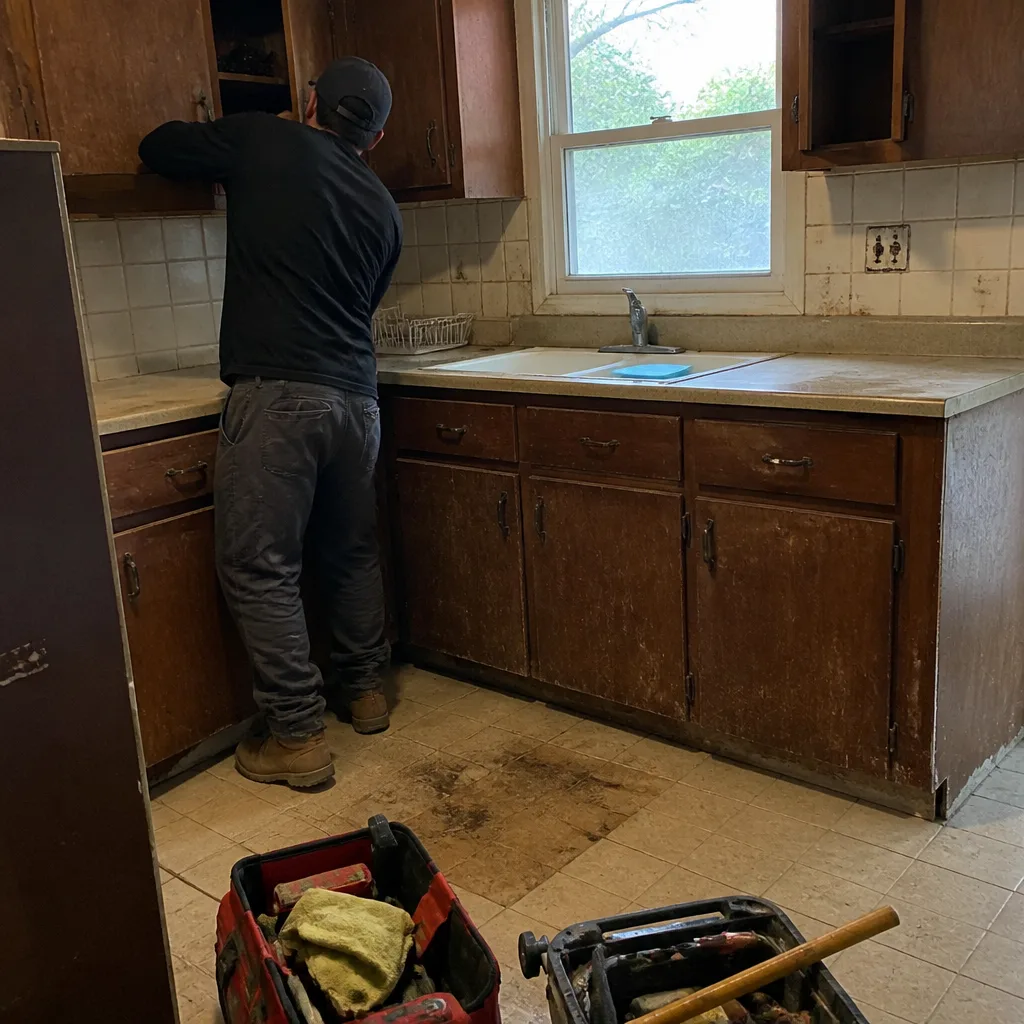 Before
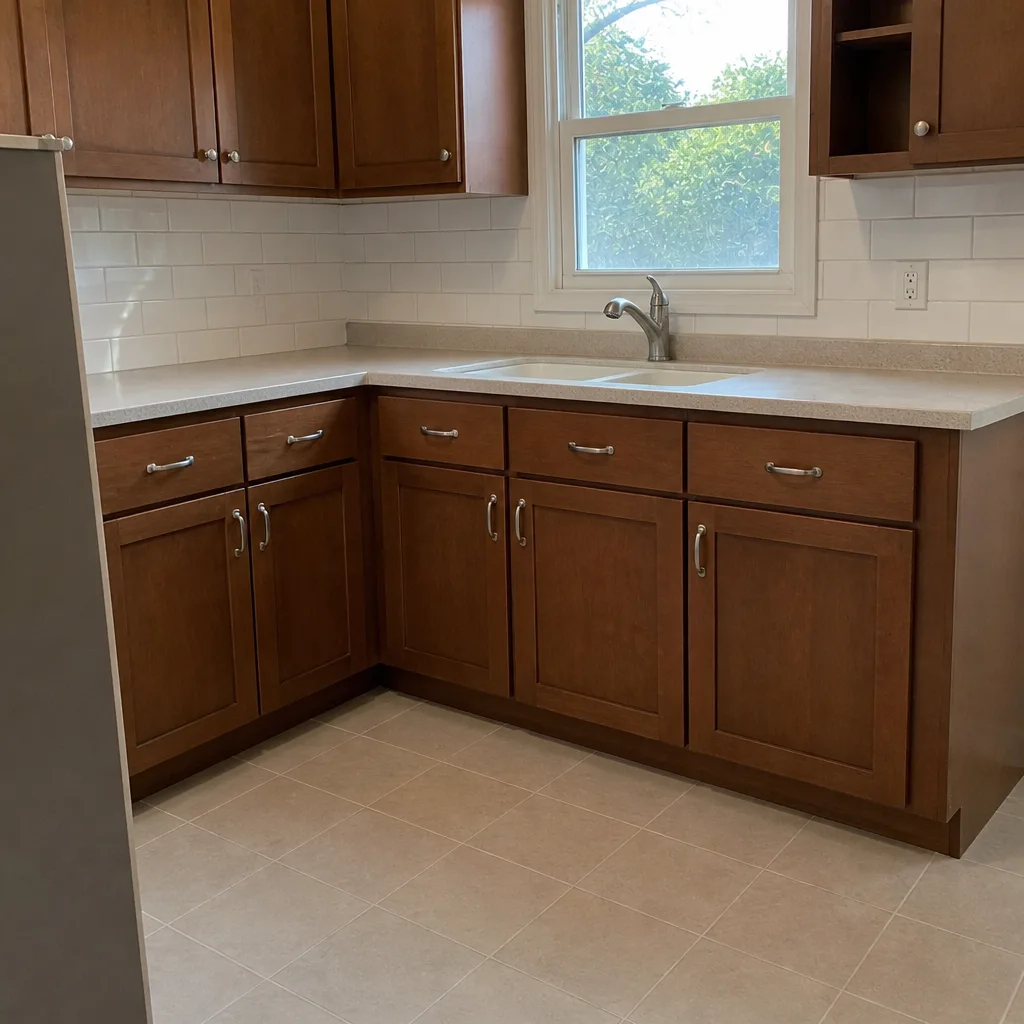 After
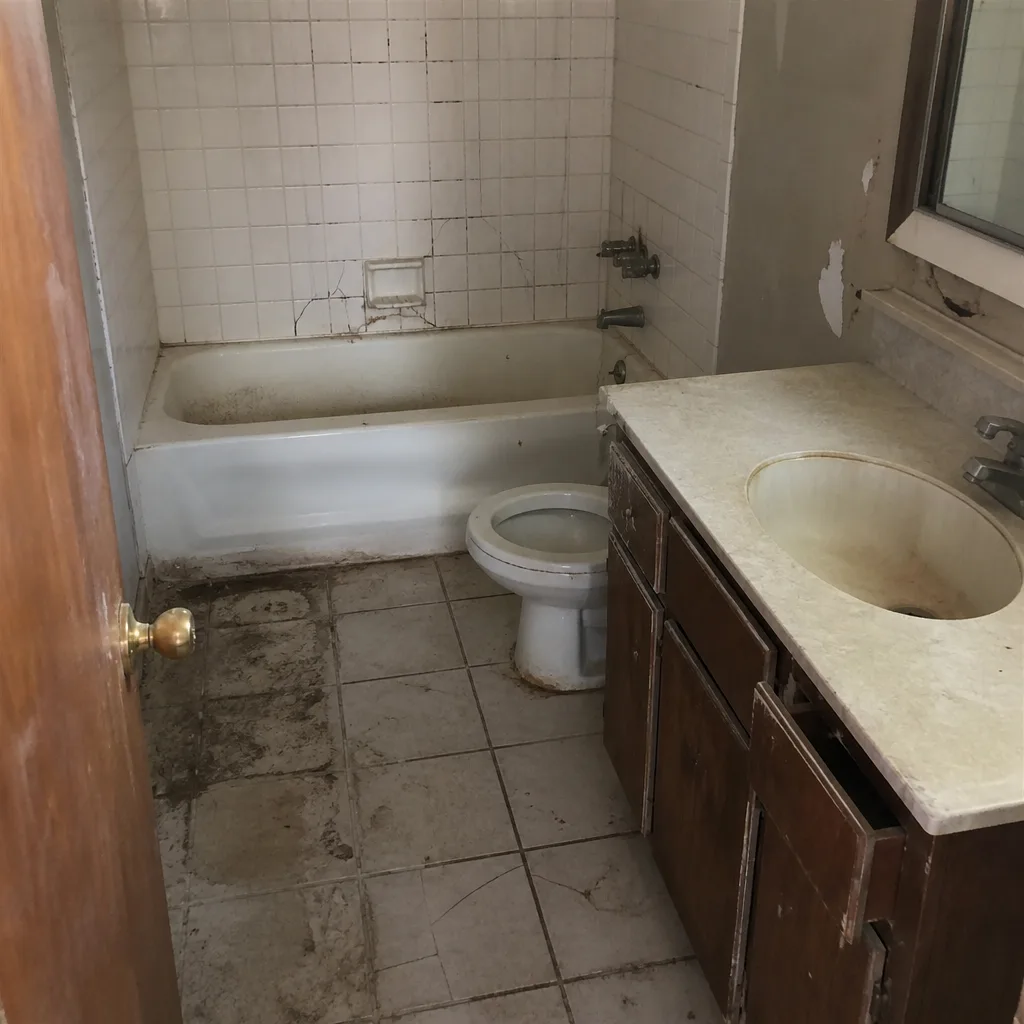 Before
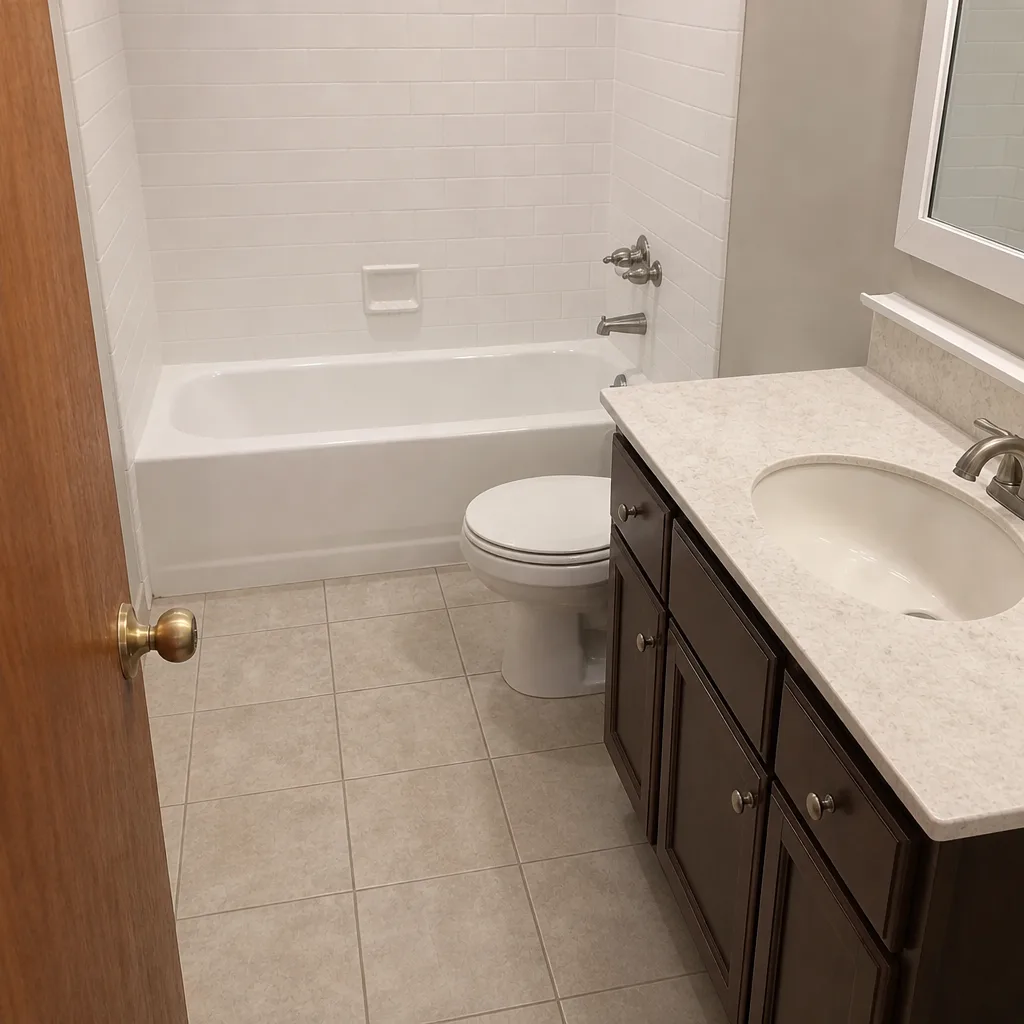 After
When to Call a Professional
Some of these problems are genuinely DIY-able: re-sanding joints, resetting a single rocked paver, cleaning efflorescence. Call a professional when you’re seeing any of the following – ponding against the foundation, hollow areas that span more than three pavers, crack growth over a single season, root-lifted rows, a dip that reappeared after a repair, or any sign of drainage running toward the house. These are base and drainage issues, and DIY fixes on a failing base typically cost more than the original repair.
Groundwork Construction Co. of Lewisville offers free estimates in Lewisville – call (844) 560-4467. Our technicians have up to 12 years of experience diagnosing base and drainage failures, and every driveway and paver project we take on is backed by our 730-Day Done Right Promise. We’ll show you exactly what’s under the surface before we quote a fix, and the number you see on the upfront pricing sheet is the number you pay.
If your driveway problem is part of a bigger project – a new fence line, a landscape redesign, or an addition that changes the way water drains across your lot – we can scope it all as one job. See Fence Installation in Lewisville and Home Additions & ADU in Lewisville for how we handle the trades that touch your driveway grade.
Frequently Asked Questions
Most single-paver or small-cluster resets in Lewisville run $150 – $400 depending on access and the extent of the base repair underneath. Larger areas with confirmed base failure or drainage corrections typically run $1,200 – $3,500. A full paver replacement on a standard two-car driveway starts around $9,000 and varies with material and site conditions. Call (844) 560-4467 for an exact quote – estimates are free.
For a single cosmetic crack with no hollow sound and no displacement, replacement of the individual paver is fine. If the crack is part of a pattern, if there’s vertical displacement, or if the tap test reveals hollows beneath it, a full reinstall of the affected section is the only fix that lasts.
Run the tap test. If the hollows cluster in a straight line or at the low point of the driveway, it’s drainage. If the hollows form around a single isolated spot or a utility trench line, it’s more likely base settlement. If the paver edges closest to the house are the ones moving, drainage toward the structure is the leading suspect. Either way, both need a base-level fix.
That’s efflorescence – salt migrating from inside the concrete to the surface as moisture moves through. It’s cosmetic, not a defect, and not dangerous. It usually means the pavers were sealed before they fully cured or that water is trapped under the base. Clean with a stiff nylon brush or a dedicated efflorescence remover, fix the moisture source, then wait a full dry season before re-sealing.
Only if the base is compacted to spec and edge restraints are installed properly. Patching a paver over failing clay without addressing the base will crack again within one wet-dry cycle. Repairs done correctly on Lewisville’s expansive clay last as long as the original installation, which is why we inspect the base before quoting any paver fix.
Yes, whenever a permit is required for the scope – which varies by project and by the Lewisville permitting office. We pull permits where applicable and coordinate inspections. It’s part of the upfront conversation, not a surprise line item.
A single-paver reset takes under an hour. A small-section base repair typically finishes in one visit. A full driveway reinstall runs 2 – 4 days depending on square footage, drainage work, and weather. Call (844) 560-4467 to schedule a free estimate and get a timeline specific to your driveway.
The Bottom Line
Driveway and paver problems in Lewisville almost always follow the same script: something fails underground, the surface shows it, and the surface gets blamed. Learn to read the symptoms – crack width, tap test hollows, rocking pattern, root ridges, efflorescence timing, and ponding location – and you’ll know within minutes whether you’re looking at a $200 cosmetic fix or a base problem that needs to be fixed properly the first time. The three repairs we see fail most often – top-dressing with sand, replacing pavers on a bad base, and sealing a failing surface – all make things worse because they hide the real problem. When in doubt, get eyes on the base before you spend money on the surface.
Ready to get a straight answer on your driveway? Call Groundwork Construction Co. of Lewisville at (844) 560-4467 for a free estimate. We answer live, 24/7. Every job comes with upfront pricing – the number you see is the number you pay – and the 730-Day Done Right Promise: if it’s not done right, we make it right. Start with Groundwork Construction Co. of Lewisville home to see the full scope of what we do, and stop paying to fix the same driveway twice.
Written by the team at Groundwork Construction Co. of Lewisville.