Last updated November 18, 2026
Free written scope consultation - allowances, timeline, and change-order rules on paper before a single trade is scheduled
DIY vs Professional Windows & Doors: What’s Safe to Do Yourself
A window that’s installed a quarter-inch out of square doesn’t look wrong. It looks fine. But it won’t seal correctly, condensation will collect where you can’t see it, the manufacturer’s warranty won’t cover the resulting damage, and over five years the energy loss can cost more than the installation labor would have. We’ve opened up walls in Lewisville homes where a previous owner’s weekend project looked perfect from the driveway and had been quietly rotting the framing for a decade. This guide breaks down exactly which window and door tasks are genuinely safe to do yourself, which ones require a licensed contractor in Texas, and how to tell the difference before you pick up a pry bar.
Quick Answer
Replacing a window or door yourself is only safe when you’re swapping a like-for-like unit into an existing, undamaged rough opening on the ground floor, with no framing, flashing, or structural changes involved. Anything that touches the rough opening, water-resistive barrier, header, or exterior wall assembly requires a licensed contractor in Texas and is where nearly every DIY failure happens. For most Lewisville homeowners, the smart line is this: trim and hardware work is DIY-appropriate, and anything behind the trim is not.
Styles & brands we work with
- Kitchen remodeling
- Bathroom remodeling
- Home additions & ADU
- Roofing
- Windows & doors
- Driveway & pavers
- Fence
Table of Contents
- Why Windows and Doors Sit in the Middle Ground
- What Rough Opening Prep Actually Involves
- What Requires a Licensed Contractor in Texas vs What’s DIY-Appropriate
- How Flashing and Water-Resistive Barrier Integration Works
- The Real Cost Comparison: DIY vs Professional
- Lewisville Climate and Why It Punishes Bad Installs
- How to Verify a Contractor Did the Job Right
- Common Mistakes to Avoid
Why Windows and Doors Sit in the Middle Ground
Most home projects sort cleanly into DIY or pro. Painting a bedroom? DIY. Replacing a load-bearing wall? Pro. Windows and doors don’t sort that cleanly, and that’s what gets homeowners into trouble. The visible task (pull the old unit, slide in the new one) looks simple enough to attempt. The performance outcome, though, depends on precision measurements and weatherproofing details that are easy to get wrong once and nearly impossible to fix without starting over.
We see the aftermath of that mismatch in Lewisville regularly. A homeowner installs a replacement window in an afternoon, it looks great for two or three years, and then the first hard spring storm pushes water past the flashing that was never integrated properly. By the time a soft spot appears on the interior drywall, the sheathing behind it has been wet for a while. The window itself was fine. The installation wasn’t.
Here’s the useful way to think about it: a window is a manufactured product with a fixed performance rating, and that rating only holds if it’s installed to the manufacturer’s written specification. Andersen and Marvin, for example, publish detailed installation instructions that specify shim placement, fastener locations, sealant type, and flashing sequence. Deviate from those and you’ve voided the warranty on a product you spent real money on. That’s the middle ground. The task is straightforward. The spec is not forgiving.
We build to those specs on every window and door project because the details behind the wall are what actually keep the weather out. If you want to understand how that fits into a larger renovation, our Groundwork Construction Co. of Lewisville home page lays out the full scope of what we handle.
What Rough Opening Prep Actually Involves
The rough opening is the framed hole in the wall where the window or door goes. Most homeowners picture it as ready to accept a new unit the moment the old one comes out. It almost never is. Prep work on the rough opening is the step most DIY window installs get wrong, and they get it wrong before the new window is even touched.
Proper preparation means verifying and correcting several things in sequence:
- Square and level check. A rough opening that’s out of square by even a quarter-inch will force the new window into a racked position, which distorts the frame and breaks the seal along the jamb. We check diagonals on every opening and correct the framing before anything goes in.
- Rotted framing removal. If the old window leaked, the jack studs, sill plate, or king stud may be compromised. New fasteners driven into soft wood don’t hold. Any rot has to come out and be replaced with solid material at the right dimension.
- Header inspection. On a door replacement, the header carries the load above. We look for sag, checking for moisture staining, and any sign the original header was undersized. This is structural work and not a homeowner task.
- Sill pan and slope. The bottom of the rough opening needs a slight outward slope and, on doors, a sill pan that directs water out rather than into the wall cavity. Skipping the pan is one of the most common causes of rot we find.
- Shimming and fastener plan. Shims go at the manufacturer-specified points, not wherever the gap happens to be. Fasteners must hit framing, not just sheathing, at the specified spacing.
- Water-resistive barrier integration. The WRB and flashing have to lap correctly against the new unit. We’ll cover this in its own section because it deserves it.
Every one of these steps is invisible when the job is done. That’s the problem with DIY window work: there’s no visible feedback loop. A wonky cabinet door tells you immediately. A missing sill pan tells you nothing for three years.
What Requires a Licensed Contractor in Texas vs What’s DIY-Appropriate
Texas has a specific licensing landscape for residential work, and it’s worth knowing where the lines actually fall. General residential contracting in Texas isn’t licensed at the state level the way electrical or plumbing is. That sounds like a green light for DIY, but it isn’t. Local building departments, manufacturers, and structural reality set the real boundaries.
Here’s how we’d break it down for a Lewisville homeowner:
Genuinely DIY-appropriate with the right tools
- Replacing interior door slabs on existing hinges and jambs
- Swapping door hardware, locksets, and hinges
- Adding or replacing interior window and door trim and casing
- Caulking exterior window perimeters where the sealant has failed and no water intrusion exists
- Installing or adjusting window blinds, shutters, and interior coverings
- Replacing weatherstripping and sweeps on existing doors
- Like-for-like replacement of a ground-floor window in an undamaged opening, following the manufacturer’s written instructions to the letter, if you’re confident in your measuring and flashing work
Requires a licensed contractor
- Any work that alters the rough opening dimensions
- Replacing a header or any framing above a door or window
- New window or door openings in an existing wall, which requires structural review and permits
- Second-story or higher window replacement, which involves fall protection and exterior staging
- Any project requiring a building permit, which in Lewisville generally means structural, framing, or opening changes
- Work on windows or doors in a wall where the water-resistive barrier needs repair or replacement
- Egress window changes, which have specific code requirements for opening size and height
If you’re unsure which side of the line your project falls on, that’s a good sign it needs a professional look. A free estimate tells you in plain numbers whether the job is bigger than you thought. Call (844) 560-4467 and we’ll walk through it with you.
How Flashing and Water-Resistive Barrier Integration Works
Flashing is the metal (or sometimes membrane) that directs water out and away from the wall opening. The water-resistive barrier is the house wrap or sheathing membrane behind your siding that keeps bulk water off the framing. Window and door installation is the process of tying the new unit into both systems so the wall drains correctly. Get the sequence wrong and you’ve built a funnel into your wall.
The correct sequence, in simplified form, works from the bottom up and overlaps each layer over the one below it so water always travels outward and down:
- Sill flashing goes first. A sloped sill pan or flashing goes in at the bottom of the opening, lapping over the WRB below, and extends past the opening on both sides.
- Jamb flashing next. Side flashing laps over the sill flashing at the corners and runs up the sides of the opening.
- Head flashing last. The head flashing goes above the unit and laps over the top of the jamb flashing, so water sheds over the sides rather than behind them.
- Window flange and WRB installed in shingle fashion. The unit’s nailing flange is set, and the WRB is layered so each course above overlaps the one below, working from the bottom of the wall to the top.
- Sealant applied per manufacturer spec. Sealant goes where the instructions say, not wherever looks like a gap.
Skipping this correctly is the most common cause of wall rot behind new windows, and it’s also the reason manufacturer warranties get denied. Water gets behind the WRB, can’t drain, and sits against the sheathing and framing. In a humid, storm-prone climate like ours, that rot can develop within two or three seasons.
We integrate flashing and WRB on every window and door install, because it’s the difference between a window that performs for 25 years and one that performs for 25 months. It’s the same standard we apply on related exterior work like Fence Installation in Lewisville, where post base and water management determine longevity the same way.
The Real Cost Comparison: DIY vs Professional
The honest comparison isn’t labor line versus your weekend. It includes tools you may not own, materials you’ll buy anyway, the risk of remediation if something goes wrong, and the value of your time. Here’s the fuller picture, framed as ranges because every window and door project is different.
| Cost area | DIY reality | Professional reality |
|---|---|---|
| Tools | Drill, level, pry bar, caulk gun, oscillating tool, shims, fasteners – $150 to $400 if you don’t own them | Included in the labor |
| Materials | Window or door, flashing, sealant, shims, fasteners, trim – you buy all of it at retail, sometimes with odd-lot quantities | Included and often at contractor pricing |
| Time | 4 to 8 hours per opening for a careful first-timer, plus trips for parts | Scheduled and completed; most single-window jobs finish in a day |
| Warranty | Manufacturer warranty often voided by non-compliant install | Installation covered by the contractor’s workmanship promise |
| Remediation risk | If a leak develops, wall repair, sheathing replacement, and interior finish work are all on you | Covered by the workmanship warranty |
The remediation risk is the number most homeowners leave out, and it’s usually the largest one. Opening a wall to replace rotted sheathing and framing runs several times the cost of the original install. We’ve seen it in Lewisville more than once on a window that was installed to save a few hundred dollars on labor.
The energy loss angle matters too. A well-installed window with a strong U-factor and proper air sealing will pay back over its service life. A poorly sealed one won’t. The manufacturer’s rated performance assumes a compliant install, and a quarter-inch out of square is enough to break the seal on the jamb.
On the budget side, transparent pricing is part of what we do. The number you see is the number you pay, and the work is backed by our 730-Day Done Right Promise, one of the longest workmanship guarantees in the residential construction space. If it’s not done right, we make it right. We also offer 0% financing for 18 months and $1,000 off projects over $10,000 to make larger window and door packages more workable, plus a free estimate and design consult to start with no obligation.
If your project includes a larger scope change like a bump-out or new opening, that work overlaps with what we handle through Home Additions & ADU in Lewisville, where structural changes and permitting are part of the build.
Lewisville Climate and Why It Punishes Bad Installs
Lewisville sits in North Texas, and the climate here is hard on exterior envelopes in specific ways that make sloppy window and door installs fail faster than they would in a milder region. Three weather patterns do most of the damage.
Spring storm surge. Between March and June, we get high-wind thunderstorms that drive rain sideways. Wind-driven rain finds any gap in the flashing sequence and pushes water into the wall cavity rather than letting it sheet off. A window installed without proper head flashing is exposed every spring.
Summer heat cycling. North Texas summers push 100-plus degrees for weeks. Materials expand and contract heavily. Sealant that wasn’t applied to spec breaks down faster, and a window that was shimmed incorrectly will rack slightly as the frame heats and cools, working the seal loose over a few seasons.
Humidity swings. Fall and spring bring humid days that alternate with dry spells. That cycle drives vapor in and out of the wall cavity. If the WRB isn’t integrated correctly, moisture that gets in stays in. Rot behind the sheathing develops quietly.
We’ve had homeowners in Castle Hills and in the neighborhoods near the Old Town district show us windows that looked fine from inside but had water staining on the framing once we opened the trim. In Texas, the installation decides whether the window performs; the climate just accelerates the timeline.
Which is why we install to the manufacturer’s written spec on every job and back it with a written guarantee. Built to last, backed in writing is the standard we hold ourselves to on every exterior product, whether that’s a window, a roof, or the pavers on your drive. Our Driveway & Pavers in Lewisville page shows the same principle applied to hardscape.
How to Verify a Contractor Did the Job Right
You shouldn’t have to trust blindly. A competent contractor will expect to be checked, and here’s a specific list of what to look for during and after the install. Ask to see each of these as the job progresses; a professional will welcome it.
- Ask to see the rough opening before the new unit goes in. Look for solid wood at the frame, a visible sill pan at the bottom, and clean framing with no visible rot or staining.
- Watch the flashing sequence. Layering should go bottom-up, with each piece lapping over the one below. Ask which flashing product is being used and why.
- Confirm sealant type matches the spec. Manufacturer instructions name the correct sealant. Ask what’s being used and where.
- Check the fasteners after installation. They should hit framing at the manufacturer-specified spacing, not just bite into sheathing.
- Look at the interior trim reveals. Consistent, even gaps all the way around mean the unit is set square and level. Uneven reveals mean it’s racked.
- Operate the window or door. It should open, close, and lock smoothly with no binding. Binding is a sign of a misaligned install.
- Ask for the manufacturer’s installation paperwork and warranty registration. A legitimate install registers the product warranty in your name. If the paperwork isn’t there, the warranty likely isn’t either.
One more thing: ask for a written workmanship warranty up front. Not a verbal assurance, a written one. Ours runs 730 days. That length is unusual in the residential space, and it’s the reason we’re careful about the details behind the wall. Our technicians have up to 12 years of experience, arrive background-checked and in uniform, and calls are answered by a live person 24/7.
If the job also involves replacing a garage door or fence to match the new exterior, our team can coordinate. Same for outdoor hardscape, so the finished home reads as one project rather than four.
Common Mistakes to Avoid
- Measuring the old window instead of the rough opening. The old window may itself have been installed out of square or shimmed badly. Measure the rough opening at multiple points and use the smallest dimension. Otherwise you’ll copy the previous mistake.
- Skipping the sill pan because it “won’t ever get wet.” In Lewisville, it will. Wind-driven rain during spring storms finds the bottom of the opening more often than homeowners expect. The pan is cheap. Wall rot is not.
- Caulking over a bad flashing job. Sealant is the last line of defense, not the first. If the flashing sequence is wrong, no amount of caulk fixes it. We’ve opened exterior trim in Lewisville that was caulked heavily and had been leaking the entire time.
- Fastening into sheathing only. Fasteners have to reach framing. Windows that only grip OSB will loosen as the material moves with heat and humidity over a couple of seasons.
- Replacing a window without checking the header on a door. A door replacement means load above the opening. If the header sags or is undersized, the door will bind and never seal. That’s a structural fix, not a trim fix.
- Ignoring the manufacturer’s written install instructions. Andersen and Marvin both publish detailed install specs for each product line. Following them preserves the warranty. Deviating voids it, and there’s no arguing your way back in after the fact.
- Attempting second-story windows without fall protection. The height work is a real hazard. Falls from a second-story window opening are the kind of injury that changes a household. That job goes to a pro with proper staging and safety equipment.
If you’ve already installed a window or door and you’re not sure it was done correctly, a free estimate visit can include a quick check of the visible signs. Call (844) 560-4467 to schedule it.
See the difference
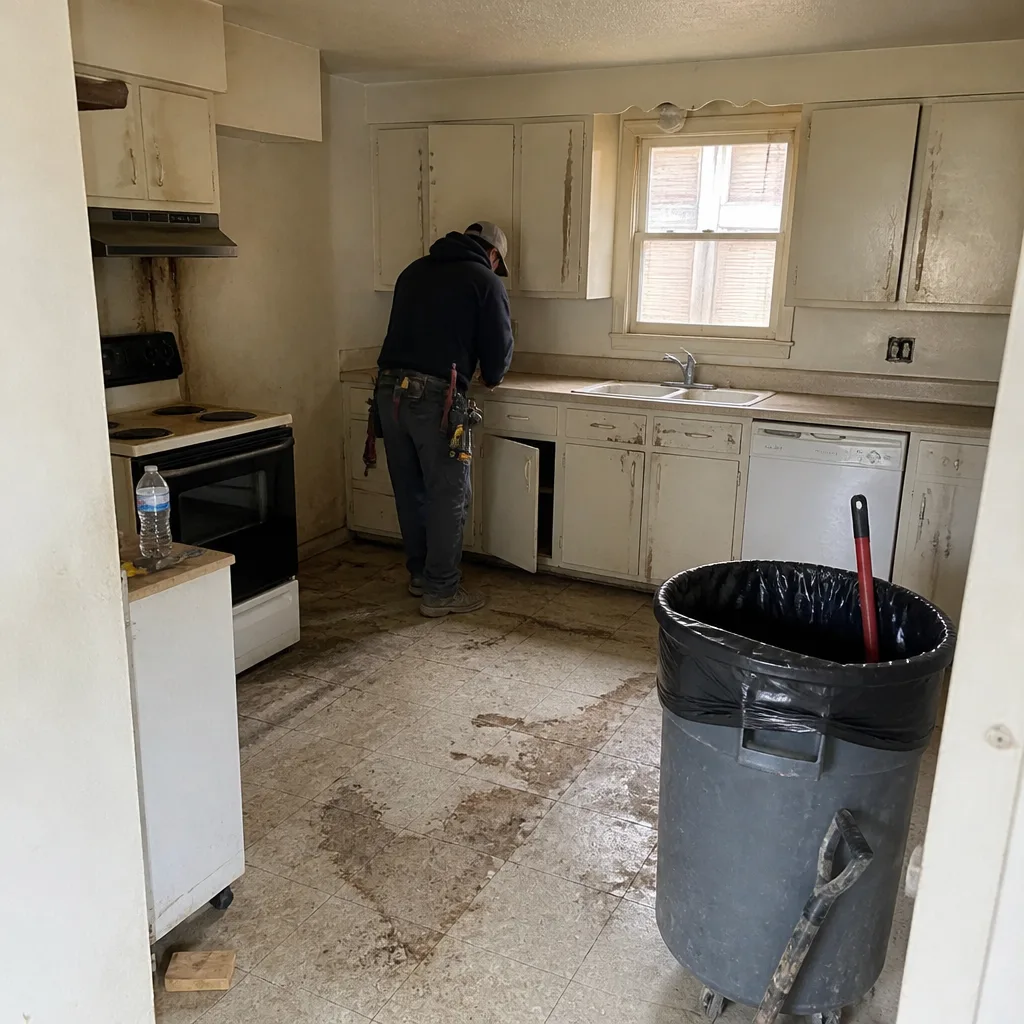 Before
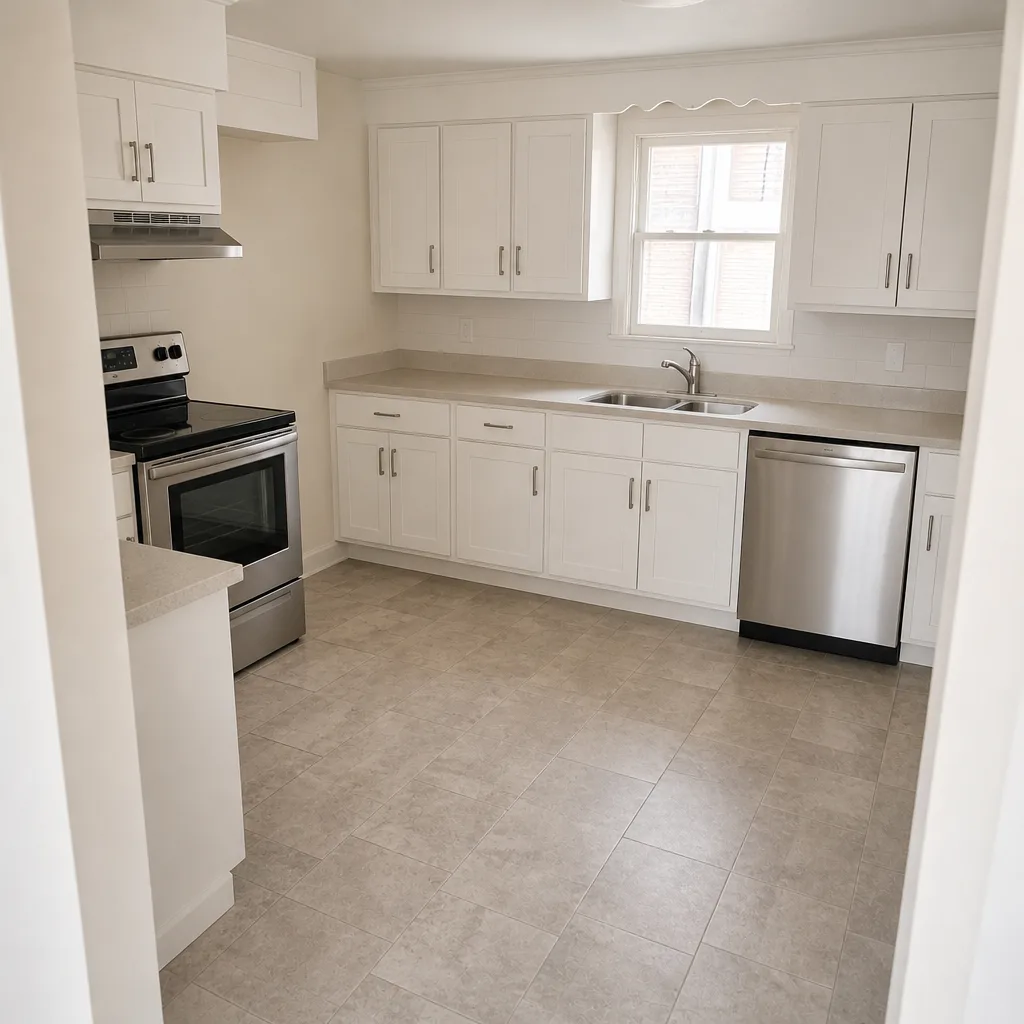 After
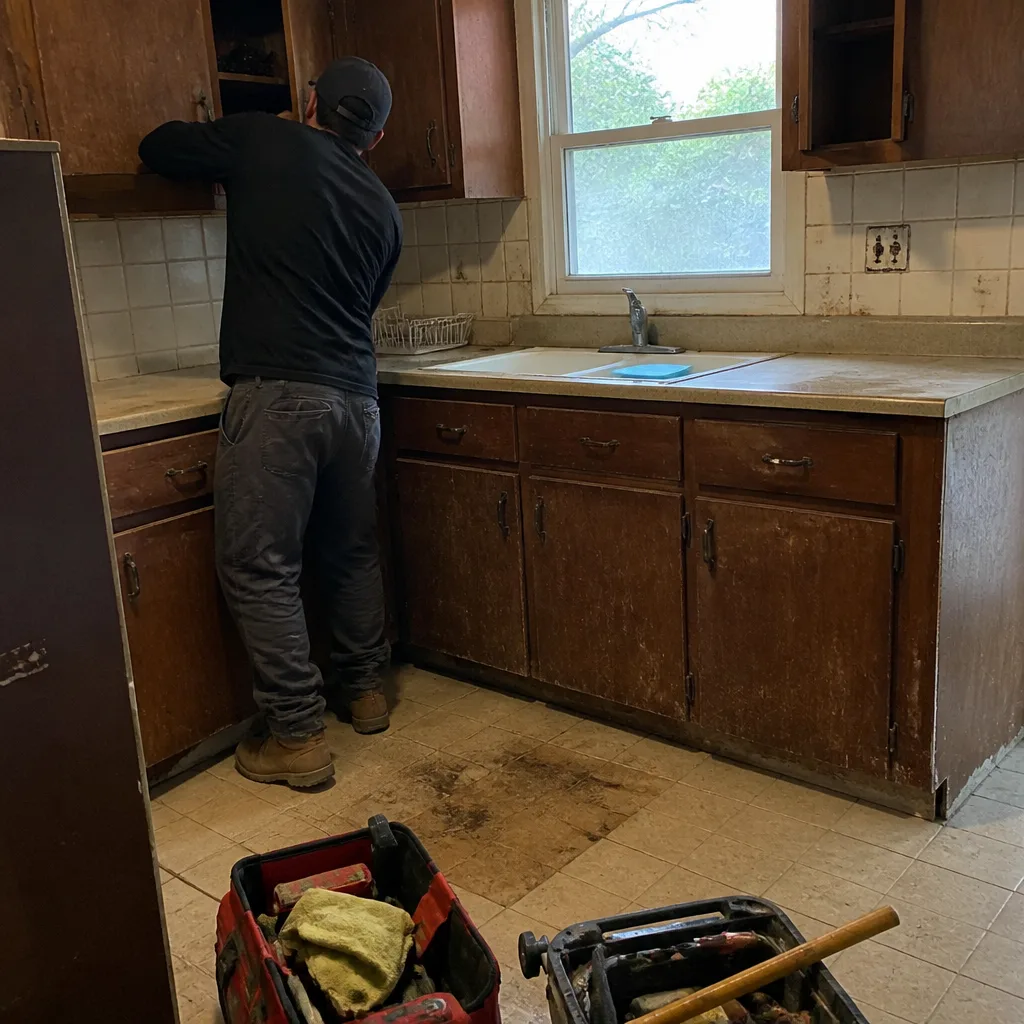 Before
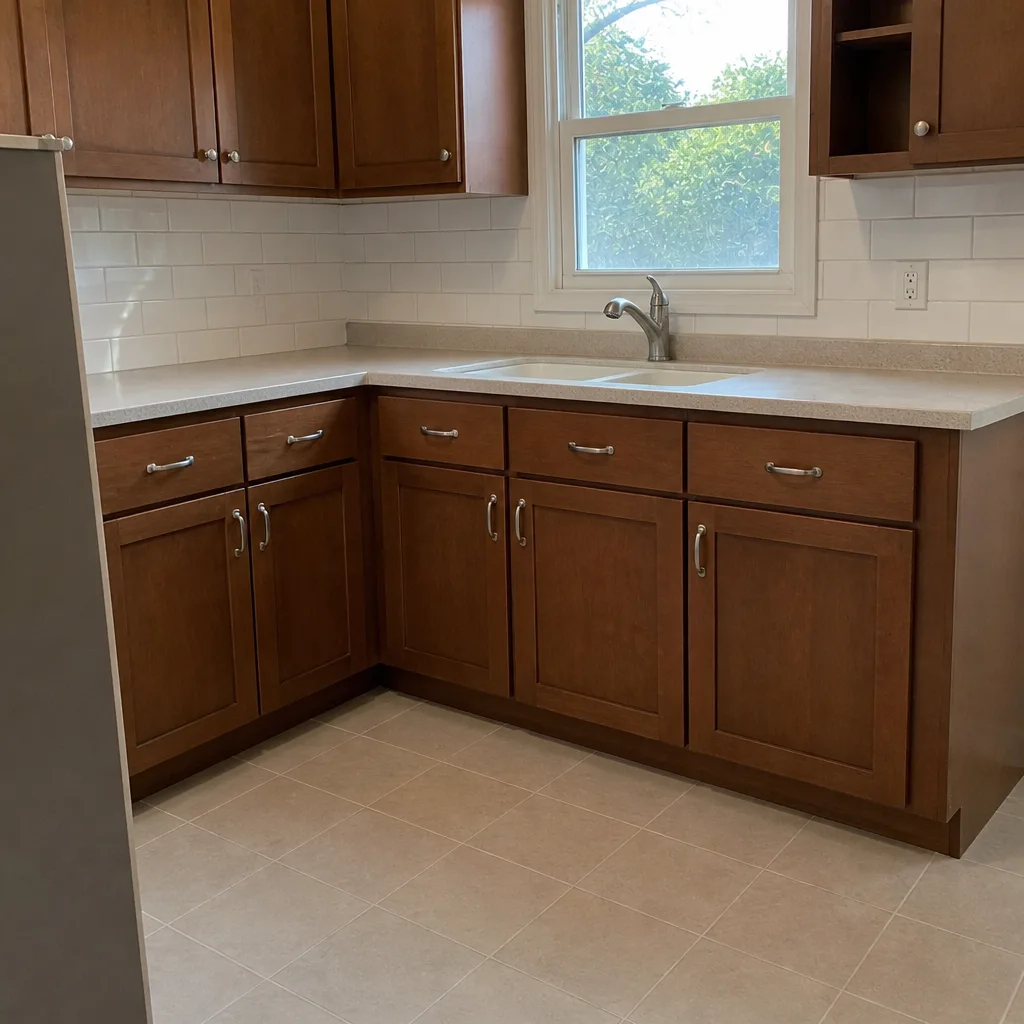 After
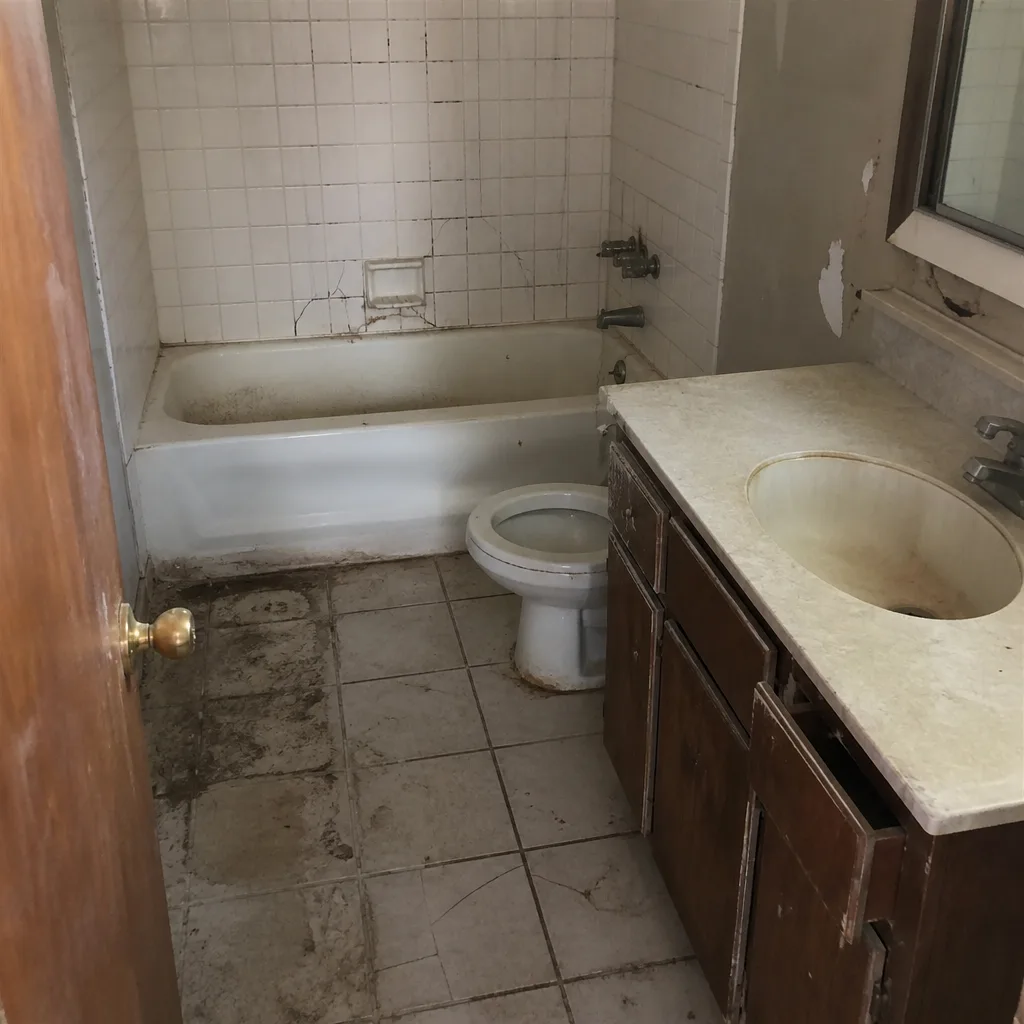 Before
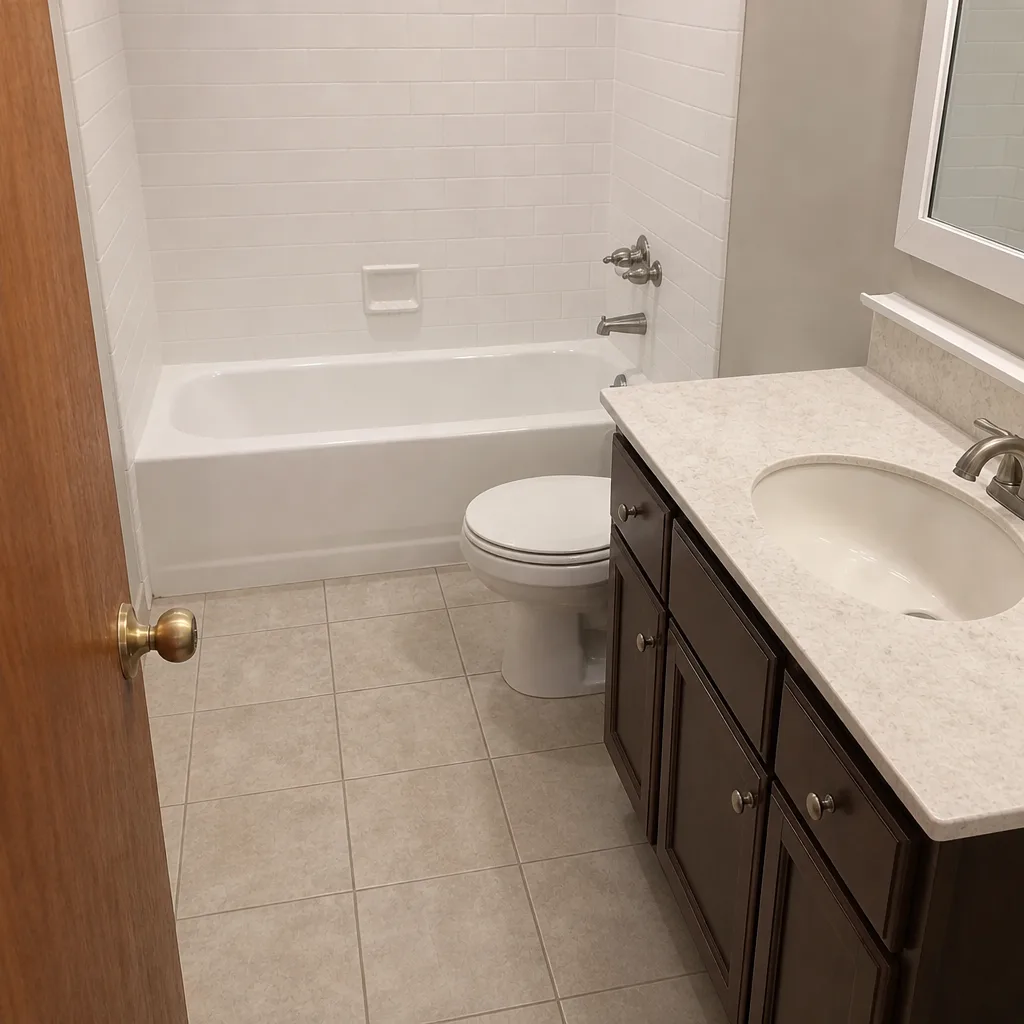 After
When to Call a Professional
Call a professional the moment your project involves anything behind the trim: rough opening repairs, header work, new openings in an existing wall, second-story windows, WRB repair, or any permitted work. Call us if the existing window shows signs of water intrusion (soft drywall, staining, condensation between panes that doesn’t clear), because water damage is progressive and the sooner it’s addressed, the smaller the repair. Call a professional if the window or door is part of a larger project like a renovation, addition, or siding replacement, because the exterior assembly has to be detailed as a whole. And call if you’re simply unsure whether your project crosses the line, because a free estimate will tell you in plain numbers. Groundwork Construction Co. of Lewisville offers free estimates in Lewisville. Call (844) 560-4467.
Frequently Asked Questions
Texas doesn’t require a state-issued license for general residential window replacement, so a homeowner can legally do a like-for-like replacement in many cases. The real constraint isn’t the license, it’s the work: any project that requires a permit (structural changes, new openings, framing work) brings the local building department in, and any deviation from the manufacturer’s install spec voids the product warranty. In Lewisville, a like-for-like ground-floor swap with no framing or flashing changes is the realistic DIY ceiling.
Window installation in the Lewisville area typically runs in the range that reflects the opening’s condition and the product grade. Factors that move the number are whether the existing rough opening needs framing repair, whether the flashing and WRB need replacement, the window’s performance rating, and whether the opening is on the first or second story. We give upfront, line-item pricing on the free estimate so you know exactly what each opening costs before any work starts. Call (844) 560-4467 for a specific quote, which is free.
Skipping proper sill pan and flashing integration at the rough opening. The visible install often looks fine, but without a correctly sequenced flashing system and a sloped sill, wind-driven rain during Lewisville’s spring storms gets behind the water-resistive barrier and sits against the framing. That’s the path to wall rot, and it’s the failure we find most often when opening up exterior walls in older Lewisville homes. It’s invisible for years and expensive when it surfaces.
No. We give upfront pricing and the number you see is the number you pay. If unforeseen damage is behind the wall once the old unit comes out (rotted framing, missing flashing from a prior install, soft sheathing), we stop and discuss it with you before proceeding. You won’t get a surprise bill at the end. Our 730-Day Done Right Promise covers the workmanship for two years past the typical one-year window, and if something isn’t done right, we make it right.
Yes, when a permit is required. Like-for-like replacement of an existing window or door usually doesn’t require one. Any project that involves structural work, a new opening, or a change to an egress path does. We handle the permitting and the inspection and keep you updated on the schedule. If you’re not sure whether your project requires a permit, that question is part of the free estimate conversation and we’ll answer it directly.
A single window replacement in good-condition framing usually finishes in one visit. A whole-house window package typically runs several days depending on the number of openings and the condition of the existing trim and exterior. Door replacements vary more widely because the header and framing are sometimes involved. We schedule every job with a realistic timeline before work starts, so there’s no guessing from your end.
The Bottom Line

The line on windows and doors is cleaner than it looks once you know where to draw it: trim, hardware, and like-for-like swaps in undamaged ground-floor openings are reasonable DIY territory for a careful homeowner with the right tools. Anything that touches the rough opening, headers, flashing, water-resistive barrier, or a second story needs a licensed contractor. The reason isn’t that DIYers are careless. It’s that window and door work has no visible feedback loop, and the failures (rot, energy loss, voided warranties) surface years after the job is finished. If your project crosses the line, Groundwork Construction Co. of Lewisville offers free estimates backed by upfront pricing, 0% financing for 18 months, $1,000 off projects over $10,000, and our 730-Day Done Right Promise. Call (844) 560-4467 to schedule yours.
Written by the team at Groundwork Construction Co. of Lewisville.