Last updated November 18, 2026


Free written scope consultation - allowances, timeline, and change-order rules on paper before a single trade is scheduled
Driveway & Pavers Maintenance Schedule: What to Do and When
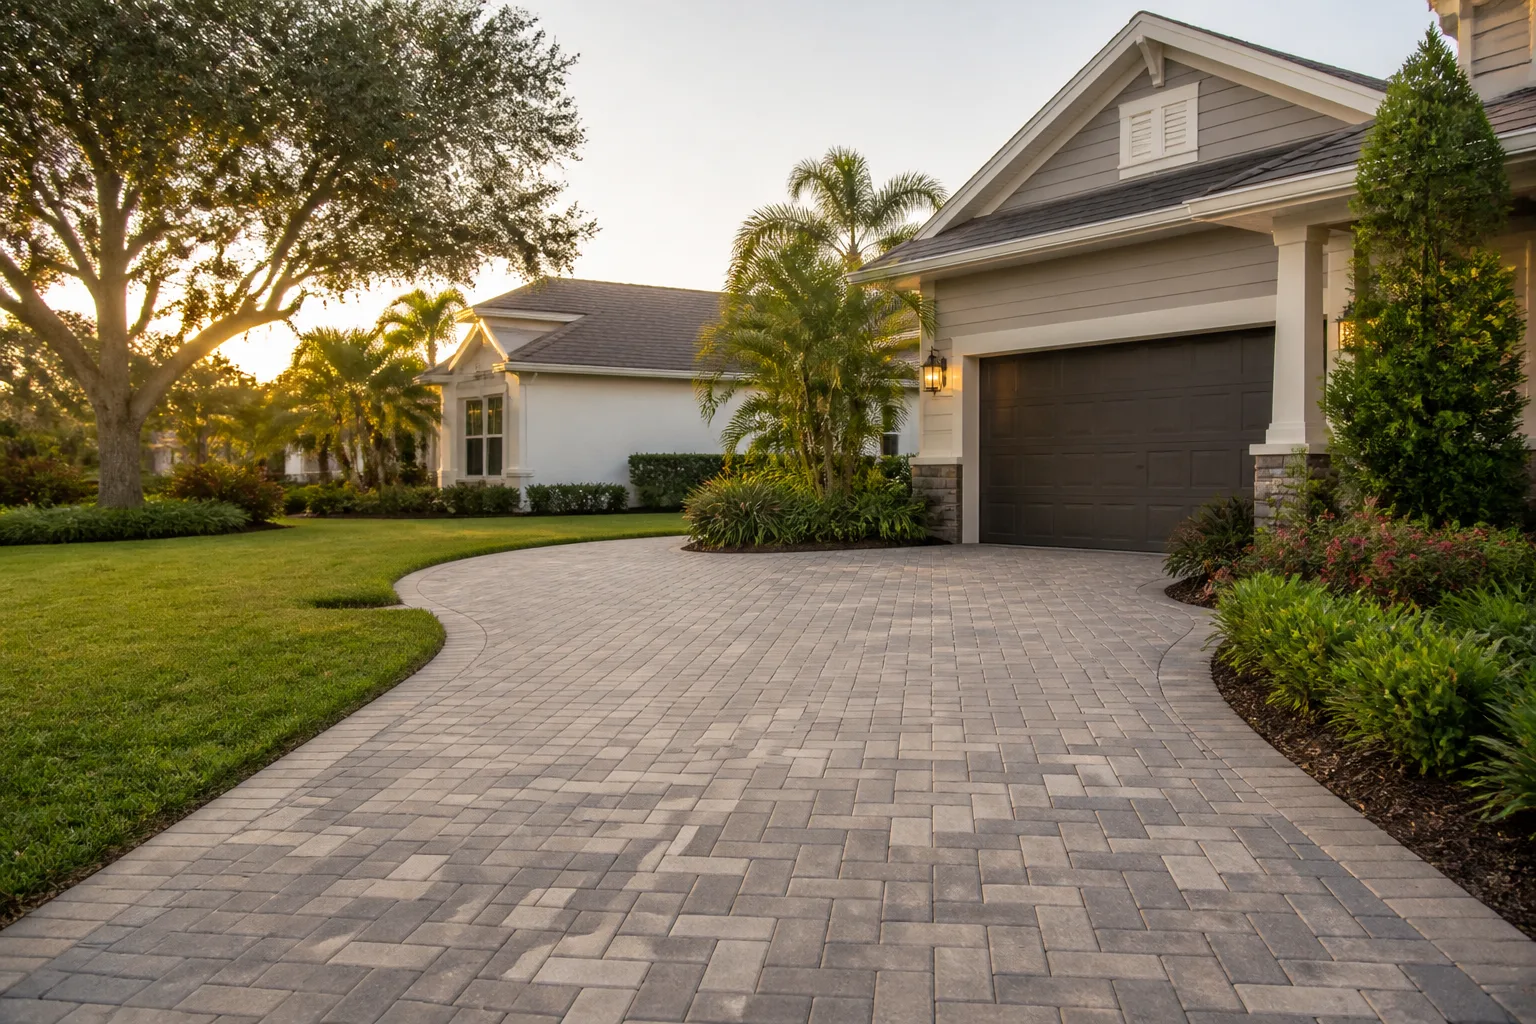
Skipping one resealing cycle doesn’t ruin a paver driveway. That’s the part most homeowners get wrong. It’s the second and third skipped cycles that wreck everything, and the reason has nothing to do with the pavers themselves. Once the joint sand washes out, the failure runs downhill: weeds take root in the gaps, ants tunnel the bedding layer, and water gets under the pavers and into the base. A $50 bag of sand and an afternoon become a $4,000 reinstall inside five to seven years. In Lewisville, where clay soil swells after a wet spring and shrinks through a brutal summer, that clock runs faster than most climate guides admit. Below is the season-by-season schedule we use, the year-one versus year-five reality, and the cleaning mistakes that permanently stain pavers.
Quick Answer
Reseal concrete or clay pavers every two to three years, and in North Texas the best window is late spring – April through May – after the last freeze threat has passed and daytime temperatures hold between 60°F and 80°F. Refill joint sand once a year in spring, spot-check for base movement and settling every August after the summer clay shrinkage peaks, and inspect drainage before and after the rainy stretches in March and October. Everything else on the schedule is cleaning, weed control, and watching for the four failure signs we detail below.
Styles & brands we work with
- Kitchen remodeling
- Bathroom remodeling
- Home additions & ADU
- Roofing
- Windows & doors
- Driveway & pavers
- Fence
Table of Contents
- Why Spring – Not Fall – Is the Right Time to Reseal Texas Pavers
- The Annual Maintenance Schedule, Season by Season
- The Joint Sand Refill Schedule That Stops Weeds and Ants
- How to Inspect for Base Movement After the Summer Heat Cycle
- Safe Cleaning Products vs. What Etches and Stains Pavers
- The Pressure Washer Rules Nobody Tells You
- Year One vs. Year Five: What Changes as the Driveway Matures
- Drainage and Grade Checks in a Clay-Soil Market
Why Spring – Not Fall – Is the Right Time to Reseal Texas Pavers
National maintenance guides tell you to seal in fall. Copy that advice into Lewisville and you’ll pay for a sealer that cures poorly and fails early. Texas sealer timing depends on two things a generic guide ignores: UV intensity and the temperature swing between day and night.
Paver sealers cure by solvent evaporation and chemical crosslinking, and both processes run fast when surface temperatures climb. A product applied in May at 75°F has an eight to ten hour working window before it skins over. That same product applied in a Denton County fall with 45°F overnight lows can take three days to fully cure, and any dew, rain, or leaf drop during that stretch leaves cloudy patches and weak adhesion. Worse, summer UV here is intense enough that fall-applied sealer has already taken its worst UV hit by the time the next season starts, so the protective layer you’re paying for is thinner during the following February through May, which is when North Texas gets its heaviest rain.
The window we aim for in Lewisville is April 15 through May 30. By then the last freeze has passed, the twelve-hour day is full of drying sun, and daily highs in the 70s to low 80s give a sealer the ideal cure. By June the temperatures push past 90°F, and applying product on a hot concrete paver does something annoying: it flashes and skins before the solvent can escape, trapping haze in the sheen.
What to check before you seal
- Confirm the forecast has no rain for 48 hours. One shower on uncured sealer is a full restart.
- Check ground temperature, not air temperature. Pavers in direct sun can read 20°F hotter than the air.
- Make sure all joint sand is topped off first. Sealing over half-empty joints locks nothing in.
- Verify the pavers are bone dry. Any moisture reading on a paver means the sealer will show white haze after cure.
- Do a small test patch in a corner. If the finish looks uneven after 24 hours, something is wrong with the mix, not your technique.
If you’d rather not gamble with the timing, our Driveway & Pavers in Lewisville team handles full seasonal maintenance, and we pull from a curated brand list that includes Boral pavers with certified sealers, so you’re not guessing at compatibility.
The Annual Maintenance Schedule, Season by Season
Here’s the schedule we hand Lewisville homeowners. Print it, stick it on the garage wall next to the water heater service tag.
Spring (late March through May)
- March – drainage and joint check. After the spring rains, walk the driveway and look for water pooling at the low corner. Clearing that drainage problem costs almost nothing compared to fixing it once the base washes out.
- April – deep clean. Use a light pressure washer pass only if needed (see the pressure rules below). Otherwise a stiff broom and a mild dish soap mix is enough. Pull any weeds from joints by hand, roots and all.
- Late April to mid-May – joint sand refill. Top off the joints with polymeric sand, then water it in per the bag instructions so it crusts and locks.
- May – reseal. If your three-year cycle lands this year, this is your window.
Summer (June through August)
- June – watch for ant activity. North Texas fire ants love a warm, sandy joint. Spot-treat any mounds with a bait that’s safe for concrete, not a spray that stains.
- Late July – early September – inspect for settling. When the clay shrinks after a dry summer, the base settles in ways that would otherwise take years. This is the crucial inspection window (detailed below).
- August – skip the reseal. Sealing over 100°F pavers is a wasted afternoon. Just clean and inspect.
Fall (September through November)
- October – leaf and organic cleanup. Wet oak leaves and acorn tannins stain unsealed concrete pavers. A quick sweep each weekend through October saves a scrub in November.
- November – post-rain inspection. Check the joints for any that have started to crumble. Note them for spring refill.
Winter (December through February)
- December – a light cleaning pass. North Texas rarely freezes deep enough to damage pavers, but the occasional hard freeze after rain can open a hairline crack in a joint.
- January – patch any popped pavers. If a single paver heaves, pull it, re-bed it on the base, and reset the joint sand before spring.
- February – order your spring supplies now. Polymeric sand and sealer stock get tight in April.
The Joint Sand Refill Schedule That Stops Weeds and Ants
Joint sand is the whole game. It’s the layer that keeps pavers from grinding against each other, it’s the surface that sheds water off the top instead of letting it soak into the bedding layer, and it’s the barrier that stops weed seeds and fire ants from reaching the sand underneath.
In cooler, wetter climates, a joint sand refill every three to five years is enough. In North Texas, it’s once a year, minimum. Our recommendation for Lewisville is a full refill every spring (mid-to-late April, right after the deep clean and right before a reseal), plus a spot visit in the fall if water has washed out any low corners during a heavy rain.
Why the schedule compresses here
The annual weather pattern in the DFW metro is the reason. Warm-season weeds germinate at the first sign of moisture after a mild winter, and fire ant colonies spread fast when the surface is warm enough for the queens to establish new mounds. Once you’ve got an established root system in a joint, no amount of polymeric sand will stop it. You’re pulling roots that go down through the sand and into the base.
How to refill joints the right way
- Clean all joints first. Any dirt in the joint keeps polymeric sand from bonding.
- Sweep the polymeric sand into the joints with a soft broom. Fill to about 1/8 inch below the paver surface, not flush.
- Compact the sand lightly with a hand tamper or a plate compactor set to low.
- Re-sweep. Joints settle after compaction, and you want them topped off.
- Water in with a fine mist per the manufacturer’s instructions. Don’t use a full-pressure blast – it blows sand out and leaves a cloudy crust on the pavers.
- Stay off it for 24 hours.
If a full day of joint work sounds like a Saturday you’d rather spend elsewhere, our crew does the annual joint-sand pass as part of routine maintenance. It’s one of the jobs where spending $150 to $300 a year with a professional beats spending $4,000 on a reinstall seven years down the road.
How to Inspect for Base Movement After the Summer Heat Cycle
This is the section most maintenance guides skip entirely, and it’s the one that matters most in Lewisville.
The clay soil under most older Lewisville driveways – and under a good chunk of the newer ones in neighborhoods off Valley Parkway, Main Street, and closer to Old Town – swells when wet and shrinks when dry. Across a full summer with forty straight days over 95°F and no meaningful rain, that shrink can pull the soil away from the base by half an inch or more. Then the first heavy fall rain fills that gap and the base layer settles into it. Over several years, that cycle shows up on the surface as a spiderweb of small hairline cracks, rocking pavers, or a subtle dip where water begins to pool.
What to look for in late August through early September
- Rocking pavers. Step on each paver in a grid pattern across the drive. Any paver that rocks underfoot has lost base support.
- Hairline cracks across multiple pavers in a connected line. This is the classic sign of base settling, not individual paver failure.
- Joint sand that keeps washing out after refill. If you refilled joints in spring and by August the gaps are empty again, water is moving through the base.
- Water pooling at a low corner. A 1/4 inch dip doesn’t sound like much, but water sitting through a Texas downpour can seep past joint sand and into the base.
- A visible vertical step where one section of driveway sits lower than another. That’s the one that most often means base repair, not a top-dress.
If two or more of those show up in the same season, don’t wait for the spring reseal. Get it evaluated while the ground is still dry and the fix is small.
One hard rule on this inspection: don’t try to “just lift it and re-bed it” on a bad paver that’s been washed out to the point the base is wet. If the base has lost compaction, pulling one paver and re-bedding it in the loose base layer makes the next failure worse. That’s a job for someone with a plate compactor and fresh base material.
Safe Cleaning Products vs. What Etches and Stains Pavers
Cleaning is where most homeowners accidentally damage pavers they’re trying to protect. The wrong product doesn’t show damage immediately – it shows up weeks or months later as a dull, etched, or discolored patch that no amount of scrubbing will fix.
Safe on concrete and clay pavers
- Dawn dish soap mixed with water (roughly 1/4 cup per gallon). Fine on everything.
- Simple Green or another mild alkaline degreaser. Good for tire marks and oil drops, dilute per label.
- Oxygen bleach (sodium percarbonate) for organic stains – algae, moss, leaf tannins. Follow the dilution on the label and rinse thoroughly.
- White vinegar diluted 50/50 with water for efflorescence or hard water spots. Short contact time only; rinse well after.
What permanently damages pavers
- Chlorine bleach, undiluted. Strong enough to strip the color from manufactured concrete pavers permanently.
- Muriatic acid. Sometimes used by contractors for efflorescence, but it can etch the surface of some pavers and discolor others. If you’re tempted to use it, call someone who knows what your pavers are made of first.
- Full-strength degreasers left to sit. Concrete pavers are porous at the surface, especially before sealing. A degreaser left on for 20 minutes can stain permanently.
- Pool shock (calcium hypochlorite). A common DIY paver cleaning trick online, and a common cause of bleached pavers. Skip it.
- Vinegar or acid in contact with polymeric sand. It dissolves the polymer binder, and the joint goes back to loose sand. Fine to spot-clean a stain, not fine to soak the whole driveway.
The one thing we’ve learned in Lewisville specifically: our water here runs moderately hard, and a strong vinegar or acid mix over hard water spots on unsealed pavers can set the mineral stain deeper. Try a soft rag and dish soap first. It handles about 80% of the spots we get called to look at.
The Pressure Washer Rules Nobody Tells You
Pressure washing is where well-meaning homeowners do most of their paver damage. Done correctly, it’s the fastest way to clean a driveway. Done incorrectly, it strips joint sand, gouges the paver surface, and drives water down into the base – which is exactly the chain reaction this whole guide is built to prevent.
The rules we follow
- Max 1,500 to 1,800 PSI on concrete pavers. Higher than that and you’re cutting into the surface. Clay pavers handle up to 2,500 PSI, but the joint sand still won’t survive more than about 1,500.
- Use a fan tip, never a 0-degree tip. The 0-degree tip cuts like a blade. It’s for cleaning steel, not concrete.
- Keep the wand moving, 6 to 8 inches away. Stopping in one spot creates visible streaks that don’t fade.
- Never pressure wash before joint sand has been topped off and settled. You’re just going to blow the existing sand out and compress the joint deeper.
- Never pressure wash a paver that’s already showing signs of base settling. Water will find its way down through the settled area and accelerate the failure.
- Don’t pressure wash if a reseal is less than six weeks away. Trapped moisture under fresh sealer shows as a white haze for months.
The bigger mistake we see is homeowners renting a heavy-duty pressure washer (2,800 to 3,000 PSI is common on the rental counter) and using it on a sealed paver driveway that needs only a rinse. On a broad fan tip the damage is limited, but on the narrow tip people reach for when a stain won’t come out, you can etch a permanent groove into the paver surface in about three seconds.
Year One vs. Year Five: What Changes as the Driveway Matures
A new paver driveway in Lewisville and a five-year-old paver driveway in Lewisville need different maintenance. Here’s the comparison we walk homeowners through.
Year one (and the first two years after a new install)
- No sealing in year one. New pavers need six to twelve months to dry out fully before sealant will cure properly. Some manufacturers say 60 days; in humid North Texas weather, we say give it a full season.
- Joint sand refill is minimal. The initial polymeric sand is fresh and curing. Expect one small top-off after the first full summer.
- Base settling of 1/8 to 1/4 inch is normal. Even a perfectly compacted base settles slightly in year one. Check in August but don’t panic.
- Weeds: maybe one or two spots. Fresh polymeric sand locks tight. If you’re seeing weeds in year one, the sand wasn’t installed correctly.
- Ants: uncommon. Fresh joints don’t attract them yet.
Year five (and every year past that)
- Full reseal due. Sealant breaks down at about the three-year mark in North Texas UV. Year five means either the second reseal already happened, or it’s overdue by twelve months.
- Full joint sand refill every spring. New polymeric sand in spring, spot fill in fall if needed.
- Annual base inspection is essential. The clay shrink-swell cycle has had five years to work its way into weaknesses. This is the year base repair starts showing up in small patches, not whole driveways.
- Efflorescence – the white, chalky mineral bloom that shows up on some concrete pavers – often first appears in year five or six. It’s cosmetic, cleanable, and one of the reasons a good seal matters.
- Individual paver replacement: one or two a year is normal in our experience. Not a sign of a failing driveway.
Our Groundwork Construction Co. of Lewisville home team installs pavers from a curated brand list that includes Boral and Belgard, and we walk every homeowner through the year-one versus year-five maintenance reality before installation. You’ll know what to expect, when to expect it, and what it’ll cost.
Drainage and Grade Checks in a Clay-Soil Market
Good drainage is the invisible maintenance task. You can’t see it, you don’t think about it, and it’s the reason half of the paver failures we get called out to inspect actually fail. In Lewisville, drainage concerns get worse every year because the clay base under most of the older neighborhoods holds water like a bathtub.
Where drainage fails first
- At the apron where the driveway meets the street. This is where water enters and where erosion of the base starts. Check the joint every spring and fall.
- Along the edge closest to the house. If the driveway slopes toward the house instead of away, you have water moving into the base, and eventually into the foundation.
- In the middle, when the base has settled. A subtle dip in the center means water pools there and slowly seeps down through the joint sand.
- At low corners near a downspout. Making sure the downspout doesn’t dump water onto the driveway edge is one of the simplest fixes. A four-foot extension gets you most of the way there.
What good grade looks like
A properly installed paver driveway slopes away from the house at a minimum of 1/8 inch per foot, and toward the street or a drainage channel at 1/4 inch per foot. If you pour a bucket of water on the pavers and it pools anywhere instead of running off, the grade has moved. Chapter 7 of the Lewisville property maintenance code also requires stormwater to be managed on-site rather than directed onto a neighbor – a landscaper or a paver contractor can confirm where your drive is sending water before it becomes a code issue.
Drainage correction isn’t a DIY project. Fixing improper grade on a paver driveway typically means pulling pavers, re-grading the base, recompacting, and resetting. That’s a two to four day job for a crew with the right equipment. If you’re already planning other outdoor work this year, our Fence Installation in Lewisville team checks grade and drainage along shared property lines while they’re at it, which catches a lot of problems before they reach the foundation.
Common Mistakes to Avoid
- Sealing in the fall. Cool nights and heavy dew make fall-sealed pavers cure unevenly in North Texas. Wait for spring.
- Applying sealer to damp pavers. A common cause of the white haze. If you can see moisture in the joint, don’t seal.
- Pressure washing a driveway without a joint sand plan. Blows out a full year of joint sand in about 10 minutes and forces an emergency refill.
- Using muriatic acid on unknown concrete pavers. In expensive installations – particularly in the newer custom homes near Castle Hills and Vista Ridge – a strong acid can permanently discolor a paver manufacturer’s surface treatment.
- Removing weeds with a metal hoe or weeder. It gouges the joint channel and gives the weed a wider, easier space to grow back into.
- Re-bedding a single rocking paver without fixing the base. If the base has lost compaction, the repaired paver will be rocking again within a season or two.
- Assuming one reseal is all the protection you need. Sealant degrades in about three years in DFW UV. Assuming it lasts five or seven is the most common reason we see for base and joint failures in year six or seven.
See the difference
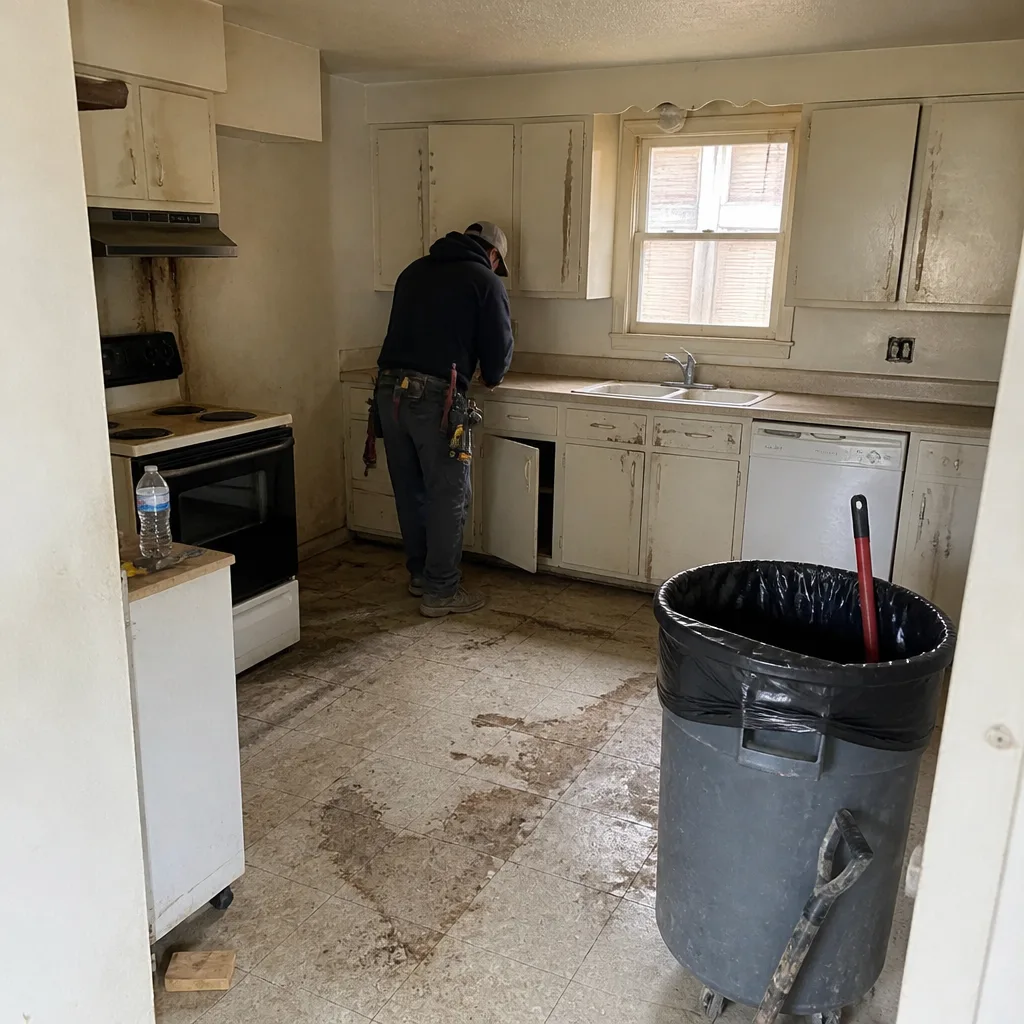 Before
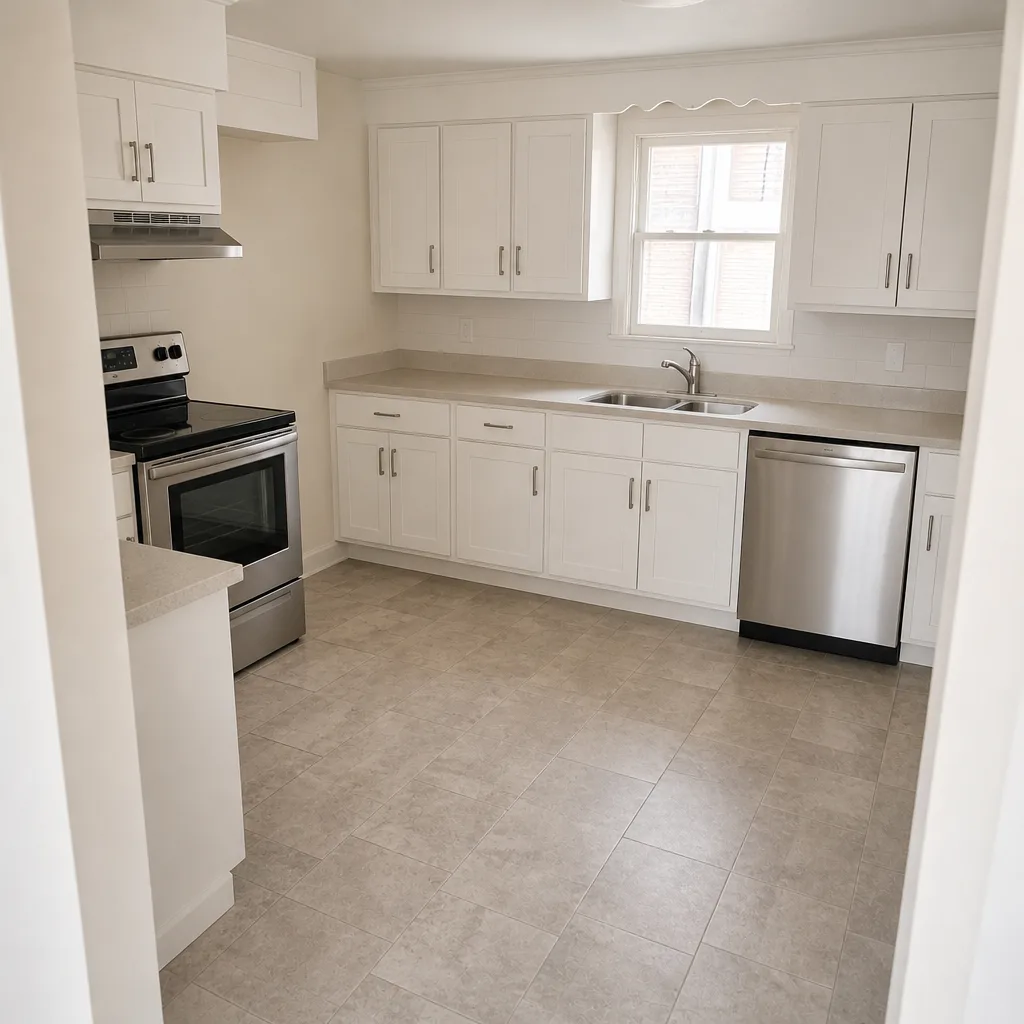 After
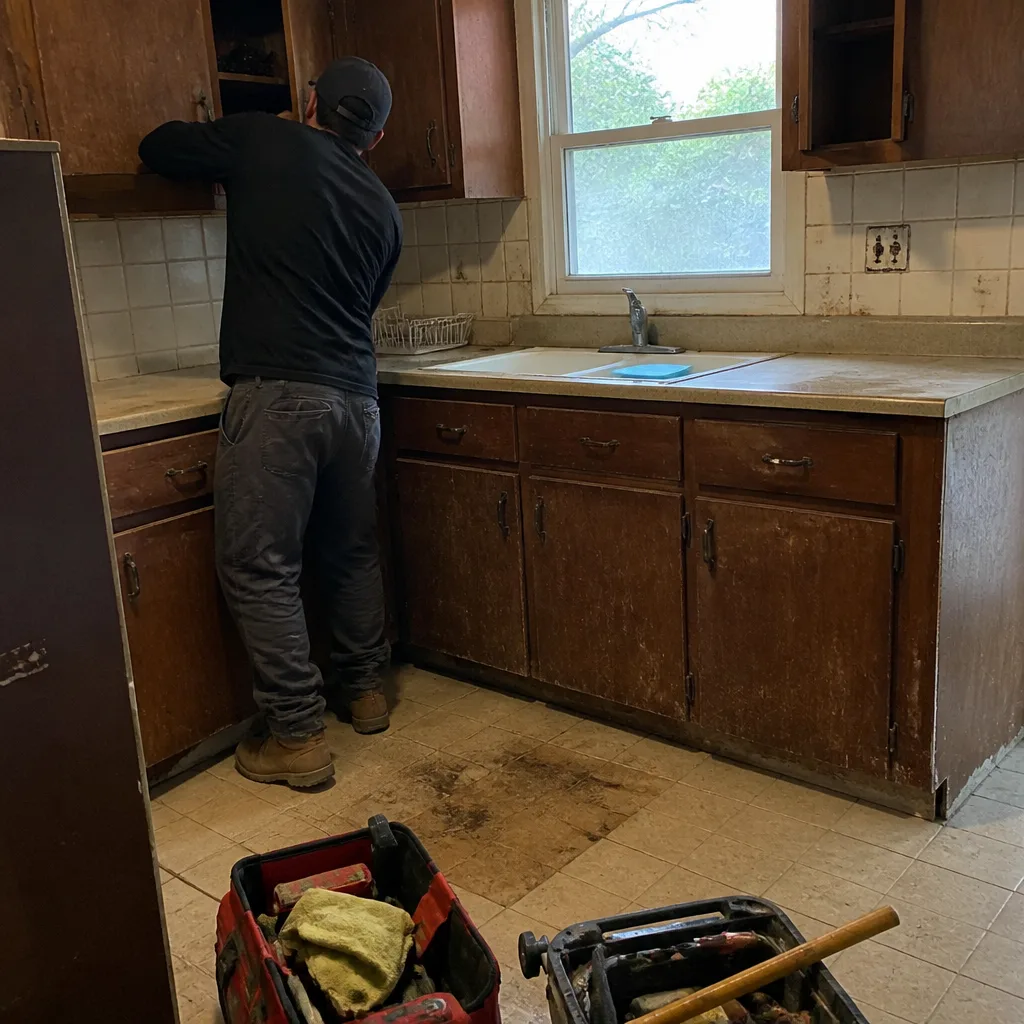 Before
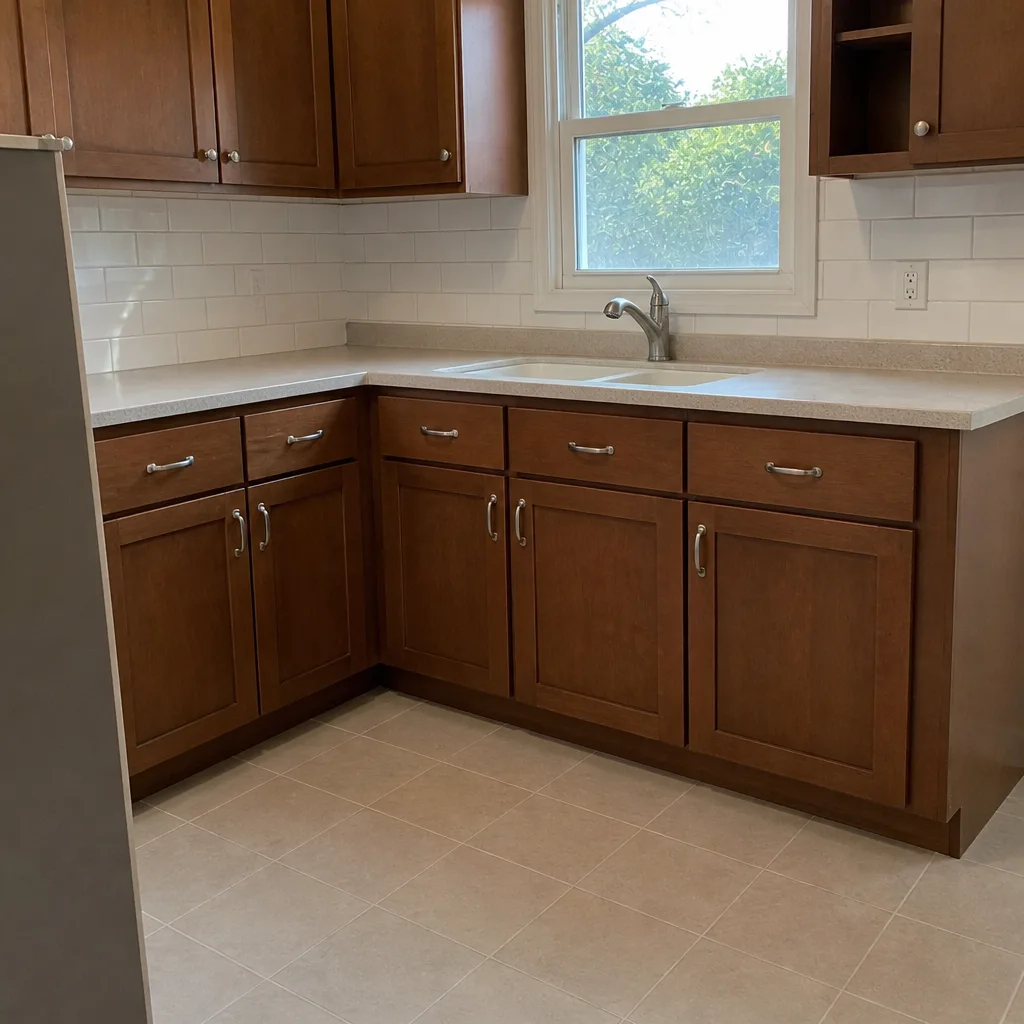 After
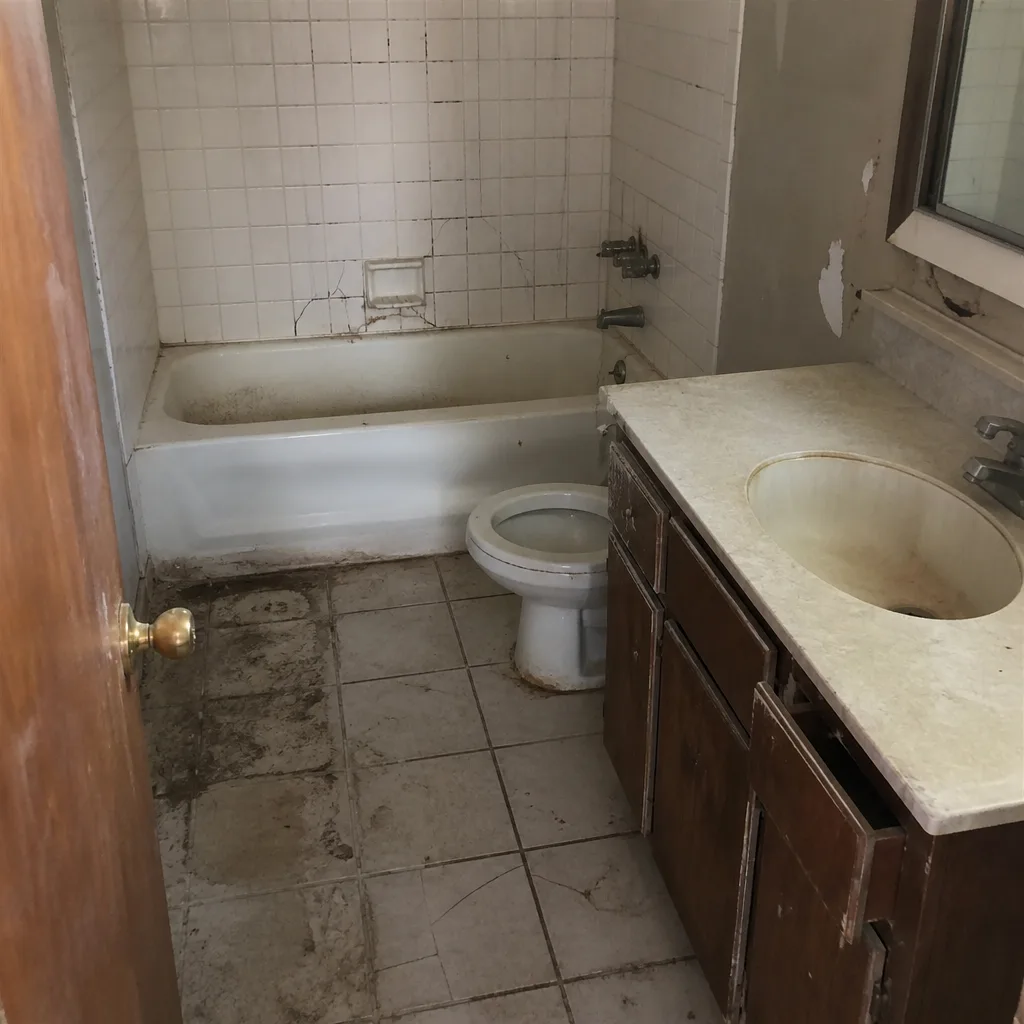 Before
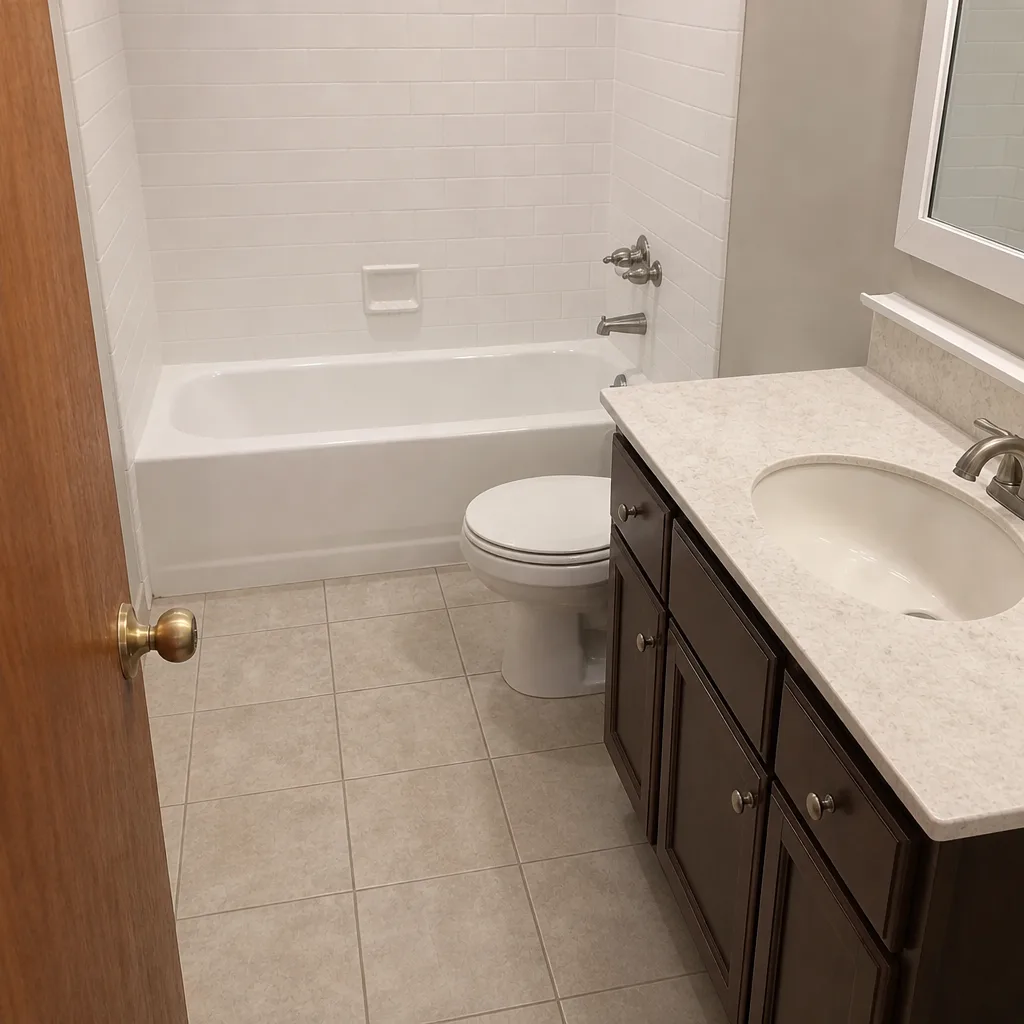 After
When to Call a Professional
Most of the annual schedule is DIY-able. Some of it isn’t. Call a professional when any of these show up:
- Two or more pavers are rocking, or a visible step has developed between sections of the drive.
- Water pools anywhere on the driveway after a heavy rain, or the low spot has grown over the last two seasons.
- Hairline cracks have appeared in a connected line across multiple pavers.
- Joint sand doesn’t hold past a few weeks after a refill.
- The driveway grades toward the house instead of away.
- A paver has heaved or cracked and you can’t reset it without breaking it.
Some fixes – a bad paver, a filled joint – really are a Saturday afternoon. Anything involving base movement, grading, or full reseal is where the short-term DIY savings tends to eat the long-term value of the driveway. If the driveway was installed by Groundwork Construction Co. of Lewisville, workmanship is backed by the 730-Day Done Right Promise. If it’s not done right, we make it right. Free estimates in Lewisville: call (844) 560-4467. Live person, 24/7, and upfront pricing with no surprises.
Frequently Asked Questions
Every two to three years, and the best application window is mid-April through May, before the temperature climbs past 85°F. In our North Texas climate with intense summer UV, sealer breaks down faster than in cooler climates, so three years is the realistic ceiling. Call (844) 560-4467 for a free seal inspection – we’ll tell you if you’re due, not if you’re not.
You can, but you shouldn’t. Fall sealer applications in North Texas run into the same problem: cool overnight temperatures slow the cure, and a single dew event or October shower leaves cloudy patches and weak adhesion. Spring is more forgiving, gives the sealer a full summer to cure hard, and protects through the heaviest rain months (February through May). Wait for spring.
A full polymeric sand refill once a year in spring, plus a spot check in fall after the rainy stretch. That’s a faster cycle than the 3-5 year schedules you’ll read on national maintenance pages, but warm, humid springs here germinate weeds and colonize ants quickly enough that a lighter schedule lets the joint fail. A $50 bag of polymeric sand every spring is the cheapest insurance on a paver driveway.
Rocking pavers, connected hairline cracks, joint sand that won’t stay put, and water pooling at a low corner are the four signs. If two or more of those show up in the same season, get it evaluated – the fix is small before the base washes out and expensive after. In Lewisville specifically, the late-summer clay shrinkage makes August and early September the best inspection window of the year.
Yes, with limits: 1,500 to 1,800 PSI on concrete pavers, 2,500 max on clay pavers, a wide fan tip, and never a 0-degree tip. Most rental pressure washers push 2,800 to 3,000 PSI, which is enough to strip joint sand and streak the pavers. If you’re not sure about your machine or the driveway has any signs of base movement, don’t pressure wash it – call us first at (844) 560-4467.
A well-maintained paver driveway typically lasts 25 to 50 years depending on base prep, paver material, and maintenance discipline. A poured concrete driveway typically runs 25 to 30 years before major cracking, and repairs are patch jobs that always show. Pavers win on lifespan, largely because individual pavers can be replaced without a redo. If you’re considering a replacement or new install, plan for the maintenance schedule from day one – a paver driveway without maintenance is no better than a concrete one. Call (844) 560-4467 for a free estimate on a new installation or full renovation of an aging driveway.
The Bottom Line
Paver failures aren’t random. They follow the same sequence every time: joint sand erodes, weeds establish, water enters the base, and the base settles. Break that sequence with one reliable habit and the driveway lasts decades. In Lewisville, the habit is: a spring joint sand refill in April, a reseal in May every two to three years, and a late-summer inspection after the clay shrink hits its worst. Total DIY cost runs about $300 to $500 a year; the saved reinstall runs $3,000 to $5,000. And if the driveway is ready for a bigger project – full replacement, drainage re-grade, or an expansion – our team at Home Additions & ADU in Lewisville handles the same outdoor scope with the materials and workmanship the paver drive sits next to. Call (844) 560-4467 for a free estimate and design consult. 0% financing for 18 months, $1,000 off projects over $10,000, and a 730-Day Done Right Promise on all work.
Written by the team at Groundwork Construction Co. of Lewisville.