Last updated November 18, 2026








Free written scope consultation - allowances, timeline, and change-order rules on paper before a single trade is scheduled
Bathroom Remodeling Troubleshooting: Common Problems and How to Fix Them
If your grout is cracking within 12 months of installation, there is a 90% chance the problem is substrate movement, not grout quality. That matters because the substrate issue was visible during installation to anyone who knew that tile can’t be set directly over drywall in a wet zone. Homeowners across Lewisville call us after spending money on premium tile and a more expensive exhaust fan, only to watch the same failures return. This guide traces five common bathroom failures back to their actual causes, separates surface fixes from structural ones, and gives you the diagnostic map to know which is which before you spend another dollar.
Quick Answer
Most bathroom remodel failures come from installation method problems, not material quality. Cracking grout usually means the substrate flexes under the tile. Caulk separation at corners means the wrong sealant was used at a plane change. Water under tile points to a shower pan that was never pre-sloped before the tile went down. Fixing these correctly means repairing what’s underneath, not just smearing new sealant over the symptom. Surface repairs buy time; substrate repairs solve the problem.
Styles & brands we work with
- Kitchen remodeling
- Bathroom remodeling
- Home additions & ADU
- Roofing
- Windows & doors
- Driveway & pavers
- Fence
Table of Contents
- The Symptom-to-Cause Diagnostic Map
- Why Your Grout Is Cracking (and Why Better Grout Won’t Help)
- Caulk Separation: Why Corners and Plane Changes Fail
- Water Under Tile: Testing a Shower Pan That Wasn’t Pre-Sloped
- Exhaust Fan Condensation Dripping: Sizing and Venting Failures
- Door and Drawer Alignment Problems After a Remodel
- Low Water Pressure After a Remodel: Diagnosis and Fixes
- Surface Repair vs. Opening the Wall: Know the Difference
The Symptom-to-Cause Diagnostic Map
Start here. Before you call anyone or pick up a tube of caulk, match what you’re seeing to what’s actually happening. Five failures account for nearly every callback we field on bathroom work in Lewisville, and each one traces to a specific installation decision made during the build.
- Cracking grout along tile joints – substrate flex or missing movement joints, almost never a grout product failure.
- Caulk pulling away at inside corners or where the wall meets the tub deck – grout was used at a plane change where flexible sealant belonged, or the seam was caulked over a moving joint without backer.
- Water under the tile or a persistently damp shower floor – shower pan was set flat without pre-slope, so water pools and can’t reach the drain weep holes.
- Condensation dripping from the exhaust fan or streaks on the ceiling – fan undersized for the cubic footage, vented into the attic instead of outside, or ducted with a sag that traps moisture.
- Cabinet doors and drawers out of alignment weeks or months after install – wall framing out of plane, cabinets shimmed wrong, or hinges that were never adjusted after the drywall settled.
Each symptom below gets a full section. If you’re reading this before a remodel, use the map in reverse: it’s the checklist of installation decisions that determine whether your bathroom in Lewisville holds up through North Texas summers and the humidity swings that come with them.
Why these failures cluster in North Texas
Lewisville sits in a climate that swings from humid spring months to dry, hot summers. The expansion and contraction this puts on wall assemblies works loose joints and accelerates any flexibility problem in a tile substrate. We also see plenty of homes where a previous remodel was done quickly, with tile set over the original greenboard because pulling the wall felt like extra work. That shortcut is durable for about a year. After that, the grout tells the truth.
Why Your Grout Is Cracking (and Why Better Grout Won’t Help)
Cracking grout is a symptom, not a material fault. Grout is brittle by design. It holds up to compression but not to movement, and if the assembly under the tile flexes even a fraction of an inch, the grout on top will fail first. Buying an expensive epoxy grout won’t fix a floor that deflects when you step on it or a wall that isn’t fastened to studs at the right spacing.
The three real causes
- Insufficient subfloor thickness or joist deflection. Tile floors need a substrate stiff enough that a person walking on it can’t flex the assembly. If the subfloor under the bathroom in your Lewisville home was left at its original plywood thickness with no backer or membrane layer, the tile takes the load directly and the grout cracks along the stress lines.
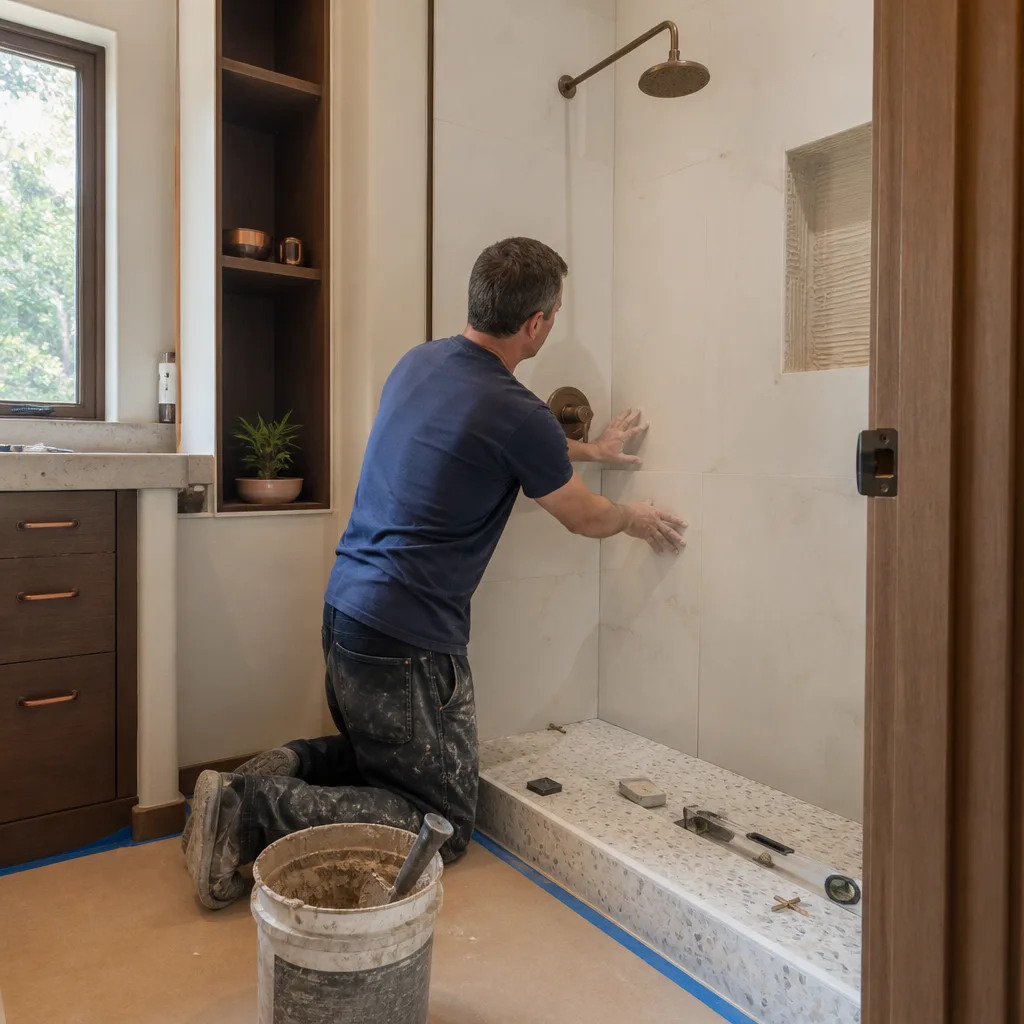
- Tile set directly over drywall in a wet zone. Drywall softens and deforms with moisture. Tile bonded to it has nothing stable to grip, and as the paper face degrades, the tile loosens and the grout opens up. Cement backer board or a bonded waterproof membrane belongs behind every tile in a shower.
- Missing movement joints. Tile assemblies need clearance at perimeter edges, plane changes, and any span over 8 to 12 feet. Without those joints, the assembly expands into itself and cracks.
How to tell which one you have
Tap the tile around the cracked grout with the handle of a screwdriver. A hollow, flat sound means the tile has debonded, which points to the substrate. A solid sound with cracks that re-form after regrouting points to movement underneath the assembly. Cracks that reappear within weeks of a regrout are the clearest sign that cosmetic repair is not going to hold.
What the fix actually requires
If the substrate is the problem, the tile has to come up to address it. That means adding rigidity, installing an uncoupling or waterproofing membrane, and resetting the tile. It’s real work, but it’s the only repair that lasts. Regrouting a moving floor is a seasonal chore disguised as a fix.
Caulk Separation: Why Corners and Plane Changes Fail
Caulk separates at inside corners because grout was used there, or the sealant was the wrong type applied to the wrong joint. This is the most misunderstood failure in bathroom work. Grout in a corner looks clean for the first few months, then it cracks. The installer who grouts corners is signaling a misunderstanding of how tile assemblies move.
The rule: caulk every plane change
Any joint where two planes meet at an angle is a movement joint. Inside corners of a shower. The line where wall tile meets the tub deck. The vertical corner where two walls come together. That’s where flexible sealant belongs. Grout is for flat fields between tiles on the same plane. This rule applies to every tile installation, whether the tile is a $2 ceramic or a $20 porcelain, and it’s the same in Lewisville as anywhere else.
How to tell if the original installer made the distinction
- Look at the inside corner directly. If it’s hard and matches the grout color, it’s grout and it’s wrong.
- Pick at a small section with a plastic scraper. Grout chips off in chunks; sealant peels or stretches.
- Check whether the failed seam shows a clean line or a messy one. Caulk over a joint that’s still moving will separate in a ragged pattern as it tears. Grout fails in clean, straight cracks.
The right repair method
Cut out the old material completely, don’t caulk over it. Pack the joint with backer rod if it’s wide enough to need it, then run a flexible sealant rated for wet areas. Silicone or a hybrid sealant made for tile joints both work. Let it cure fully before exposing it to water, and expect to redo it eventually, because sealant in a wet shower is a maintenance item. That’s normal. Grout in a corner is not.
Water Under Tile: Testing a Shower Pan That Wasn’t Pre-Sloped
A shower pan without a pre-slope traps water under the tile permanently. This is one of the more expensive problems we find on inspection in Lewisville, because it’s invisible until the damage is severe. Here’s how it happens: the waterproof liner goes down flat on the subfloor, the mud bed is built on top of it with slope, and the tile is set on the mud bed. Water that gets past the grout and tile hits the liner, which has no slope, so it spreads and sits. The weep holes at the drain can’t pull water out of a puddle that’s not moving toward them.
How to test without tearing anything out
- Plug the drain and fill the pan with an inch of water. Mark the water line with tape. Wait 24 hours.
- Check the level. If it drops, the pan leaks. If it holds, the liner is intact but may still be flat.
- Press a folded towel into the shower floor near the edges and leave it overnight. If the floor feels damp long after the shower has dried, water is sitting under the tile.
- Look for efflorescence or a white haze on the grout lines near the perimeter of the shower floor. That’s mineral migration from water moving up through the assembly, and it’s a strong sign of a flat pan.
- Check the curb and the wall base for soft drywall or bubbling paint on the other side of the shower wall. Water migrating out of a flat pan shows up outside before it shows up inside.
What remediation actually requires
There’s no surface fix for a flat shower pan. The tile, the mud bed, and the liner have to come out so the liner can be replaced over a pre-sloped base. That’s a full shower rebuild, not a patch. It’s the kind of work where we frequently hear from homeowners who spent two years treating the symptom with sealant before deciding to fix the cause. If you’re planning a bathroom remodel or you’re at the point of a shower replacement in Lewisville, get it done once, done right, and covered by a written warranty. Groundwork Construction Co. backs all bathroom projects with a 730-Day Done Right Promise.
Exhaust Fan Condensation Dripping: Sizing and Venting Failures
A fan that drips is usually too weak for the bathroom it serves, or it’s sending humid air somewhere it can’t escape. Both problems are installation errors, and both are common. The cheap fan isn’t the culprit; the wrong fan for the room is.
Sizing the fan to the room
Standard guidance calls for about 1 CFM of airflow per square foot of bathroom floor area, with a minimum around 50 CFM for any bathroom. A 5-foot by 8-foot hall bath needs roughly 40 to 50 CFM. A primary bath with a separate tub and shower in a Lewisville home often tops 100 square feet and needs a 100+ CFM fan. Drop a 50 CFM builder-grade fan into a 120-square-foot bath and the steam never clears. It condenses on the grille, on the ceiling, and eventually in the duct.
Venting failures that cause drips
- Vented into the attic instead of outside. This is the single most common venting mistake. Attic air gets saturated, and the moisture comes back down into the bathroom ceiling.
- Long runs with a sag. Flexible duct with a low spot becomes a trap. Condensation collects at the low point and eventually drips back through the fan.
- Improper termination. A vent that terminates low on a roof, under shingles, or near an attic intake can pull the same humid air back into the house.
- No insulation on the duct run. Cool attic air meets warm humid duct air and the duct sweats. Insulated duct solves it.
The diagnosis and repair sequence
- Measure the bathroom floor area and verify the CFM rating on the fan’s label.
- Go into the attic or the space above the bathroom and trace the duct from fan to termination.
- Confirm the duct terminates outside the building envelope, ideally through the roof or a gable-end wall.
- Check for sag, kinks, or long flex runs. Straight, hard-ducted, insulated runs are the gold standard.
- If the fan is undersized, replace it with the correct CFM and a properly engineered duct run at the same time.
Roof penetrations are one of the trades that overlap here. If the fan terminates through the roof, the flashing detail is roof work, not bath work. Our crews coordinate that with trusted roofing partners who use materials from Owens Corning and similar manufacturers rated for the same lifespan as the rest of the assembly. Cutting a hole in a North Texas roof is not a task for improvisation.
Door and Drawer Alignment Problems After a Remodel
Cabinet doors and drawers that drift out of alignment weeks after a remodel are usually a framing or install problem, not a cabinet defect. Brand-name cabinetry holds its shape. What fails is the wall the cabinets are hung on, or the shimming underneath them.
Why alignment shifts after install
- Wall framing out of plane. In older Lewisville homes, wall studs can be off by half an inch or more. If the installer shimmed the cabinets flush but didn’t account for the bow, the box gets stressed and the doors sag.
- Settlement. A newly refinished room moves a little in its first few months as lumber and drywall compound finish curing. Doors that were perfect at install can settle slightly by month three.
- Hinge adjustment never done. European hinges have adjustment screws, and a fresh install needs a final alignment pass. If it was skipped, the doors were never right.
- Drawer glides out of square. Tracks installed at a slight angle, or one screw hitting a knot, will cause a drawer to bind and look off.
The homeowner-level fix
- Open the cabinet door and identify the hinge type. Most modern cabinetry uses adjustable hinges with two or three screws per hinge.
- A quarter turn on the adjustment screws at a time, close the door, and check alignment. Small moves.
- For drawers, pull the drawer out and look at whether the glides are level. A 1/8-inch shim behind one side is often enough.
- If two doors touch or the gap changes when the weather shifts, that’s a wall movement pattern and needs a contractor evaluation.
KraftMaid cabinetry in a bathroom vanity holds alignment when the install behind it is right. If your cabinets are named-brand and still not behaving, the fix is behind the cabinet, not in it.
Low Water Pressure After a Remodel: Diagnosis and Fixes
Low water pressure after a bathroom remodel is nearly always one of three things: a supply valve that wasn’t opened fully, a flow restrictor in a new fixture, or a rough-in connection that got partially blocked during construction. The first two are homeowner-fixable. The third needs a licensed plumber.
Step-by-step diagnosis
- Check the fixture first. If only the new shower head is weak, and the sink is fine, the problem is local to the shower.
- Unscrew the aerator on the sink faucet. Construction debris in the screen is common after remodel. Rinse and reinstall.
- Check the flow restrictor. New shower heads and faucets ship with a restrictor, usually 2.0 GPM or lower. If the pressure feels noticeably weak, the restrictor may be installed at an angle or clogged.
- Trace the shut-off valves. Under every sink there are angle stops. Make sure each is open all the way. New installs sometimes leave them partly closed.
- Compare hot and cold. If hot is weak and cold is strong, the issue is in the hot supply line, often a clogged cartridge or a partially closed valve at the water heater.
- Check the cartridge in the new shower valve. Sediment from construction can lodge in the cartridge screen. Some cartridges can be pulled and cleaned without a plumber; others need one.
Homeowner-fixable vs. plumber territory
Aerator cleaning, flow restrictor checks, and angle stops are homeowner work. Cartridge replacement depends on the valve brand and how accessible it is. PEX or copper rough-in connections that were crimped or kinked during construction require a licensed plumber, and so does anything that means opening the wall behind the shower valve. In Lewisville, plumbing rough-in has to pass local inspection, and if the work was done without a permit originally, that’s the first thing to address before you touch anything.
Surface Repair vs. Opening the Wall: Know the Difference
The most expensive mistake homeowners make is putting cosmetic fixes on structural problems, then paying for the same fix twice. Here’s the filter we use on every callback.
Problems that are usually surface-level repairs
- Caulk separation at corners (if the joint itself is stable).
- Isolated grout cracks that haven’t reappeared after a regrout.
- Cabinet hinges out of alignment on a flat, level wall.
- Flow restrictor and aerator issues.
- Faucet cartridges and angle stops.
Problems that require opening the wall or floor
- Grout that cracks again within 60 days of a regrout. Substrate is moving.
- Water under tile with a confirmed flat shower pan.
- Soft drywall or bubbling paint on the wall opposite the shower.
- Cracks that span multiple tile fields or follow a straight line across the floor.
- Low water pressure isolated to one fixture after the fixture itself has been checked.
- Any sign of mold on the back side of a wall that shares plumbing.
Cost signals that tell you which you’re in
A surface-level regrout or recaulk in Lewisville typically runs a few hundred dollars. A shower pan rebuild with new liner, pre-slope, tile, and waterproofing runs thousands, and it’s the kind of job that includes tile removal, rough-in inspection, and re-waterproofing before a single tile gets set. If a repair quote is much lower than the scope warrants, ask what’s being skipped. Find out whether the liner is being replaced, whether the pre-slope is being built, and whether the permit is being pulled. The answer tells you whether the fix will hold.
For a broader look at what full-scope work looks like when it’s planned properly from the start, see our Groundwork Construction Co. of Lewisville home page. Bathrooms anchor to a lot of other home work. If the outside of the house needs attention at the same time, our Driveway & Pavers in Lewisville and Fence Installation in Lewisville teams coordinate on schedule so the whole project runs on one calendar. Bathroom remodels that add square footage or bump a wall out into an adjacent closet often pair with a Home Additions & ADU in Lewisville project.
Common Mistakes to Avoid
- Regrouting without checking for movement. If the tile flexes when you step on it, the regrout will fail in weeks. Test the substrate first.
- Caulking over old caulk or grout. Sealant won’t bond to loose material, and the new layer separates faster than the old one did. Cut it out completely.
- Buying a bigger fan without checking the duct. A 150 CFM fan stuffed into an uninsulated, sagging 3-inch flex duct still drips. Fix the run first or do both together.
- Ignoring the overflow drain and weep holes. On a new shower pan, these are the drainage path. If they’re plugged with thinset or grout, the pan holds water no matter how well everything else was done.
- Choosing tile before choosing the substrate system. Here in Lewisville, the substrate decision drives tile longevity far more than the tile itself. Match the assembly to the room, then pick the tile.
- Skipping permits on bathroom work. Lewisville code requires permits for most plumbing and electrical work in a remodel, and inspections catch rough-in errors before tile covers them. Unpermitted work becomes a disclosure problem at resale.
- Assuming brand-name cabinets solve alignment problems. Cabinets are straight when they leave the factory. The wall and shimming determine whether they stay that way.
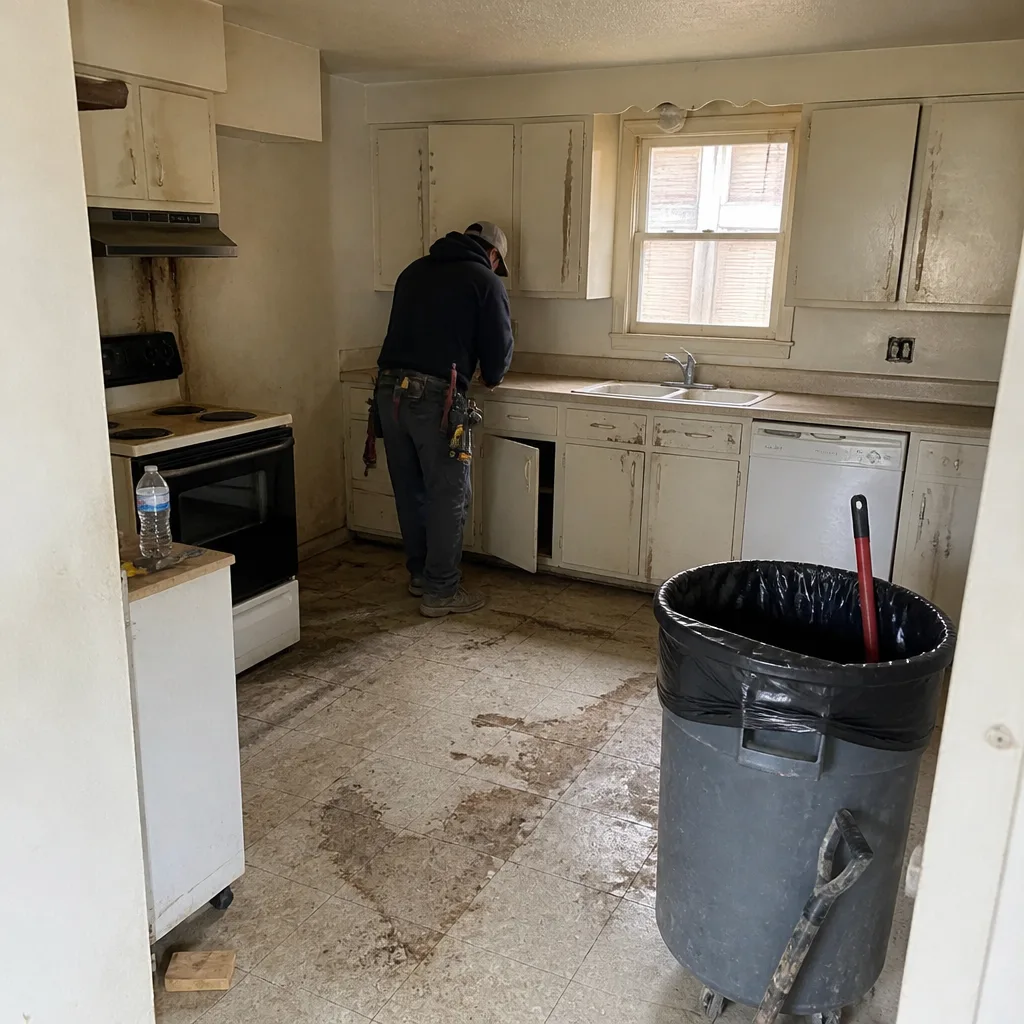
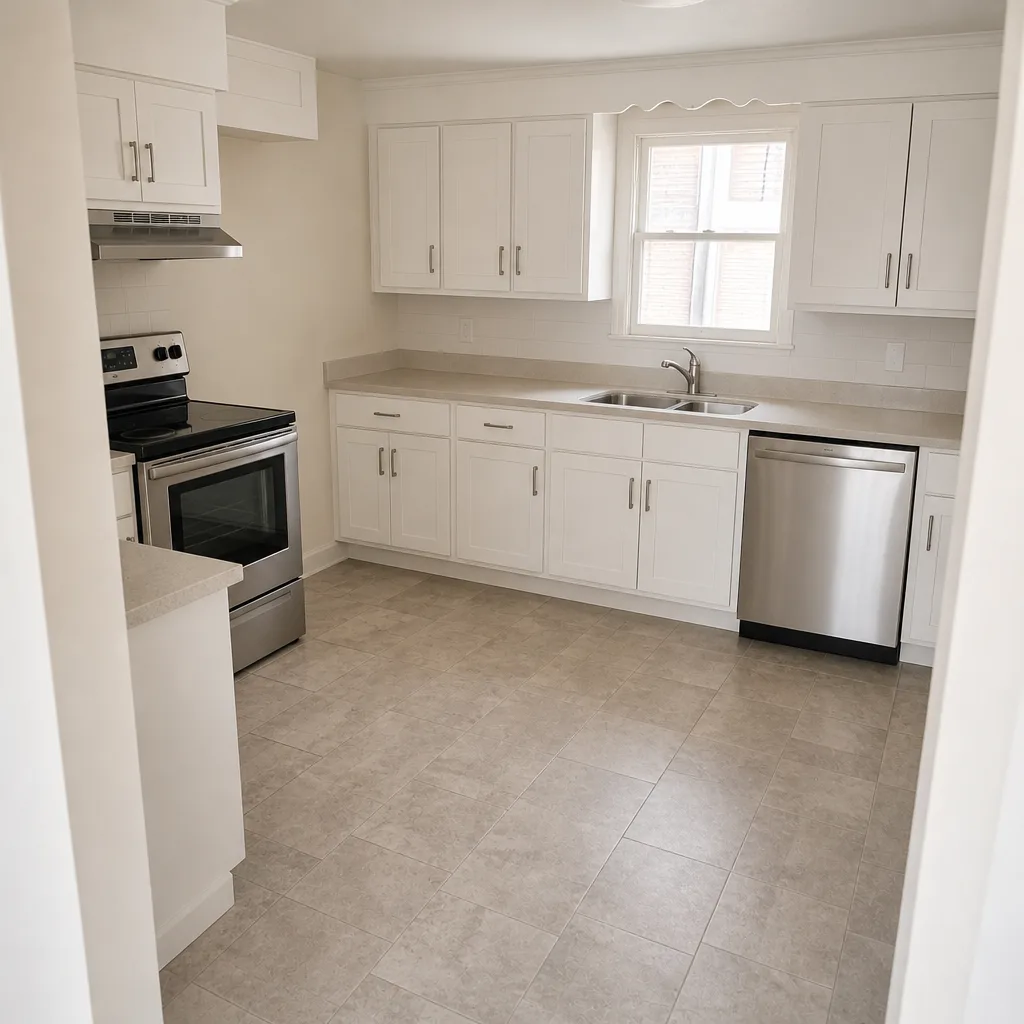
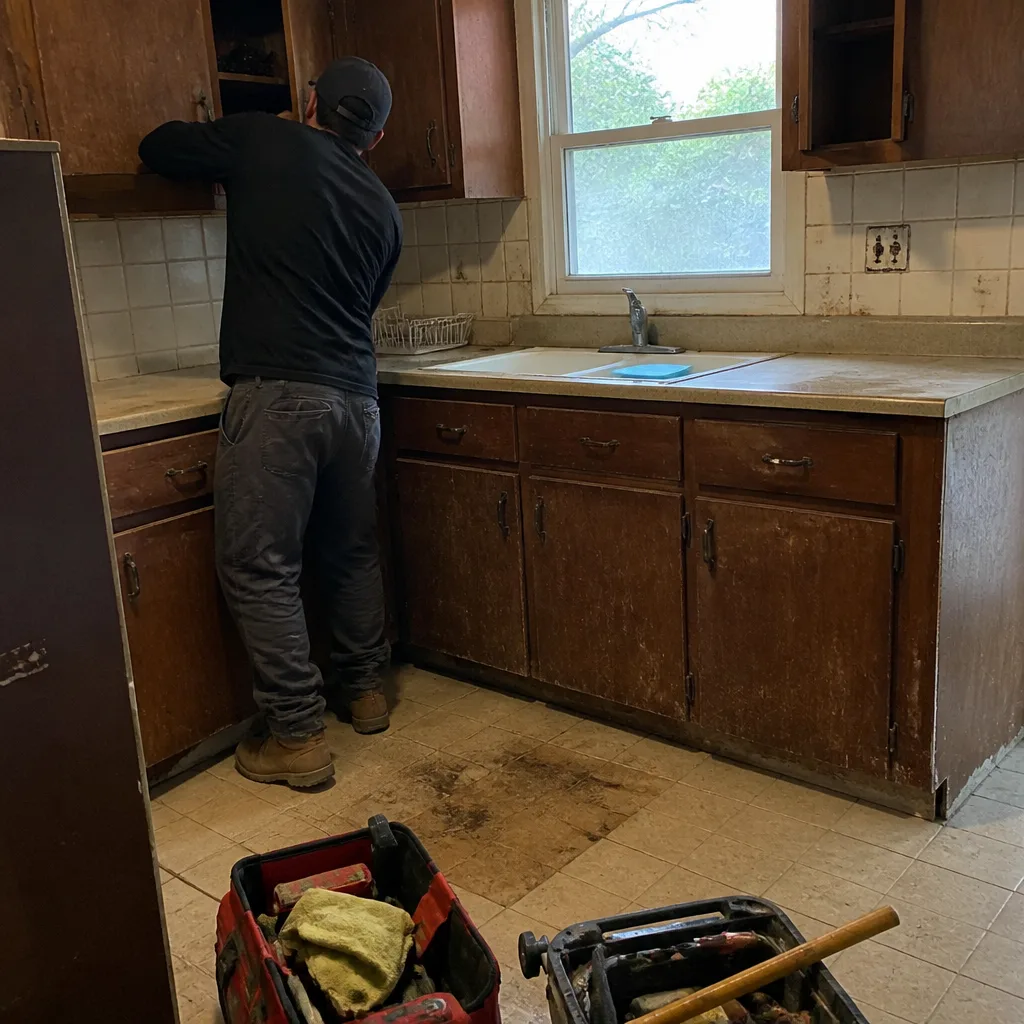
See the difference
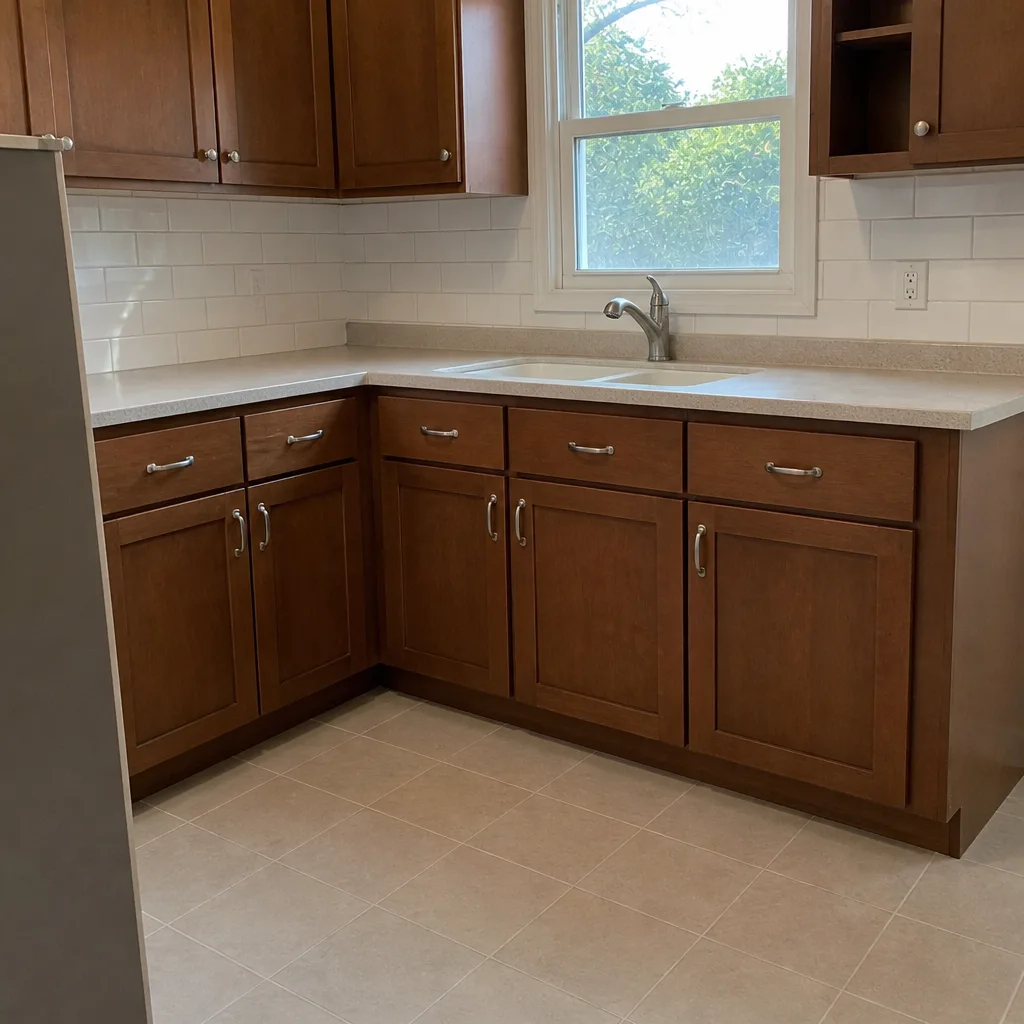
 Before
 After
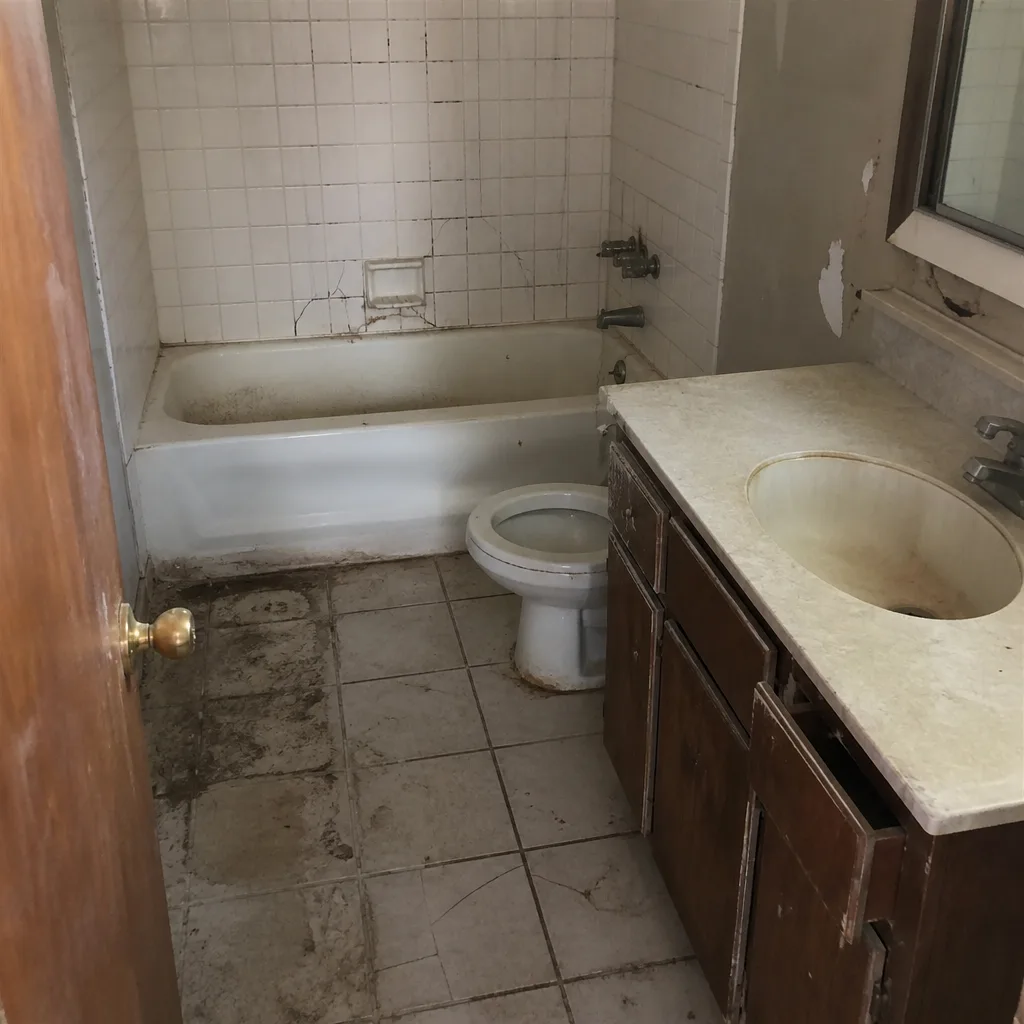
 Before
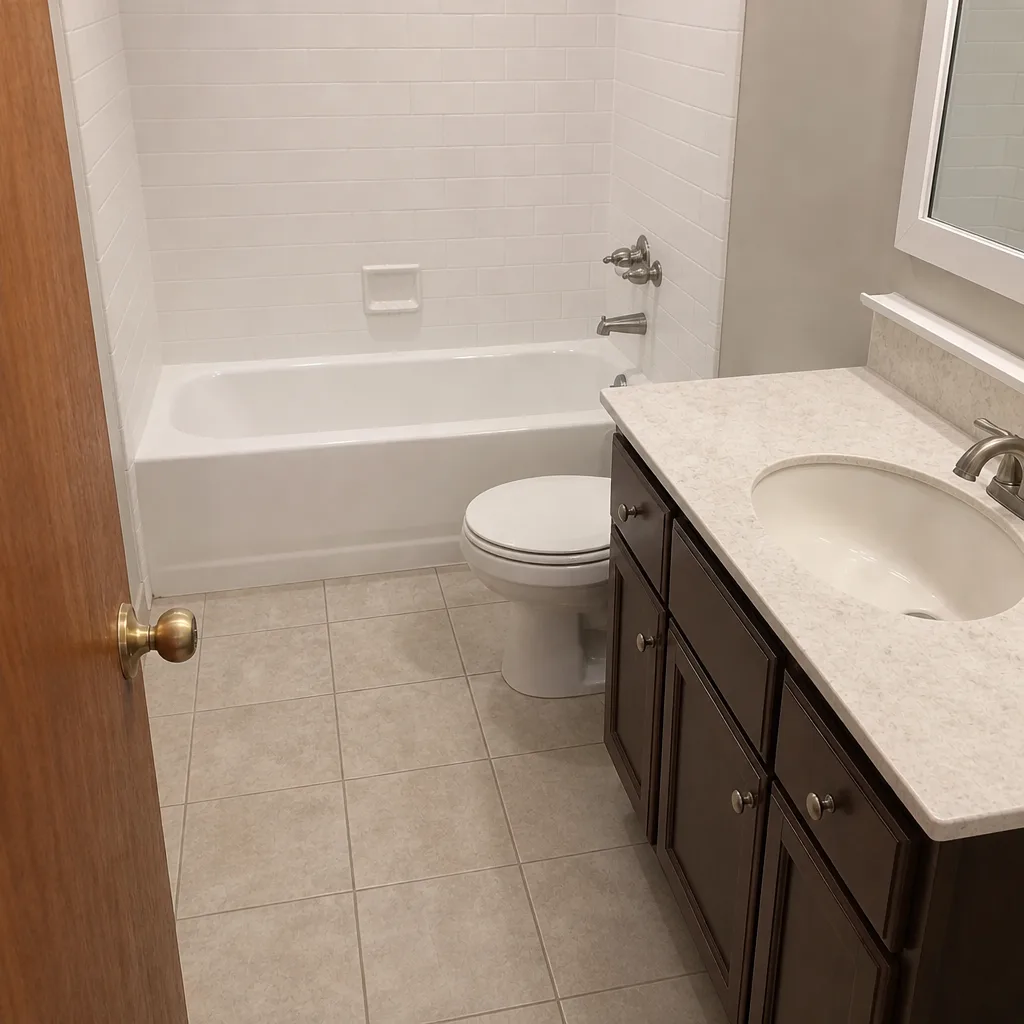
 After
 Before
 After
When to Call a Professional
Call a professional when water is showing up where it shouldn’t, when tile is moving underfoot, when the wall on the far side of the shower feels soft, or when a regrout has already failed once. Those are the signals that the problem is under the surface and no amount of sealant will fix it. Shower pan rebuilds, substrate replacement, exhaust fan venting through the roof, and plumbing rough-in corrections all fall into licensed-work territory. Groundwork Construction Co. of Lewisville offers free estimates in Lewisville, and every bathroom project starts with a written, line-item quote and a design consult so the scope is clear before anyone picks up a tool. Call (844) 560-4467 to schedule. Our technicians have up to 12 years of experience on bathroom work, and every job is covered by the 730-Day Done Right Promise.
Frequently Asked Questions
A grout or caulk repair on a shower that’s holding water typically runs a few hundred dollars; a full shower pan rebuild runs into the low thousands because it includes tile removal, liner replacement, pre-slope, waterproofing, and inspection. The distinction is whether the substrate is intact. If the pan was never pre-sloped, the surface repair is money wasted. Call (844) 560-4467 for an exact quote; estimates are free.
Because the grout isn’t the problem. Cracks that return within 30 to 60 days of a regrout point to movement in the substrate or a missing movement joint, not bad grout. Fixing it means looking under the tile. A contractor with bathroom experience can diagnose the substrate without removing more than a single tile.
No. Sealant won’t bond to grout and will pull away within months. The correct fix is to cut the grout out, back it with foam if needed, and apply a flexible sealant rated for wet areas. Grout doesn’t belong in any inside corner or plane change.
Start with the square footage. A 5-by-8 bathroom needs roughly 40 to 50 CFM; a primary bath over 100 square feet needs 100 CFM or more. If your mirror fogs within a minute of showering and stays fogged for 15 minutes after, the fan is undersized or vented wrong. Both are checkable in about 20 minutes.
Not with a written, line-item quote from Groundwork Construction Co. The scope and the price are set before work begins, and that’s the number you pay. If an issue shows up under the tile – a substrate problem the inspection couldn’t see from outside – you’ll know before any work on it proceeds. Call (844) 560-4467 to start with the free estimate.
Yes. Bathroom work in Lewisville that touches plumbing or electrical requires permits and inspection, and those inspections catch rough-in errors before tile covers them. Any contractor who wants to skip permits is telling you what will happen at resale. Groundwork coordinates permits and inspections on every bathroom project.
The Bottom Line
Nearly every bathroom failure we see in Lewisville traces to an installation method decision, not the material that was bought. The substrate under the tile, the sealant at the corners, the pre-slope under the shower pan, the duct run off the exhaust fan, and the wall behind the vanity all decide whether the finished surface holds up. Diagnose the symptom back to its cause before spending money on a fix. Surface repairs are fine when the cause is surface-level, and a waste when it isn’t. When it isn’t, get a written scope and a real warranty.
Groundwork Construction Co. of Lewisville is the full-scope partner homeowners call when the fix has to hold. We offer no-hassle upfront pricing, 0% financing for 18 months, and $1,000 off any project over $10,000. Our calls are answered by a live person 24/7, our technicians are background-checked and arrive in uniform, and every bathroom project is backed by the 730-Day Done Right Promise: if it’s not done right, we make it right. From foundation to finish line, built to last, backed in writing. Call (844) 560-4467 to schedule your free estimate and design consult.
Written by the team at Groundwork Construction Co. of Lewisville.