Last updated November 18, 2026
Free written scope consultation - allowances, timeline, and change-order rules on paper before a single trade is scheduled
DIY vs Professional Driveway & Pavers: What’s Safe to Do Yourself
Search “how to lay pavers” on YouTube and you’ll find a dozen videos that make it look like a weekend project: dig a little, dump some gravel, tamp it down, lay the stones, done. What those videos almost never show you is the excavation depth, compaction testing, and drainage grading that decide whether those pavers stay flat for twenty years or heave and rut before the second summer. That part isn’t satisfying to watch, and it’s the part that fails. In this guide, we’ll draw a hard line between the work that genuinely rewards a careful homeowner and the work that quietly destroys everything built on top of it, with real numbers from Lewisville conditions so you can decide where your time and money actually belong.
Quick Answer
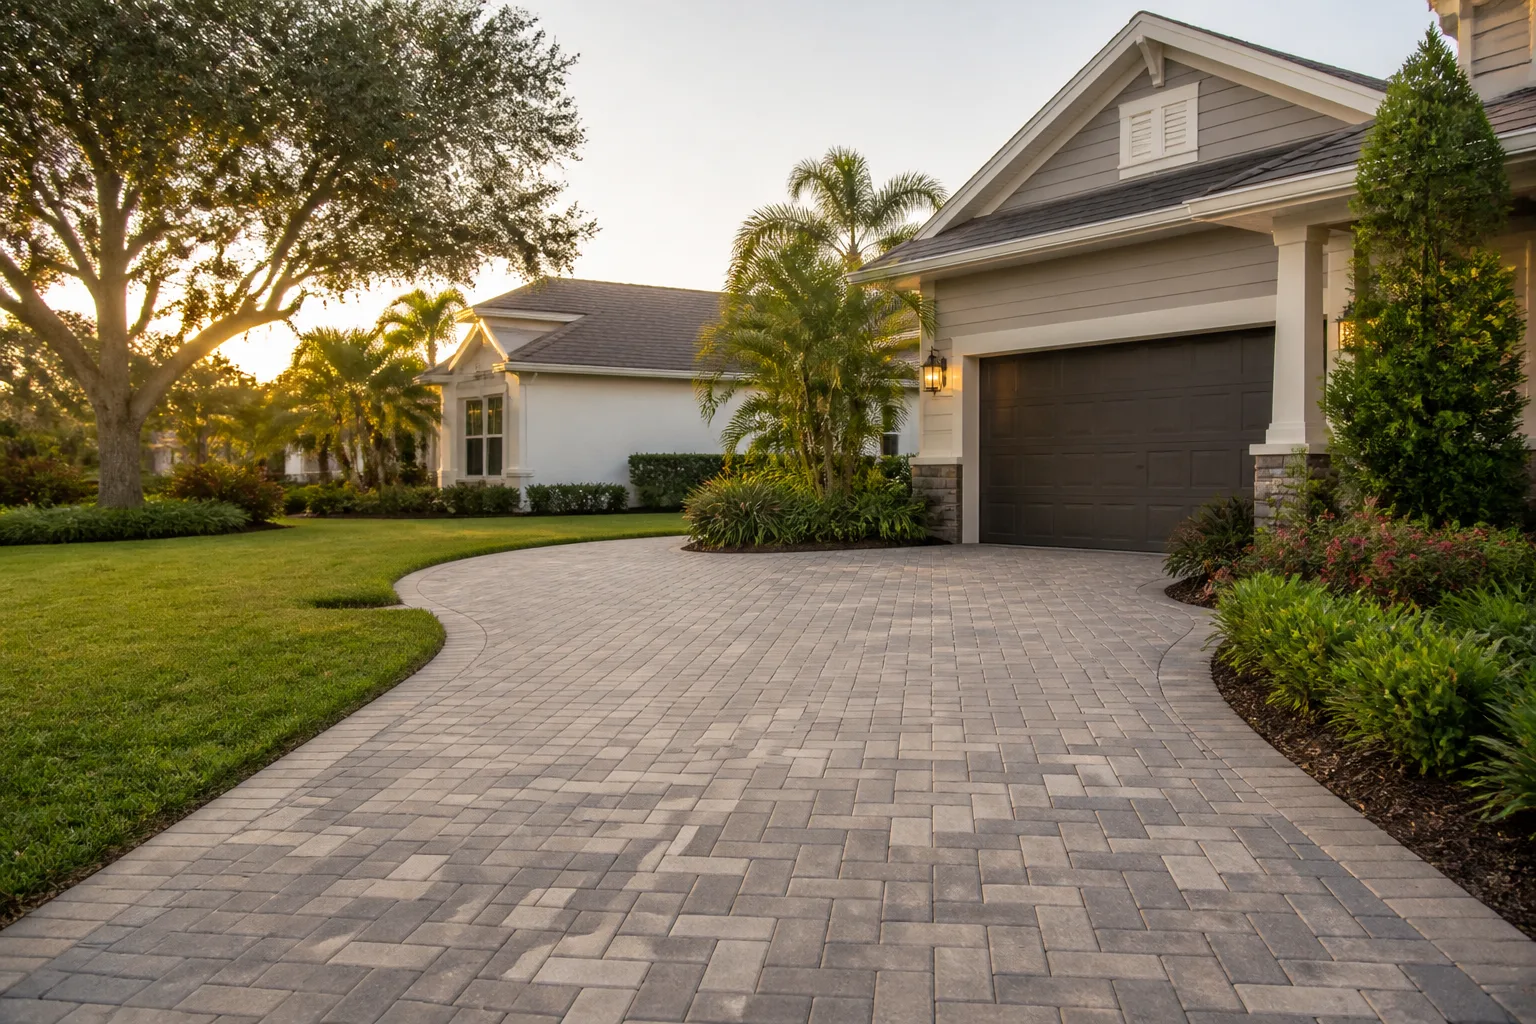
The paver laying itself – cutting, pattern, sand, sealing – is DIY-friendly for a patient homeowner. The base work underneath it is not. Excavation depth, compaction testing, and drainage grading decide whether a driveway lasts two years or twenty, and getting them wrong voids premium paver warranties and usually costs more to fix than hiring a pro up front. In Lewisville’s expansive clay soils, the base is the entire game.
Styles & brands we work with
- Kitchen remodeling
- Bathroom remodeling
- Home additions & ADU
- Roofing
- Windows & doors
- Driveway & pavers
- Fence
Table of Contents
- Why the Base Is Where Every DIY Driveway Fails
- The Equipment That Separates a Pro Base From a Backyard Approximation
- Which Parts of a Paver Project Are Genuinely DIY-Friendly
- The Liability Traps: Grading, Compaction, and Drainage
- The Real Math on DIY Savings in Lewisville
- How DIY Mistakes Void Premium Paver Warranties
- The One Scenario Where DIY Pavers Make Complete Sense
- What Driveway Pavers Cost in Lewisville
Why the Base Is Where Every DIY Driveway Fails
A paver is just a heavy brick. It has almost no structural strength of its own. The paver’s job is to be attractive and wear-resistant. The base’s job is to carry the vehicle load, spread it evenly, and hold shape under freeze-thaw and wet-dry cycles. When a driveway fails, in almost every case it’s the base that failed, not the stones.
Here in Lewisville, that base problem is sharper than most of the country. Much of North Texas sits on expansive clay soils – the black gumbo that swells when it’s wet and shrinks and cracks when it’s dry. Lewisville summers routinely run weeks of 100-degree days, then August delivers several inches of rain in an afternoon. That wet-dry cycle works a foundation soil like a bellows. A paver base that isn’t excavated deep enough and compacted in properly specified lifts will move with that clay. You’ll see the earliest symptoms as rutting in the wheel paths, sand washing out at the joints, and a slight rocking when you walk across it.
The typical failure timeline on an under-built base in our area looks like this:
- Months 6 to 12: Hairline joint sand loss after the first heavy spring storm. Looks cosmetic. It’s a warning.
- Year 1 to 2: Wheel-path rutting and slight settling at the driveway apron where it meets the street.
- Year 2 to 3: Visible rocking on individual pavers, weeds pushing through joints, ponding water that never drains after rain.
- Year 3 to 5: Localized repair quotes that cost 40 to 60 percent of the original install, because a proper fix means pulling up the pavers and rebuilding the base under them.
The reason the videos skip this is simple: excavation and compaction aren’t satisfying to film. Nobody watches four hours of a plate compactor. But that’s exactly where the project is won or lost, and it’s why a driveway & pavers job is less about what you see and more about what’s buried six inches down.
The Equipment That Separates a Pro Base From a Backyard Approximation
You can rent almost anything for a weekend. The question is whether you’ll rent the right things, and whether you’ll use them correctly. Here’s the honest equipment breakdown for a driveway-sized paver project, what each tool actually does, and what skipping it costs you.
- Plate compactor (forward plate, roughly 200 to 300 lb class): $80 to $130 a day to rent in the Lewisville area. This is non-negotiable. Hand-tamping or a jumping jack alone won’t hit the density the base aggregate needs. Skipping it is the single fastest way to a failed base.
- Laser level or rotary level with grade rod: $40 to $75 a day. Establishes consistent slope so water runs away from the house or garage instead of pooling. Eyeballing slope with a string line gets you in the neighborhood but not reliably within the 1 to 2 percent fall a driveway needs.
- Compaction testing (nuclear density gauge or dynamic cone penetrometer): Not typically rented by homeowners at all – these are specialized pieces of equipment that testing firms or experienced contractors run. This is the tool most DIYers never think about and the one that proves whether the base is actually at spec or just looks flat.
- Plate compactor for pavers (polyurethane pad): $15 to $30 add-on. Prevents scarring the paver surface during final compaction and setting sand. Different tool setting than base compaction.
- Wet saw with diamond blade for edge cuts: $50 to $90 a day. Clean cuts on border pavers, especially against a garage apron or a curved edge. A dry cutoff saw works but produces chipped, ragged edges that show.
- Excavation equipment (mini-excavator or skid steer): $250 to $400 a day. This is the one most homeowners skip because a shovel is free. Excavating 6 to 8 inches of base over a 400-square-foot driveway by hand is 8 to 10 cubic yards of dirt – roughly 15 tons of material to move twice. It’s doable. It’s also why most DIY driveways get built on too-shallow base.
Add up a serious rental list and you’re staring at $500 to $900 for equipment alone on a typical Lewisville two-car driveway – before you buy a single paver. That rental math matters in the next section.
Which Parts of a Paver Project Are Genuinely DIY-Friendly
Here’s the part most pros won’t tell you: plenty of the paver work is well within reach of a careful homeowner. We’re not going to pretend a paver install is brain surgery. If you can measure, cut, and stay patient, some of this rewards doing yourself.
These portions are genuinely DIY-friendly:
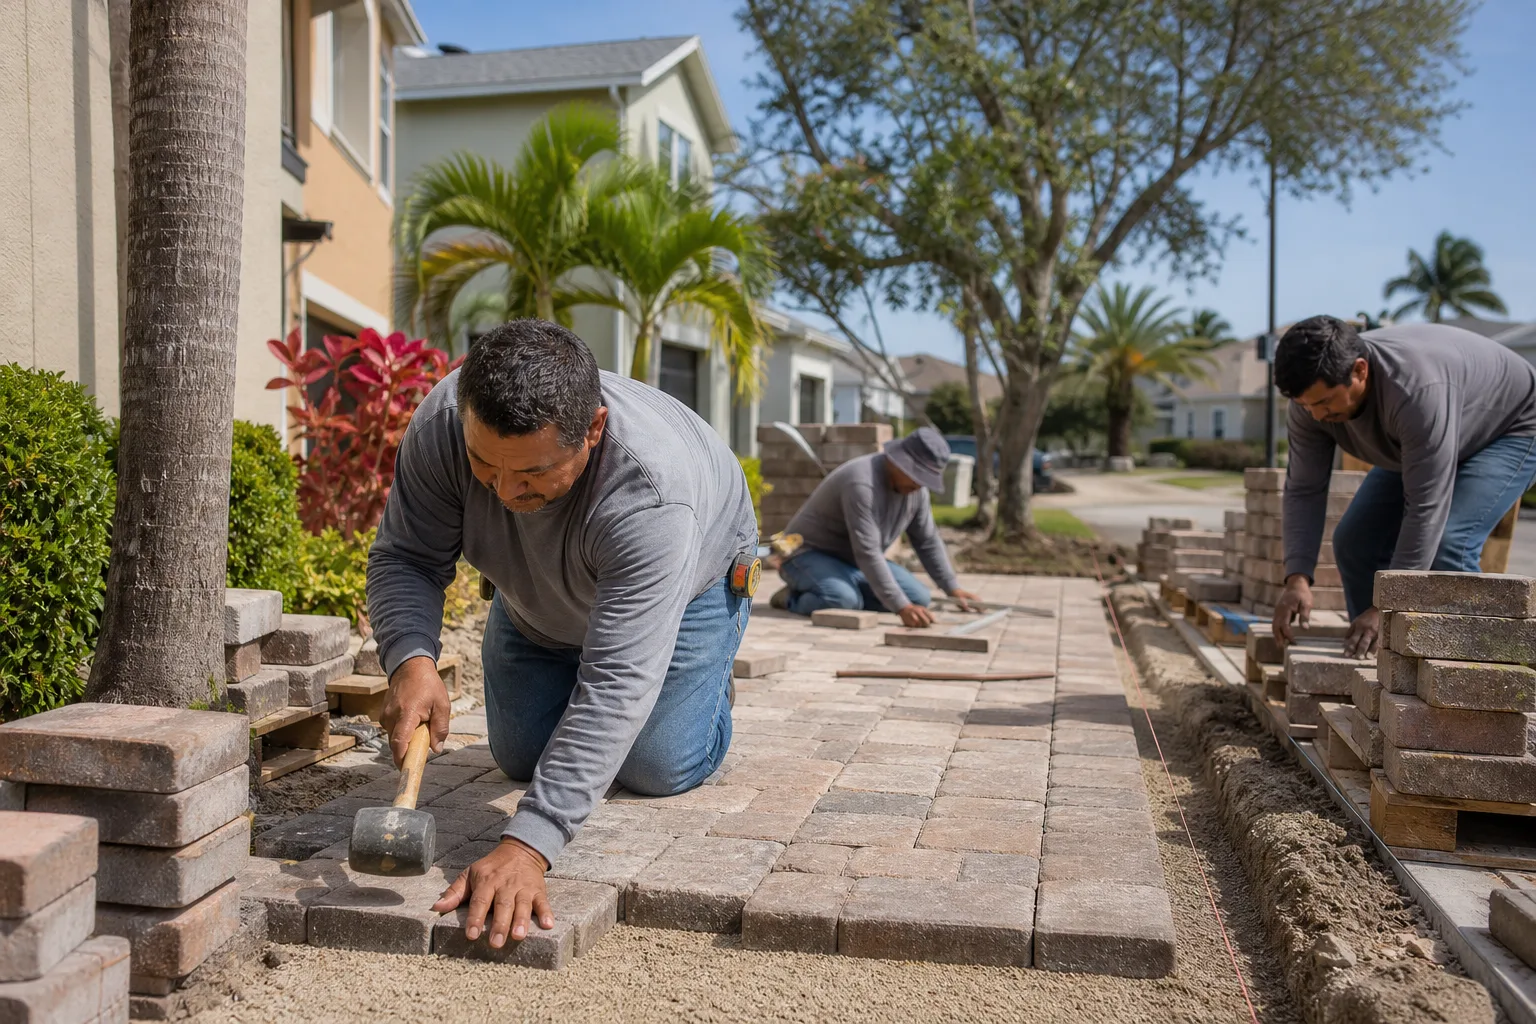
- Pattern laying. Once the base is done and the bedding sand is screeded, laying pavers in a running bond or herringbone is slow but straightforward. It rewards care, not strength.
- Edge cutting with a wet saw. The border pavers and any curved runs need clean cuts. This is fussy work but very learnable, and a homeowner with a rented wet saw will often get a better result than a rushed crew.
- Final sand setting and compaction. Sweeping polymeric sand into the joints and running the pad-equipped plate over the finished surface is a satisfying, doable finish step.
- Sealing (after cure). Applying paver sealer on a dry, fully cured surface is well within DIY range and doesn’t touch anything structural.
- Small accent work and borders. A ten-foot walkway or a decorative border around a tree is a great place to learn.
Notice what’s missing from that list: everything underground. The paver-laying work is a craft. The base work is engineering, and the two are not the same skill. If your base isn’t right, the prettiest pattern you lay will fail within a couple of years – and no amount of careful craft on top of it will save it.
The Liability Traps: Grading, Compaction, and Drainage
Three specific steps sit in the danger zone, and each one has real consequences beyond a wobbly driveway. These are the parts where the cost of getting it wrong dwarfs the cost of hiring it right.
Grading
Grading is where the driveway’s finished slope is set so water runs off – away from the garage, away from the house, and toward the street or a drainage swale. Get the slope wrong and you’ve created a low spot that ponds water against the house. In Lewisville clay that’s not just an annoyance; several seasons of poor drainage can move soil against your foundation and create moisture problems that are far more expensive than the driveway. A driveway should typically fall about 1 to 2 percent away from the structure. That’s a slope you can’t eyeball reliably – you measure it.
Base Compaction
Base aggregate has to be placed in specified lifts – commonly 2 to 4 inches at a time – and compacted to a target density before the next lift goes down. You can’t get there by dumping a foot of gravel and tamping the top. Each layer has to reach density before it’s covered. This is where compaction testing matters: professionals test density to prove the base is at spec. Most DIYers never test at all, and never know their base was at 80 percent or 85 percent of the target instead of the 95-plus percent good work requires.
Drainage Routing
Water that runs under the driveway – from a roof downspout, a neighbor’s yard, or the natural grade – will undermine a base over time. Routing drainage correctly means either diverting that water around the driveway or building in a way that manages it. This is the single most location-specific judgment on the whole project, and it’s why a Lewisville contractor’s knowledge of local soils and storm intensities is worth something a YouTube video can’t teach.
The Real Math on DIY Savings in Lewisville
Let’s put real numbers on a typical Lewisville two-car driveway of about 500 square feet. The honest comparison isn’t “materials” vs “the whole job.” It’s total DIY cost including tools, time, and the likelihood of a do-over, against a professional quote.
DIY scenario, 500 sq ft driveway:
- Pavers (mid-grade concrete, $3 to $6 per square foot): $1,500 to $3,000
- Base aggregate, bedding sand, edge restraint: $400 to $700
- Wet saw and compactor rental (two weekends): $400 to $700
- Polymeric sand and sealer: $200 to $350
- Materials and rentals subtotal: $2,500 to $4,750
- Your time: typically 50 to 90 hours across several weekends for a first-timer, assuming competent base work
Professional install, same 500 sq ft:
- Typical Lewisville installed cost ranges from $8 to $18 per square foot depending on paver type and site complexity: $4,000 to $9,000
- Includes excavation, base, compaction, grading, drainage, materials, and a written workmanship warranty
So the DIY “savings” on paper looks like $1,500 to $4,000. But that number is a mirage if the base is under-built, because the statistical likelihood of needing professional correction within three years is high for first-time driveway installs. Rebuilding a base over 500 square feet means pulling up the pavers, breaking up the failed base, re-excavating, re-compacting, and re-laying – and correction quotes commonly run 40 to 60 percent of what the original install would have cost. Do the correction once and your “savings” is gone, and you’ve lost 60-plus hours of your life on top of it.
The honest rule of thumb: DIY makes sense on accent areas where time is what you’re spending and failure is cosmetic. On a structural driveway, the base work is where a pro earns their money, and the math almost never favors doing it yourself.
How DIY Mistakes Void Premium Paver Warranties
Premium pavers – products from established manufacturers like Boral among others – come with manufacturer warranties that cover things like dimensional stability, freeze-thaw durability, and surface integrity. Those warranties typically attach conditions about installation, and here’s the catch most homeowners learn the hard way: those warranties are usually written to the installing contractor, and they typically require the pavers to be installed according to manufacturer specifications and industry standards. A homeowner-installed driveway has no installation record and no contractor to carry the claim.
What does a voided warranty actually cost you?
- Failed pavers come out of your pocket. If a premium paver spalls or cracks under conditions the warranty would cover, and the install can’t be documented, you buy the replacement paver yourself.
- Resale disclosure. In Lewisville’s active resale market, a driveway that’s visibly settling, ponding, or rutting raises a flag in buyer inspections. Buyers ask “how old is this and who installed it?” A documented professional install with a warranty is a selling point. A DIY install is a question mark.
- Financing and insurance. Some homeowner insurance claims tied to water intrusion trace back to grade, and a professional install with a record makes the conversation far simpler.
When work is backed by a workmanship guarantee that runs well past the manufacturer’s own coverage window, that guarantee is worth something at resale time – and it doesn’t exist on a driveway you built yourself. If you’re going to spend the money on premium paver products, back them with an install that protects that investment in writing.
The One Scenario Where DIY Pavers Make Complete Sense
We’re going to be specific, because vague advice wastes your time. DIY pavers are the right call in exactly one situation: small accent areas with no vehicle load, where failure costs you a weekend and nothing more.
That includes:
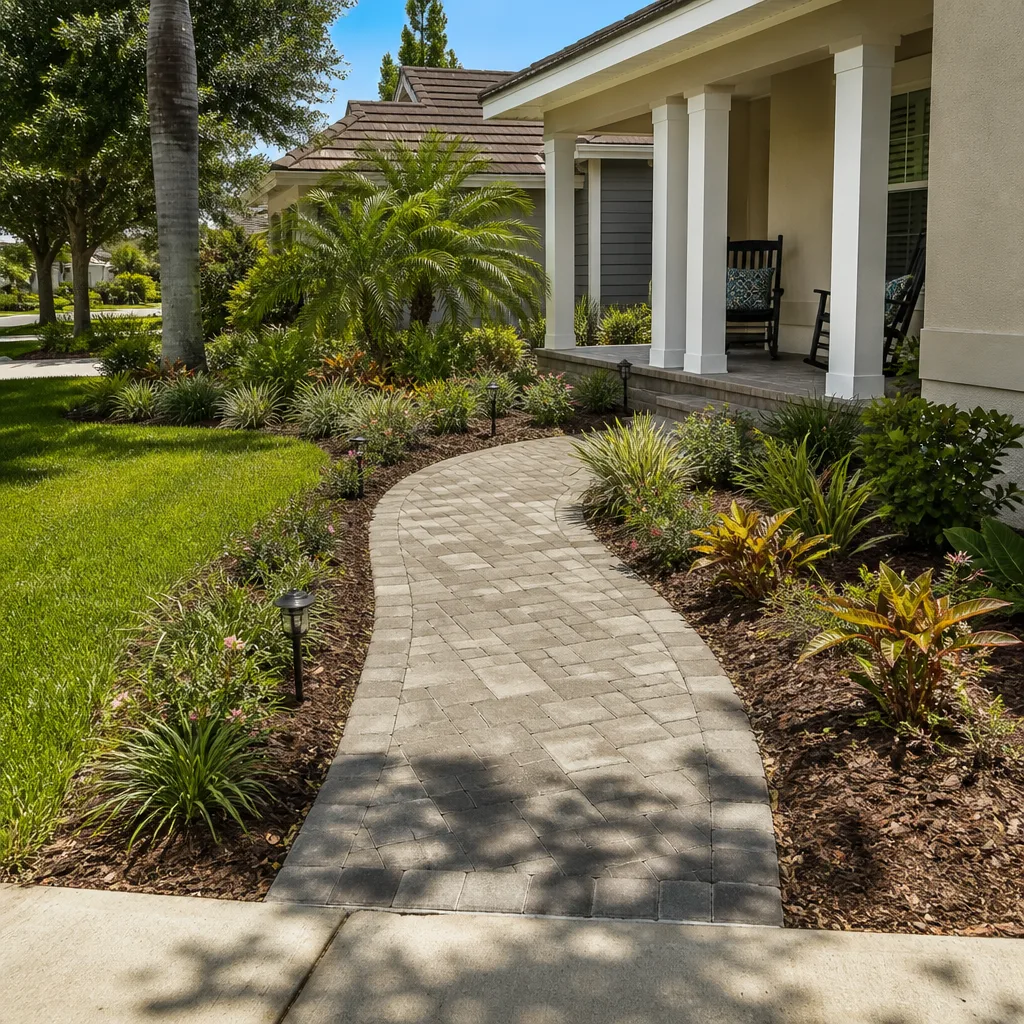
- A walkway from the front door to the sidewalk or driveway – typically 30 to 60 square feet.
- A patio extension or fire pit surround under 80 square feet.
- A decorative border along a garden bed.
- A small landing outside a back door that never sees a car.
Here’s how to do that correctly, step by step, without touching anything you could get hurt or create structural problems with:
- Plan and mark the layout. Set your square footage first so material quantities are right. Add 5 to 10 percent for cuts.
- Excavate to a consistent depth. A pedestrian area needs about 4 to 6 inches of excavation below the finished paver surface; measure with a tape and check the depth with a level and straightedge across the area.
- Lay and compact base in lifts. Place your compactable aggregate in 2 to 3 inch lifts and compact each one with a rented plate compactor. Do not skip a lift because the layer is thin – each one has to reach density.
- Set slope away from the building. Even a walkway should fall about 1 percent away from the house. Check it with a level and a straightedge; a small area is forgiving but not immune to pooling.
- Screed bedding sand and lay pavers. Use 1 inch of bedding sand, screed level, and lay your pattern. Cut edges with a wet saw for clean joints.
- Sweep in polymeric sand and compact. Use a pad-equipped compactor on this step, then top up joints and mist per the sand manufacturer’s instructions.
- Seal after cure. Let the pavers and sand cure fully before applying sealer – usually several days to a week, depending on weather.
Any accent area that meets those conditions is worth doing yourself, and you’ll learn a lot doing it. The moment your project involves a vehicle, a slope that has to move real stormwater, or anything larger than roughly 80 square feet, the math inverts. For a full driveway, the professional base is the whole ballgame.
What Driveway Pavers Cost in Lewisville
For context, here’s a realistic line-item look at what a professional driveway paver install runs in Lewisville. These ranges vary with paver type, site complexity, and how much grading and drainage work the site needs.
- Concrete pavers, installed: $8 to $14 per square foot
- Premium or clay pavers (products in the Boral family of premium paver ranges): $12 to $18 per square foot
- Excavation and haul-away: included in most quoted per-square-foot prices, but worth confirming in writing
- Grading and drainage work: $200 to $1,200 depending on site conditions, sometimes included, sometimes a line item
- Edge restraint, polymeric sand, sealer: usually bundled, occasionally listed separately
- Full two-car driveway, 400 to 600 square feet installed: $4,000 to $9,000 typical range
The single biggest cost driver isn’t the paver itself – it’s the site. A flat, well-drained Lewisville driveway that’s ready to build on is a very different quote from a site with a slope, existing slab demo, or drainage problems to solve. That’s why an upfront written estimate with line items beats a per-square-foot number every time.
Common Mistakes to Avoid
- Building on too-shallow base. The single most common reason DIY driveways fail in North Texas. On Lewisville clay, a driveway base needs to be deep enough (typically 6 to 8 inches of compacted aggregate for vehicle load) and excavated properly. Cutting the depth because you ran out of time or material is the beginning of a 3-year countdown to failure.
- Skipping compaction testing. A base that looks flat is not a base that’s at density. If nobody tests it, nobody knows, and the first symptom shows up after the first hot, dry spell when the clay shrinks and the paver surface follows.
- Getting drainage wrong for the site. Lewisville’s clay holds water against the house if slope is wrong, and downspout runoff routed under the driveway will undermine a good base faster than anything else.
- Under-budgeting time. A 500 square foot driveway is 50 to 90 hours of first-timer work, and Texas summer heat (Lewisville regularly sees 100-plus degree afternoons in July and August) means you’re doing this in the worst possible working conditions. Realistically plan on two to three weekends, working early mornings, and taking heat precautions.
- Using the wrong sand for joints. Regular sand washes out. Polymeric sand is the specification for vehicle load, and using anything else means re-sweeping joints every season.
- Laying pavers over an existing slab without a proper bond-breaker or drainage plan. Concrete cracks telegraph up through pavers and trap moisture. Cutting corners here costs more than starting clean.
- Sealing too early or too hot. Sealer on a wet or uncured surface traps moisture and clouds. Lewisville humidity in spring and fall needs to be accounted for – reading the sealer manufacturer’s temperature and moisture range is not optional.
See the difference
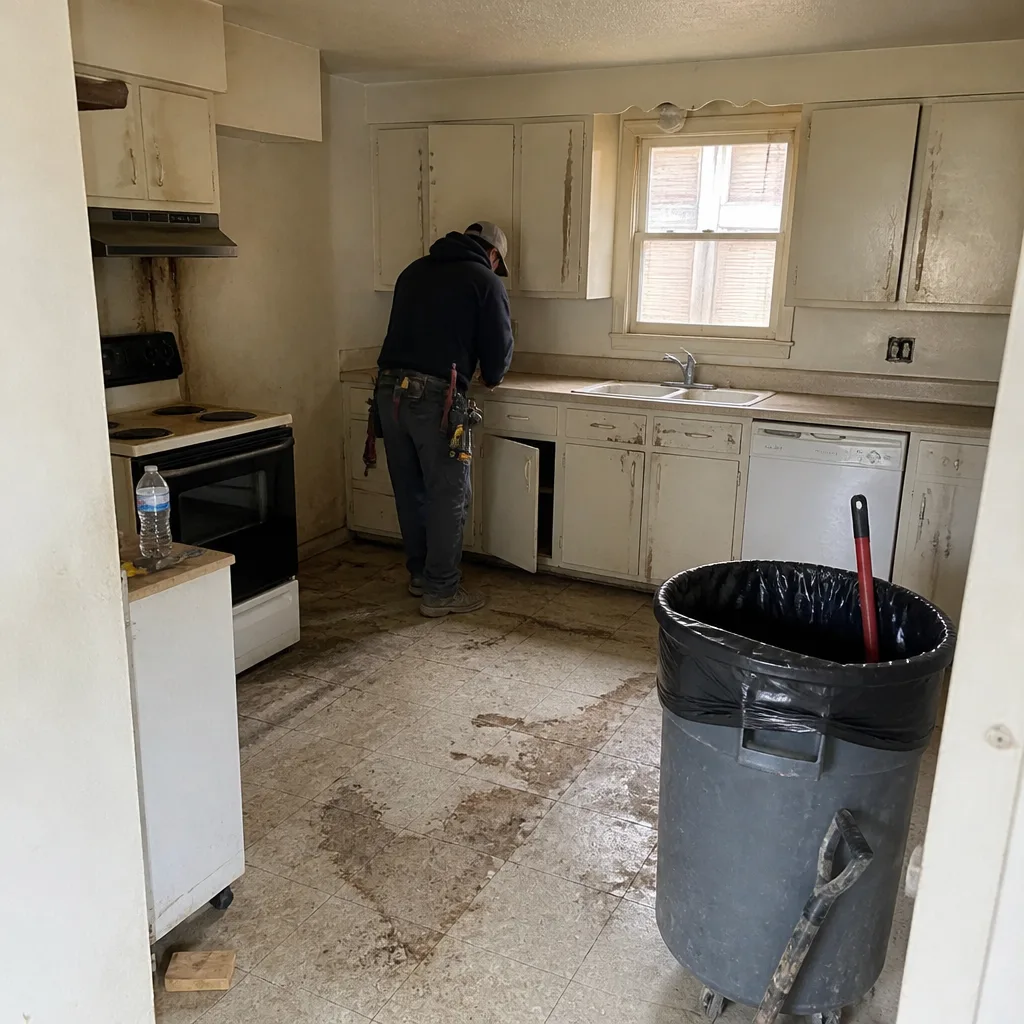 Before
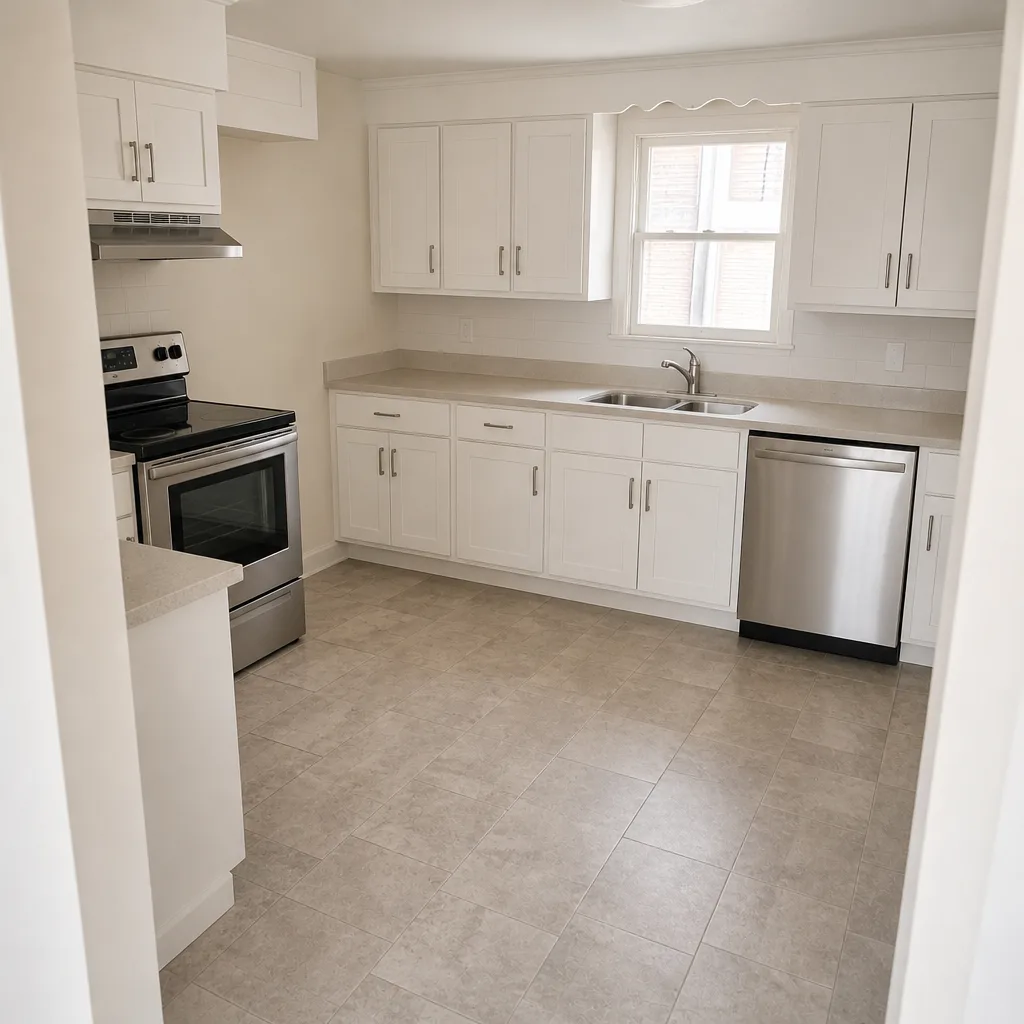 After
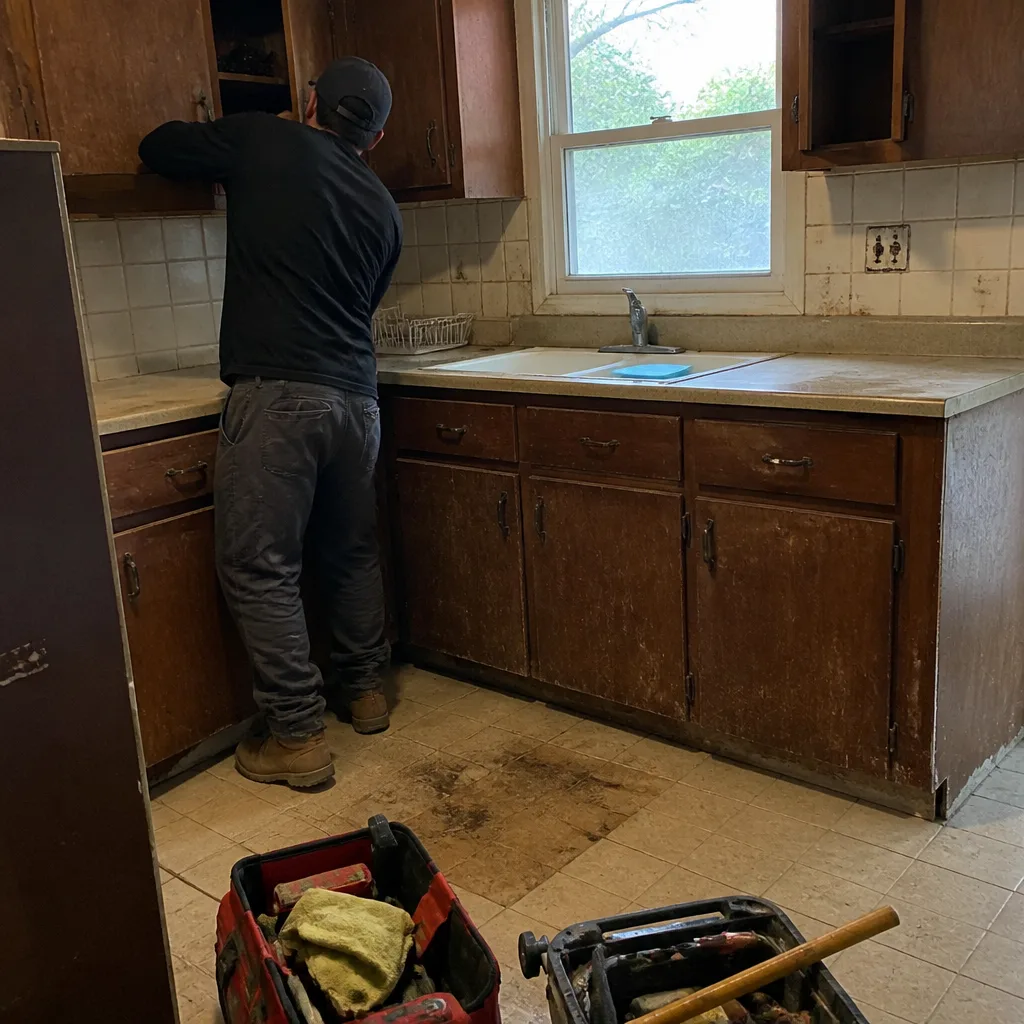 Before
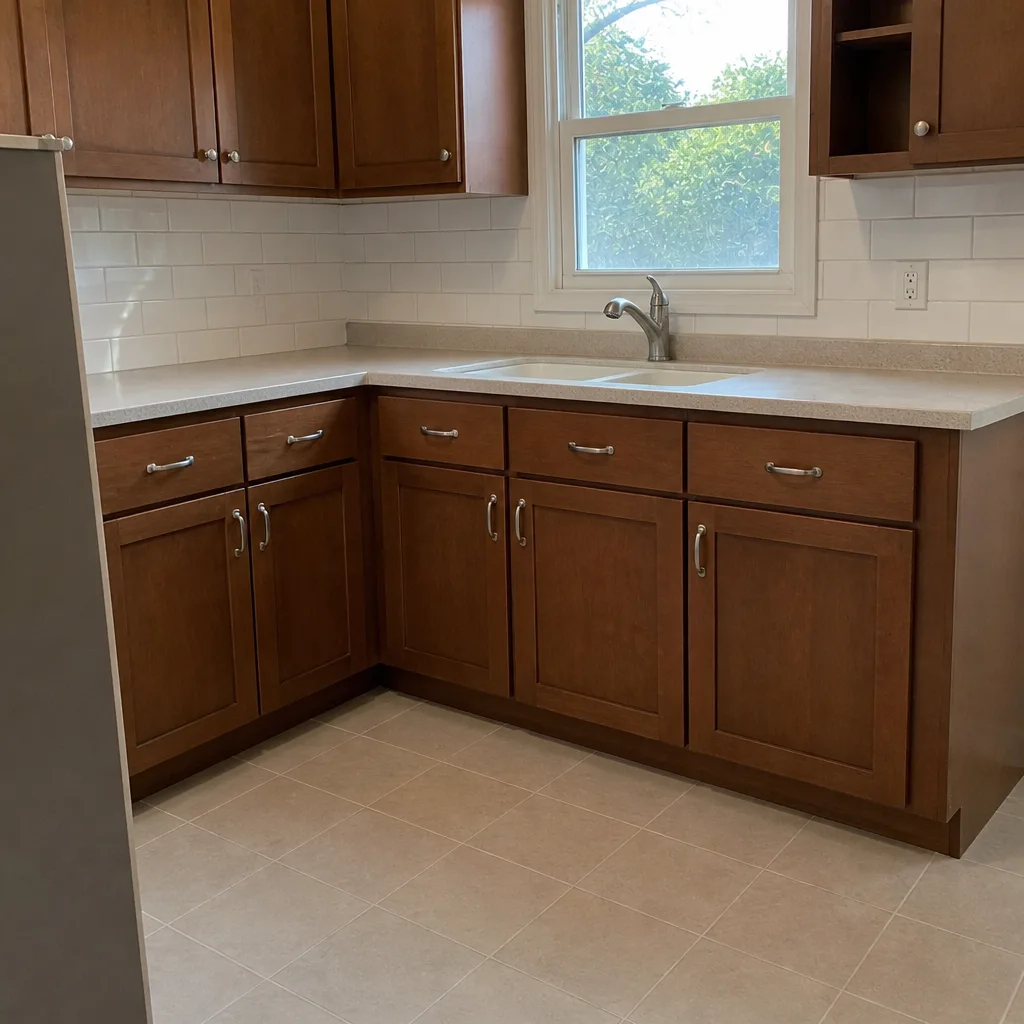 After
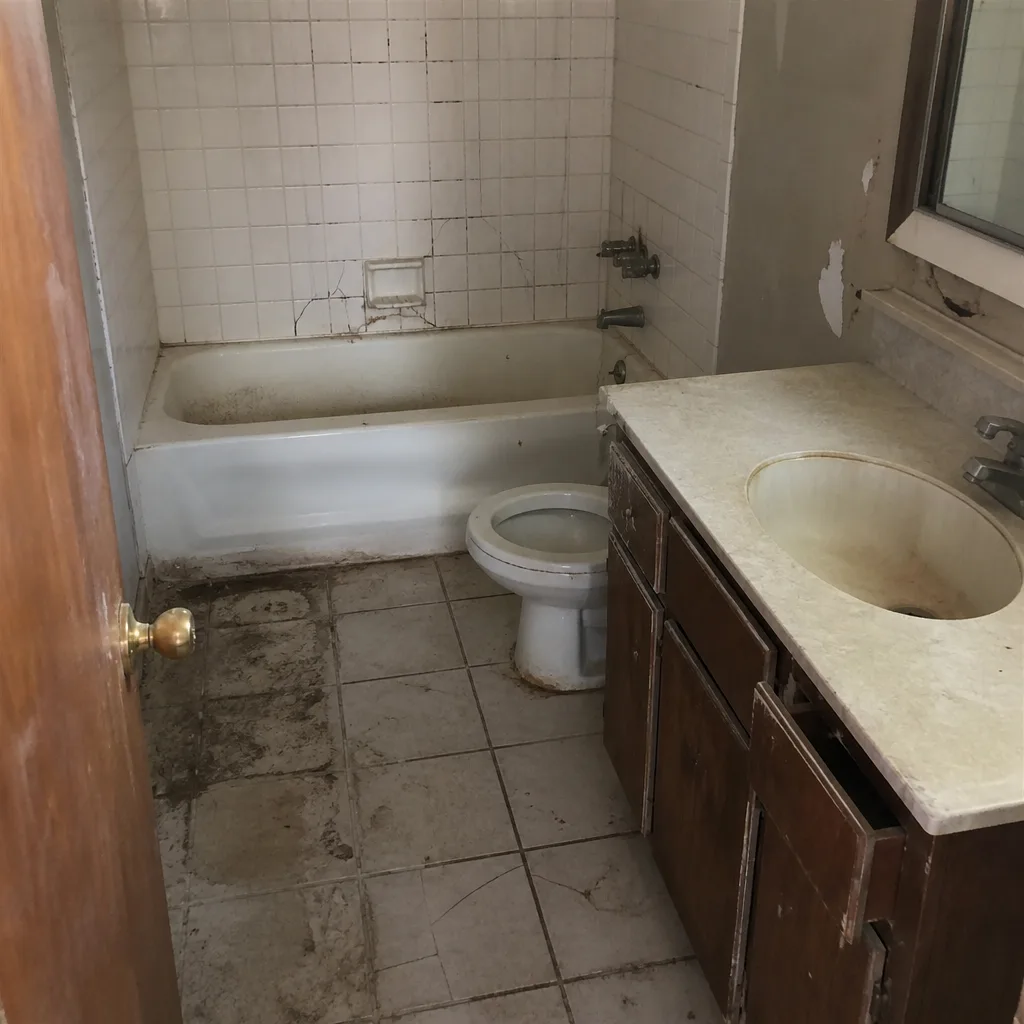 Before
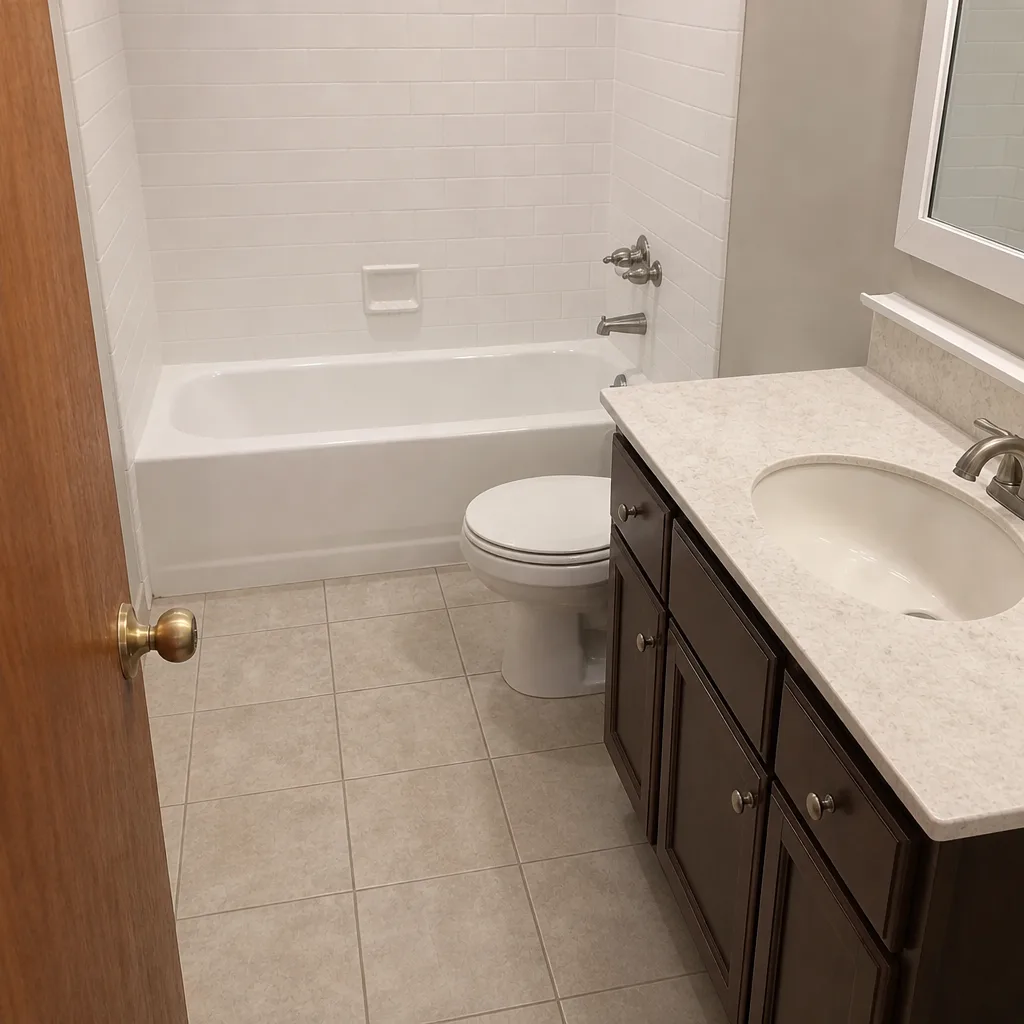 After
When to Call a Professional
If your project includes a vehicle, a slope, drainage, or anything larger than 80 square feet, call a professional. That’s the line Groundwork Construction Co. of Lewisville draws every day. Our technicians have up to 12 years of experience and we’ve seen every way a DIY driveway can fail in Lewisville – clay soils that heave, ponding at the garage apron, pavers that rock two summers after install. Our driveway & pavers projects are backed by a 730-Day Done Right Promise, and we pair premium paver brands with an install that protects your investment in writing. Every project includes upfront pricing, no surprises and a written line-item estimate so you know exactly what you’re paying for before a shovel touches the ground.
If you’re planning a driveway project in Lewisville, our Driveway & Pavers in Lewisville page has more detail on our process, and the free-estimate route starts with a call. Groundwork Construction Co. of Lewisville offers free estimates – call (844) 560-4467 and a live person will pick up, day or night. You can also explore our full scope at Groundwork Construction Co. of Lewisville home. And if your driveway project is part of a bigger exterior plan, our Fence Installation in Lewisville and Home Additions & ADU in Lewisville teams work alongside the paver crew so grading and drainage line up across the whole property.
Frequently Asked Questions
On paper, DIY saves roughly $1,500 to $4,000 on a typical 500 square foot Lewisville driveway. In practice, first-time DIY driveway installs have a high rate of needing professional correction within three years, and correction quotes run 40 to 60 percent of the original install cost. Between tool rentals, materials, time, and do-over risk, the real savings are usually far smaller than the paper number. Call (844) 560-4467 for a free written estimate so you can compare the real numbers side by side.
Building on a base that’s too shallow and not properly compacted. In North Texas, expansive clay soils make this much more consequential than in milder climates, and it’s also the mistake that voids premium paver warranties and is the most expensive to fix. A base that looks flat is not a base that’s at density – only compaction testing proves it.
You can physically lay them, but premium paver warranties are typically written to protect an installation done to manufacturer specification by a qualified installer. A self-installed driveway has no documented installer to carry a warranty claim. If you’re spending premium money on paver products, it makes sense to protect that investment with a professional install that keeps the warranty intact.
Not necessarily faster, but differently. Lewisville’s combination of expansive clay soils and extreme wet-dry cycles makes base preparation far more critical than in stable-soil climates. A driveway base that would be adequate in sand or in a cool climate can fail here, which is why so much of the professional cost is in excavation and compaction rather than the pavers themselves.
A typical 500 square foot driveway is usually completed in 3 to 5 working days, weather permitting. Excavation and base work take the first day or two; laying, cutting, and sand setting take the rest. The base is where the time is, and that’s exactly the opposite of what a weekend DIY project allows.
Small accent areas under about 80 square feet with no vehicle load: a walkway, a patio extension, a garden border. In that scenario, the failure cost is a weekend and some material, and the DIY reward is real. The moment a car, a slope, or a drainage problem enters the picture, hire it out. Call (844) 560-4467 for a free estimate on anything structural.
The Bottom Line
The question isn’t whether you can lay pavers. You probably can, and on a small accent area you’ll do a good job of it. The question is whether you can build a base that will carry a vehicle through Lewisville clay soils and 20 years of Texas summers, and that’s the part every failed DIY driveway got wrong. Use the line in this guide: accent areas under 80 square feet are DIY-friendly; driveways are not. Protect premium paver warranties, build the base right, and back the work with a guarantee in writing. If you’re planning a driveway in Lewisville, call (844) 560-4467 for a free upfront written estimate – a live person is available around the clock, and our team is ready to help.
Written by the team at Groundwork Construction Co. of Lewisville.