Last updated November 18, 2026




Free written scope consultation - allowances, timeline, and change-order rules on paper before a single trade is scheduled
Fence Installation Troubleshooting: Common Problems and How to Fix Them
A gate that suddenly won’t latch after years of working fine isn’t a hinge problem. It’s almost always a post that has started to rotate or heave out of the ground, and tightening the hinge is a ten-minute fix that lets a thousand-dollar problem get worse for another six months. We’ve seen this exact pattern on hundreds of properties across Lewisville, TX, and it’s the single most common misdiagnosis in fence repair. This guide walks you through the real diagnostic tests, the four failure patterns most homeowners never distinguish between, and exactly which repairs you can handle yourself versus which ones require a full re-dig. By the end, you’ll know what’s actually wrong with your fence instead of guessing.
Quick Answer
Most fence problems that look cosmetic (leaning posts, sagging gates, warped boards) are actually post and footer failures in disguise. Before you replace a single picket or adjust a hinge, test the post itself with a two-hand push. If the post moves more than a quarter inch at ground level, the footer is compromised and surface repairs will only postpone the collapse. Legitimate DIY fixes cover board replacement, hinge adjustment, and minor post shimming, while anything involving a failed footer, a cracked concrete collar, or a post that has heaved requires re-digging the footing to correct the root cause. Texas thermal cycling, clay soil movement, and Lewisville’s summer temperature swings accelerate all of these failure modes compared to milder climates.
Styles & brands we work with
- Kitchen remodeling
- Bathroom remodeling
- Home additions & ADU
- Roofing
- Windows & doors
- Driveway & pavers
- Fence
Table of Contents
- The Two-Hand Push Test: How to Diagnose Post Integrity in 30 Seconds
- Four Failure Patterns Most Homeowners Confuse (and Why the Fix Differs)
- Why Vinyl Panels Crack in Texas Summers (Thermal vs. Installation Error)
- When Your Fence Is on the Wrong Property Line: What Lewisville Homeowners Need to Know
- Repairs You Can DIY vs. Repairs That Require a Full Re-Dig
- Lewisville Soil, Drainage, and Summer Heat: The Local Factors Behind Most Failures
- A Step-by-Step Troubleshooting Sequence for Any Fence Problem
- Lewisville Permit and HOA Considerations Before You Repair or Replace
The Two-Hand Push Test: How to Diagnose Post Integrity in 30 Seconds
Before you look at any board, hinge, latch, or picket, test the post. Everything else is downstream of whether the post is solid. You can diagnose a post’s condition in about thirty seconds with your hands and a reference point, and the result tells you almost everything about what repair path you’re on.
Here’s the test. Stand at the post and place both palms against it at shoulder height, arms straight. Push slowly and firmly away from you, then pull back toward you, using your body weight rather than your arms alone. Watch the base of the post where it meets the soil or concrete, not the top, because rotation at the base is the diagnostic signal.
What the degree of movement tells you:
- Zero movement at the base, no sound: The post and footer are intact. Your problem is above ground – warped boards, a failed hinge, a rusted latch. You’re in DIY territory.
- Movement under a quarter inch with a soft crunching sound: Early wood rot at the soil line or a slightly undersized footer. This is the window where shimming and reinforcement can buy years if you act fast.
- Movement between a quarter inch and one inch, post returns to vertical: The footer is cracked or undersized but still holding. The post is rotating in the concrete collar. Surface fixes will fail within months.
- Movement over one inch, post stays tilted: The footer has failed or the post has heaved. This requires re-digging the footing. No shim, no bracket, and no amount of bracing will fix it.
- Movement plus a visible gap between post and concrete, or soil mounding around the base: Frost heave in cold markets, but in Lewisville most often clay soil expansion after heavy rain pushing the post up and out of its collar.
Run this test on every post along the fence, not just the leaning one. Fence failures travel in packs, and a single leaning post is often the first of three or four that are one good Texas thunderstorm away from going over. This diagnostic is the difference between repair and replacement. If you’d rather have an experienced eye look at it, that’s what a Fence Installation in Lewisville site visit is for, and estimates are free.
Four Failure Patterns Most Homeowners Confuse (and Why the Fix Differs)
Here’s what we’ve learned from walking fence lines across Lewisville: almost every leaning or sagging fence in the city is one of four specific failure patterns, and each one looks similar from six feet away but requires a completely different repair. Misidentify the pattern and you’ll spend money on the wrong fix.
1. Wood Rot at the Soil Line
This is the most common failure in North Texas, and it has a specific signature. Push the post test. Rot reveals itself as a softness at the base, a crunching sound under pressure, or visible discoloration and fungal growth where the post meets the soil. The damage sits in the three-inch band between the soil surface and six inches up the post, because that’s where moisture and oxygen meet and rot thrives. The fix requires cutting out the rotted section and sistering a new post alongside with a metal splint, or, if rot extends below grade, re-digging entirely. Board replacement over a rotted post is cosmetic and fails within one season.
2. Concrete Footer Failure (Cracked or Undersized)
A footer that was poured too shallow (less than 24 inches in Lewisville’s clay soil) or too narrow (less than 10 inches in diameter) will crack over time as the ground shifts. The signature is a post that moves in its collar but shows no rot. Lewisville’s clay holds water in spring and shrinks in summer, which is a giant hydraulic jack on undersized footers. The fix is a full re-dig and a properly sized footing, ideally 30 to 36 inches deep with a bell shape at the bottom for resistance.
3. Post-Cap Water Infiltration
A post without a cap, or with a cap that has come loose or cracked, funnels rainwater straight down the core of the post. Over 8 to 12 years in Lewisville, this hollows the post from the inside, and the collapse is sudden and dramatic. The signature is a post that looks fine, then snaps at the top below the cap. The fix is immediate cap replacement on every post, and inspection for rotted cores before deciding whether to replace or reinforce.
4. Rotation from Lateral Soil Movement
This is common on Lewisville properties with sloped backyards or on fence lines running along drainage swales. Water pressure on one side of the post rotates the whole panel over time. The signature is a fence that leans uniformly, all posts tilting the same direction. A single-post repair makes no difference here. The catch is that drainage control is part of the fix, not just the footing, and that sometimes requires a small retaining or drainage change to correct. We handle this diagnostic before any repair estimate because replacing a fence on an unstable slope is burning money.
If you’re also thinking about the broader hardscape around your fence – the paver patio, the walkway, the driveway – those often share the same underlying soil and drainage issues, and it’s worth addressing both at once with coordinated Driveway & Pavers in Lewisville work rather than paying mobilization twice.
Why Vinyl Panels Crack in Texas Summers (Thermal vs. Installation Error)
Vinyl fencing looks bulletproof right up until July in Lewisville, when a panel cracks with a sharp snap. Understanding why matters because thermal expansion damage and installation error need different responses, and one of them is a warranty conversation.
Vinyl expands and contracts with temperature. A 6-foot panel of standard vinyl can move roughly an eighth to a quarter of an inch across an 80-degree temperature swing. A fence installed in winter at 40 degrees has already expanded as far as it can by July when the panel hits 140 degrees in direct sun, and if the installers didn’t leave expansion gaps in the post channels or the pocket channels, the panel buckles and cracks. This is installation error, and it’s fixable by reworking the gaps and reinforcing with a backing rail.
Thermal stress cracking, by contrast, shows up over years as hairline fractures radiating from the fasteners or from high-stress points like mid-panel radii. It’s a material aging effect and usually a sign the fence is at the end of its service life. The quick way to tell them apart: check the temperature on the day of installation and whether the panels have room to slide in their channels. If they’re locked in, that’s an install error. If the panels are properly gapped but cracked anyway, that’s material aging. Tennessee is not our market, so we focus on what we see locally, and in Lewisville the pattern is overwhelmingly installation error installed without heat expansion allowances.
Fixing thermal installation errors is straightforward for a professional crew: rework the channels, replace the cracked panels, and add the missing expanding gaps. Left alone, one crack spreads and within two summers you need a new fence line.
When Your Fence Is on the Wrong Property Line: What Lewisville Homeowners Need to Know
A surprising number of fence problems are actually boundary problems, and it’s a nightmare to discover after you’ve poured footings on the neighbor’s side of the line. We’ve seen this a few times in Lewisville, and the legal exposure is real.
The tell is usually a fence that runs at an odd angle compared to the plat line, or a fence built entirely by a prior owner with no permit record on file at the city. Lewisville requires fence permits for new installation and most replacements, and the permit record is often the first clue that a fence line is off. If you pull the permit and the dimensions don’t align with the county appraisal district plat, you have a problem worth investigating before doing any repair work.
Your options as a Lewisville homeowner depend on who owns the fence and how long it’s been there, but the general approach is:
- Pull the county plat and the city permit record for your address. This tells you where the line legally sits.
- Get a survey from a Texas-licensed surveyor if there’s any discrepancy. A survey runs a few hundred dollars and settles the question permanently.
- Talk to the neighbor before any repair. Texas boundary law allows a fence on a neighbor’s property to become their responsibility, and sometimes the neighbor will split the cost of relocation.
- If the fence has been in place long enough and both sides treated it as the boundary, an adverse possession or boundary-by-agreement claim may enter the picture. Consult a Texas real estate attorney before doing anything.
- After resolution, install the new fence at the correct line with a current permit in hand.
The takeaway: don’t repair a fence that might be on the wrong line. Confirm first. We’ve saved homeowners from pouring $4,500 of footings into a boundary dispute that should have been settled in a two-hour conversation.
Repairs You Can DIY vs. Repairs That Require a Full Re-Dig
Not every fence problem needs a contractor, but plenty of homeowners make the opposite mistake and hire for things they could handle in an afternoon. Here’s the honest split, based on what we see in Lewisville homes.
Legitimately DIY-able
- Board and picket replacement: A single warped or split board is a $10 part and a 15-minute swap. Match the profile, use stainless or coated fasteners, done.
- Hinge and latch adjustment: Tighten, shim, or replace a worn hinge on a gate where the post is solid. The push test tells you if the post is the problem, and if it’s not, the hinge usually is.
- Minor post shimming: If the push test shows less than a quarter inch of movement, a proper shim sandwich (galvanized steel shims stacked and driven at the base) can stabilize a slightly loose post for years.
- Cap replacement: Every post should have a cap. If yours are missing or cracked, replace them now. Five dollars of plastic per post prevents $500 of hidden rot.
- Stain and seal: An annual coat of oil-based stain on a wood fence dramatically extends the interval between failures. This is maintenance, not repair, but it’s the single most effective thing you can do yourself.
Requires the Full Re-Dig
- Any post with more than a quarter inch of base movement: The footer has failed. A new post in the same broken collar will fail within a season.
- A post that has heaved out of the ground: Lewisville clay soils love to push posts up after heavy rain. Re-dig, re-pour, and consider a wider bell.
- Cracked concrete collar: Once the collar is cracked, water gets in and the fix is a new pour, not a patch.
- Long runs of posts failing together: If three or more posts on a line are compromised, replacing them all is often cheaper per post than ripping the fence apart three times.
- Fence on a slope or drainage issue: Rotating panels from lateral water pressure require drainage correction, not just a post fix.
One more thing worth saying plainly: the two-hand push test can tell you a lot, but if it reveals more than a quarter inch of movement, don’t try to fix it yourself. A footer re-pour involves pulling a post out of a concrete collar, cutting or breaking the old concrete, digging to depth, re-pouring with proper compaction, and curing before rehanging the panel. It’s the kind of job where the fastest fix isn’t the permanent fix. Licensed, insured crews handle this every day of the week, and a properly installed post will outlast three DIY attempts.
Lewisville Soil, Drainage, and Summer Heat: The Local Factors Behind Most Failures
Fence failure patterns vary by region, and Lewisville has its own specific set of pressures that homeowners need to account for. Understanding the local conditions makes the diagnostic steps above far more useful.
Lewisville sits on the Blackland Prairie soil system, which means clay. This clay expands as it absorbs water in wet months and shrinks as it dries out in summer, and the movement puts enormous lateral and vertical stress on fence footings. A footer that works in sandy soil at 24 inches depth needs to go deeper in Lewisville to resist heave, and the footer diameter needs to be wider to grip the soil without rotation. Most of the footer failures we see in Lewisville are undersized footings installed to national standards rather than local soil conditions.
Summer heat is the second pressure. Lewisville routinely sees 100+ degree days in July and August, and the temperature at the top of a wood post in direct sun can exceed 140 degrees. This accelerates drying, checking (small cracks along the grain), and eventually splitting, and it drives thermal expansion in vinyl to levels that installations without expansion room can’t survive. The soil-moisture swing between wet and dry drives the second half of the failure.
Drainage is the third. Lewisville has areas of the city where grading and drainage leave water ponded against fence lines for hours after a storm. A post sitting in standing water rots at the soil line in four to six years instead of the more typical 10 to 12. If you’ve had standing water on your fence line, plan on inspecting posts every spring.
Combined, these three pressures mean a fence line in Lewisville needs more proactive inspection and a more robust footing than the same fence in a milder climate. Boards will last a decade with an annual stain. Posts need to be checked twice a year and capped from day one. Footings need to be deeper and wider than a generic spec. This is the practical difference between a fence that goes 20 years and one that leans by year 8.
A Step-by-Step Troubleshooting Sequence for Any Fence Problem
When you’ve got a problem fence, here’s the exact sequence we follow, in order. Skip none of these steps. The order matters because each step rules out a category of failure before you spend money on it.
- Walk the entire fence line. Look for leaning posts, sagging panels, popped nails, loose fasteners, and gaps. Take photos from both sides. Common mistake: fixing the visible problem without walking the rest of the line, which means you miss the two other posts already failing.
- Run the two-hand push test on every post. Record the degree of movement on each one. Any post over a quarter inch goes on the re-dig list.
- Inspect post caps. Missing, cracked, or loose caps get replaced immediately on every post. This is the cheapest failure prevention on the whole list.
- Check the gate operation. Does it latch? Swing freely? If it drags on the ground, the hinge is worn or the post has tilted. Use the push test to distinguish. Hinge adjustment is DIY; post tilt is a re-dig.
- Look at the base of each post at the soil line. Feel for soft wood, look for fungal growth, look for a visible gap between post and concrete collar. Any of these says rot or failed collar.
- Check the levelness and alignment of panels. A panel that’s out of level in one section and not the next usually indicates a single post issue, not a systemic problem. Panels uniformly out of level down the whole line indicate a soil movement or drainage issue and need professional diagnosis.
- Look at drainage. Where does water go in a heavy rain? Is any post sitting in a low spot? Consider a minor regrade or drain before doing any repair, or you’ll reseat the post into the same failure.
- Pull the permit record. For any repair that might involve a boundary question or a relocated fence, verify the permit and the plat before proceeding.
- Decide your repair tier. Board-level, hinge-level, shim-level, or re-dig. Match the fix to the failure, not to what’s convenient.
- If the diagnostic shows a re-dig or footer failure anywhere on the line, get a professional estimate. Do not accept a shim or a sister as the permanent fix. It will fail.
Lewisville Permit and HOA Considerations Before You Repair or Replace
Repair versus replace has a permitting implication in Lewisville that most homeowners don’t know. Board replacement, hinge repair, and minor shimming on an existing fence typically don’t require a permit. Full fence replacement does. If you’re replacing more than 50% of the panels or any footings, plan on a permit.
The City of Lewisville’s fence code limits height (generally 6 feet in side and rear yards, with front yard fencing typically limited to 3 to 4 feet depending on setback) and specifies materials and placement. New fences need a permit application, a site plan showing the fence location and distance to the property line, and often a survey. Inspections happen after footing pour and after completion. Skipping permits exposes you to a stop-work order and, later, a resale problem if the fence isn’t permitted. We pull the permits and pass the inspections on every project because the paperwork matters at resale.
HOAs add another layer. Plenty of Lewisville neighborhoods have architectural review committees with specific fencing requirements: material restrictions (many prohibit chain-link in visible locations), color restrictions (some only allow natural wood tone, black, or specific vinyl colors), height caps below the city limit, and sometimes setback requirements from the property line. Check your HOA CC&Rs before ordering a single panel. An HOA rejection after install is a $5,000 mistake.
One more local note: several Lewisville neighborhoods with newer construction have utility easements running along the back property line. A fence placed across an active easement has to allow access, and any installation that blocks utility access can force a removal on short notice. If your property has an easement, plan the fence line with a gate at the easement access point.
Common Mistakes to Avoid
- Adjusting the gate hinge before testing the post. Nine times out of ten this makes the problem worse, because the post is already rotating and the hinge adjustment just allows the gate to swing into a new wrong position. Test the post first, always.
- Replacing boards over a rotted post. The new boards go up looking fine, then three months later the whole panel goes down in a windstorm. If the post fails the push test, boards are money in the trash.
- Skipping post caps to save a few dollars per post. Ten dollars of plastic caps per fence prevents $2,000 of hidden rot over a decade. Lewisville rain makes this a specific problem locally because the summer storm cycle drives water into open post tops.
- Installing a fence in winter without expansion gaps for vinyl. This is the number one cause of summer vinyl cracking in Lewisville, and it’s completely avoidable by leaving pocket channels and expansion room in every run.
- Not pulling the permit for a full replacement. Even on a like-for-like replacement, an unpermitted fence becomes a resale issue and can force a re-do at the buyer’s inspection. Pull the permit.
- Ignoring drainage because “the fence is fine right now.” Standing water against posts in Lewisville rots them in four to six years instead of the typical 10-plus. Regrade or add drainage before installing, not after failure.
- Assuming the fence line is on the property line. Prior owners make mistakes. Pull the plat before you pour any concrete, or you may end up footing a neighbor’s fence.
See the difference
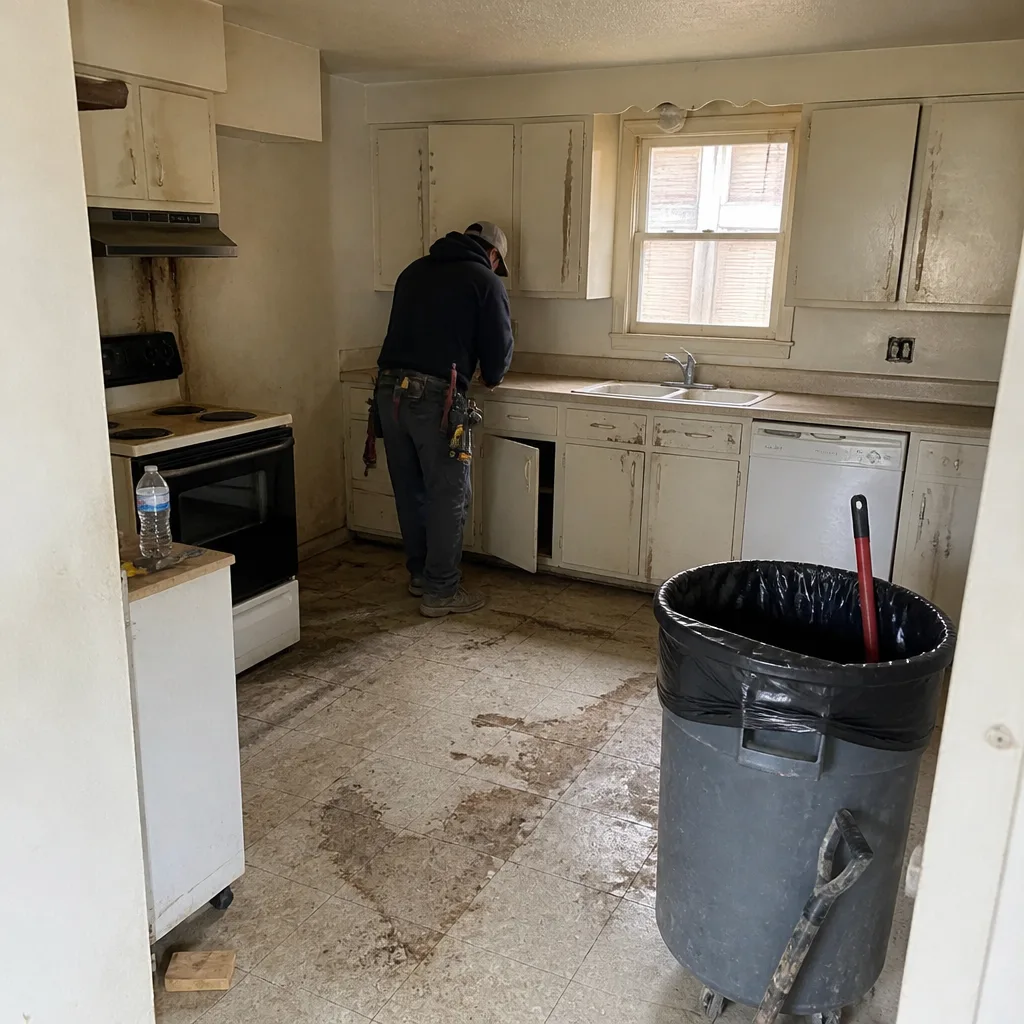 Before
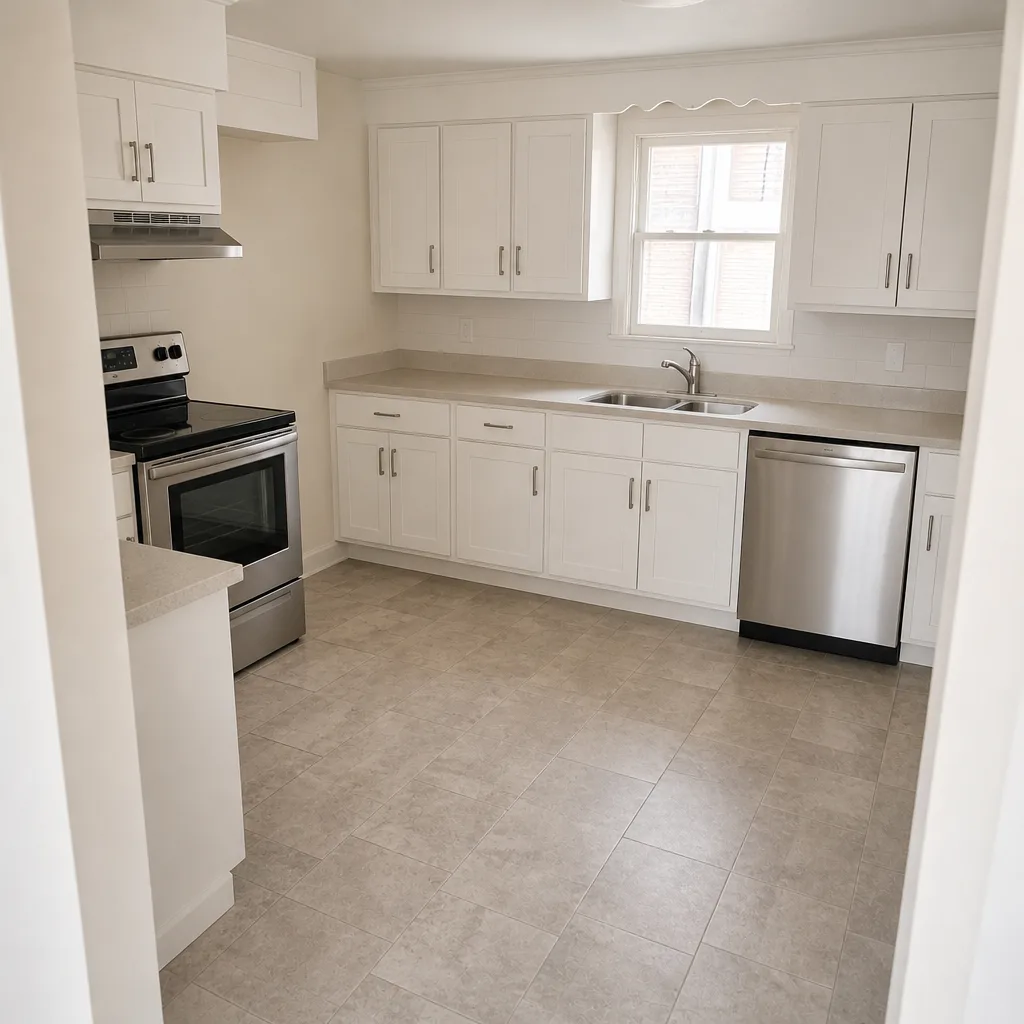 After
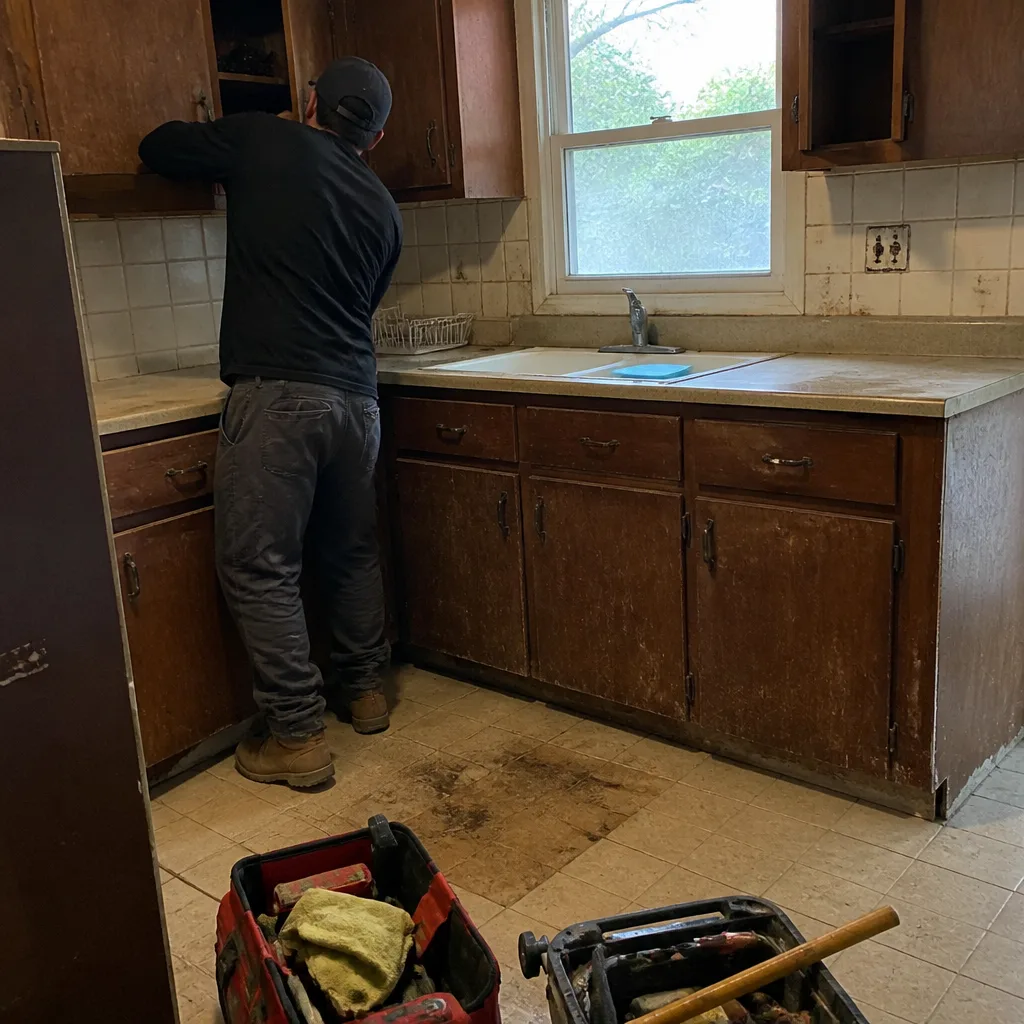 Before
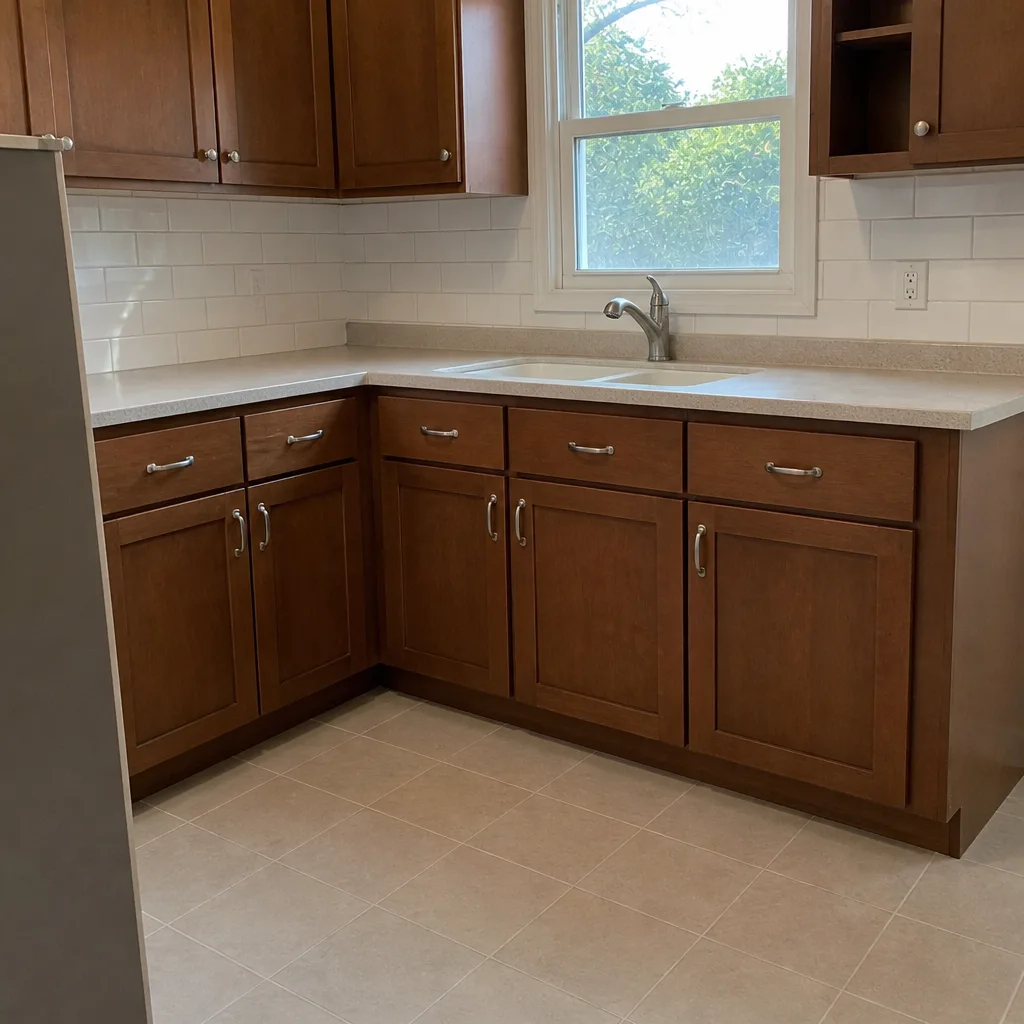 After
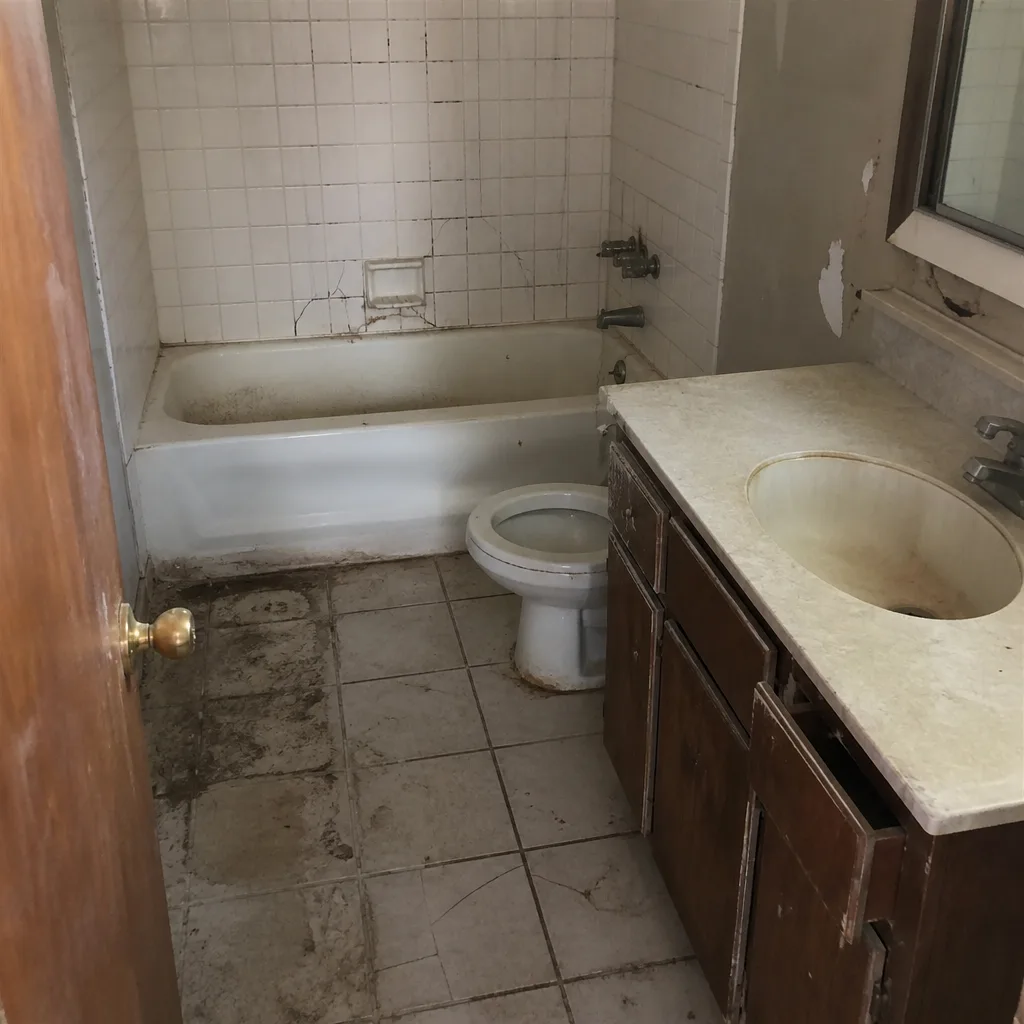 Before
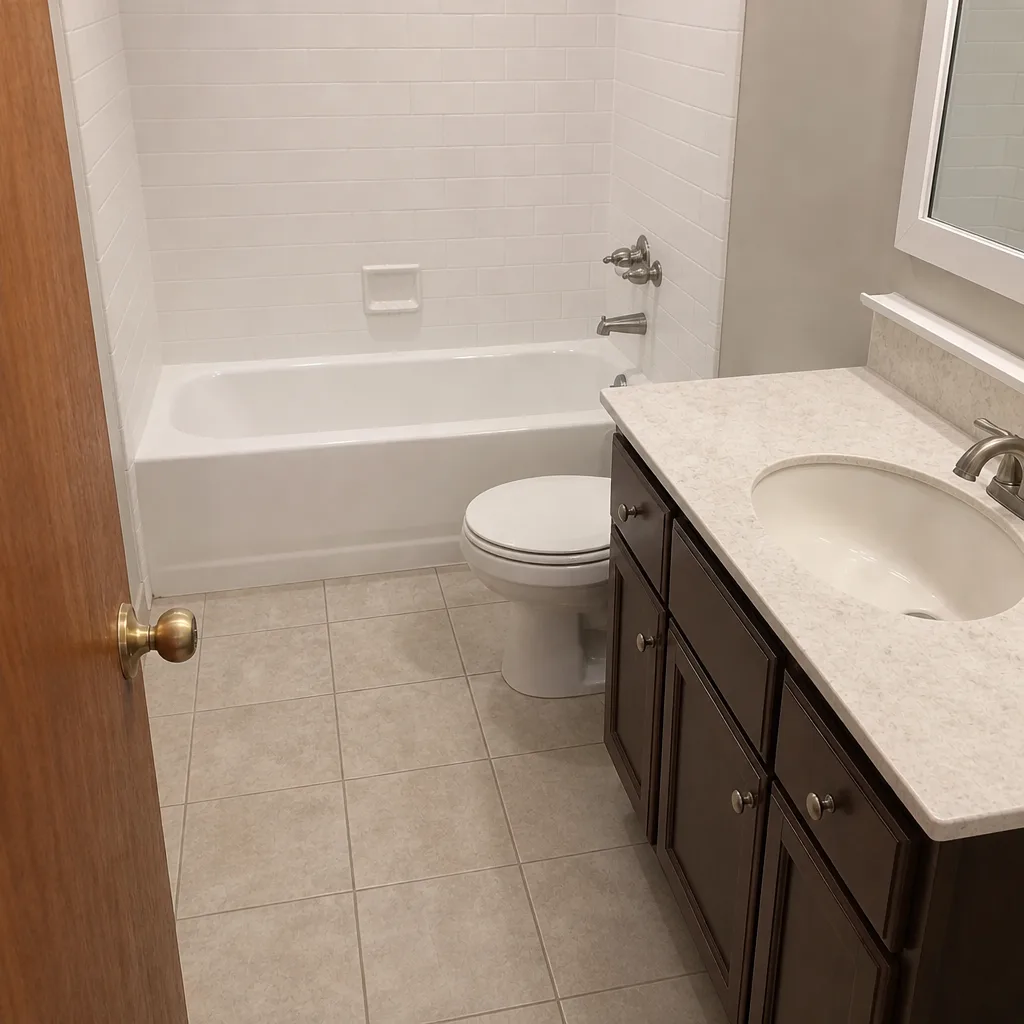 After
When to Call a Professional
Call a professional when the diagnostic tells you the problem is below grade. Specific triggers: any post with more than a quarter inch of movement at the base; any post that has heaved out of the ground; a cracked concrete collar; a fence line rotating in one direction due to drainage; and any full replacement that needs a permit pulled and inspected. Those are the situations where a DIY fix costs more than doing it right the first time. For a Lewisville property, that means a re-dig, a properly sized footing for local clay, and a footer that will hold for 20 years instead of one bad storm cycle. Groundwork Construction Co. of Lewisville offers free estimates in Lewisville – call (844) 560-4467 – and our technicians will run the exact diagnostic walk above and give you a written line-item quote before any work begins. No-hassle upfront pricing, no surprises. If we don’t recommend a re-dig, we tell you why a cheaper repair is the right call.
Frequently Asked Questions
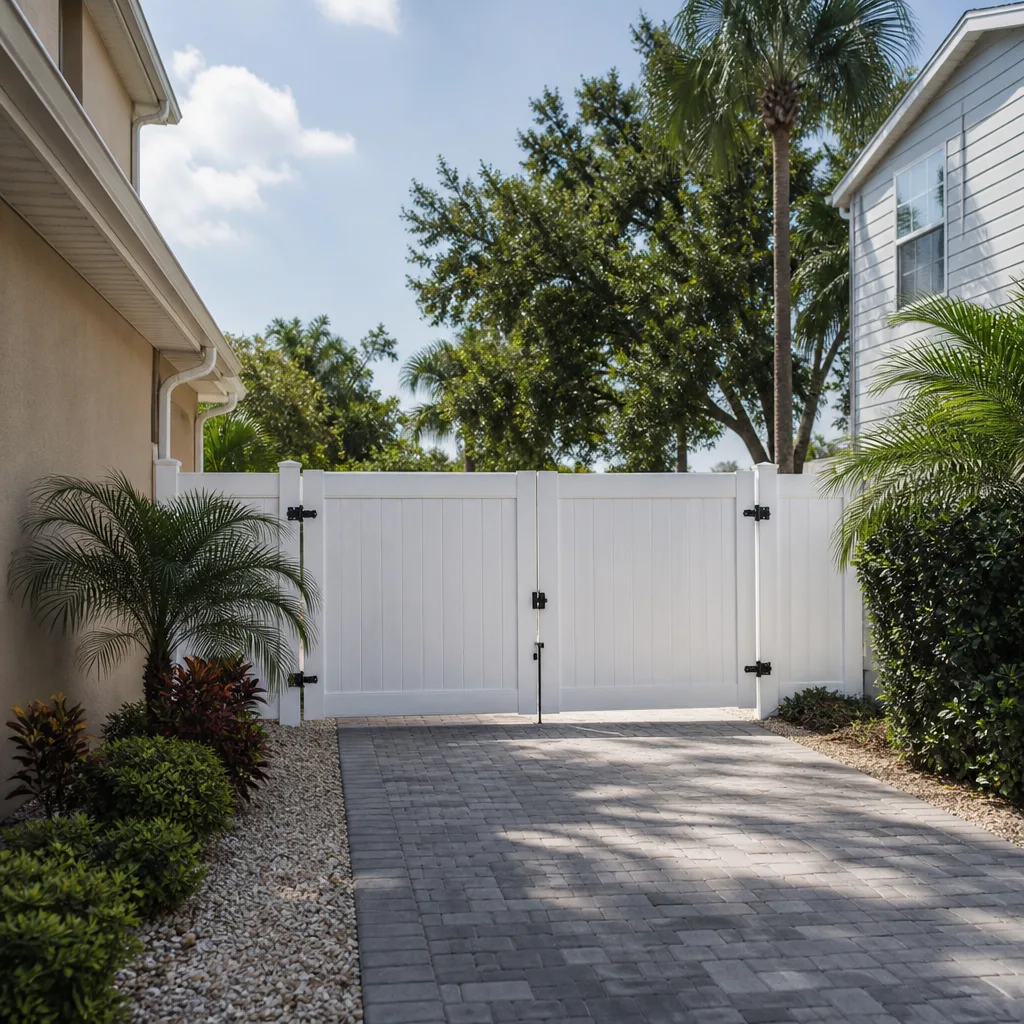
Run the two-hand push test at the base of the post. Movement under a quarter inch means the footer is intact and a shim, sister, or hinge adjustment can stabilize it. Movement over a quarter inch means the footer or the post below grade has failed, and no surface repair will hold. In that case a full re-dig to a properly sized footing is the only permanent fix. Call (844) 560-4467 for an exact quote on the re-dig – estimates are free.
Board and hinge repairs typically run under $300 in Lewisville, while a single-post re-dig with a new concrete footing usually falls in the $400 to $850 range depending on access and depth. Multi-post repairs across a failing line average less per post. Call (844) 560-4467 for a written line-item quote – the number you see is the number you pay, and estimates are free.
Almost always installation error, not material failure. Vinyl expands in Texas heat, and if the installers didn’t leave expansion gaps in the post channels or pocket channels, the panels buckle and crack with nowhere to move. A proper repair reworks the channels with correct gaps and replaces the cracked panels. Call (844) 560-4467 to schedule a free inspection and a written quote.
Repairs to existing fence boards, hinges, or shims typically don’t need a permit. A full fence replacement, or any repair that involves re-digging or replacing footings, does require a permit from the City of Lewisville, and it comes with footing and completion inspections. Our team pulls the permits and passes the inspections on every project – call (844) 560-4467 to schedule your free estimate.
Wood rot shows up as softness, fungal growth, or a crunchy sound at the base of the post when you push it, with the post itself degrading. A failed footer shows up as the post moving freely within an intact concrete collar, or as a post that has heaved out of the ground. Rot needs a sister or a post replacement. A footer failure needs a proper re-dig and a deeper, wider concrete pour. The push test plus a visual inspection at the soil line tells them apart. Call (844) 560-4467 for a free diagnostic and quote.
Pull the county plat and your permit record first. If they don’t match the fence location, order a survey from a Texas-licensed surveyor. A fence line that’s off the boundary is a legal matter, not a construction one, and it needs to be resolved before any repair or replacement begins. Our team will flag boundary concerns during the free estimate – call (844) 560-4467 to schedule.
The Bottom Line
Most fence problems that look cosmetic are footer problems in disguise. The push test above diagnoses in thirty seconds what an untrained eye takes months to figure out, and it’s the difference between a $200 board fix and a $900 re-dig. Texas summer heat, Lewisville clay soil, and poor drainage drive the failure patterns we see most, and each one needs a specific fix. If you’re past the DIY tier – failed footers, heaved posts, drainage-driven rotation – call (844) 560-4467 for a free estimate. Groundwork Construction Co. of Lewisville brings a 730-Day Done Right Promise and upfront pricing with no surprises. We also handle the wider property from foundation to finish line, including Groundwork Construction Co. of Lewisville home services, coordinated Home Additions & ADU in Lewisville projects where a new structure affects fence lines, and the full diagnostic walk above on every estimate. If you’ve been meaning to get the fence looked at, now is the time – before the next storm cycle.
Written by the team at Groundwork Construction Co. of Lewisville.