Last updated November 18, 2026


Free written scope consultation - allowances, timeline, and change-order rules on paper before a single trade is scheduled
Home Additions & ADU Troubleshooting: Common Problems and How to Fix Them
That crack running diagonally from the corner of your new addition’s window isn’t a drywall problem. It’s almost always a foundation or header load issue that was missed at rough framing inspection, and patching it without addressing the cause means it’s back within a year. The same rule applies to the water stain at the ceiling seam and the bedroom that never quite hits 72 degrees in January. In our experience building and repairing additions across Lewisville, nearly every call we get traces back to one of three root causes set in motion months earlier: the tie-in between old and new structure, the transition in foundation type, and HVAC capacity. This guide shows you how to find the source instead of chasing the symptom.
Quick Answer
Most home addition and ADU problems fall into three failure points: the structural tie-in where new framing meets the existing house, the foundation transition between old and new slabs, and the HVAC system’s ability to serve the added square footage. Diagnose which of the three is actually at fault before you repair anything, because surface fixes like patching drywall or caulking a window rarely hold when the underlying cause is structural or mechanical. Cracks that keep returning, water that shows up at the ceiling-wall seam, and rooms that stay 5 to 8 degrees off target are the three signals that tell you where to look.
Styles & brands we work with
- Kitchen remodeling
- Bathroom remodeling
- Home additions & ADU
- Roofing
- Windows & doors
- Driveway & pavers
- Fence
Table of Contents
- Why the Old-to-New Tie-In Is the Most Common Failure Point
- Foundation Transitions: Where Cracks Really Start
- Water Intrusion: Why It’s Almost Never the Window
- HVAC Underperformance in Additions and the Manual J Problem
- Electrical Tripping After an Addition: Panel Capacity vs. Routing Errors
- What You Can Check Yourself vs. What Needs a Licensed Pro
- ADU-Specific Problems: Permits, Utilities, and Occupancy
- Common Mistakes to Avoid
Why the Old-to-New Tie-In Is the Most Common Failure Point
The tie-in is where your existing house and the new addition physically connect, and it’s where most callbacks originate. Two structures built years apart settle at different rates. The old house has already finished most of its movement. The new addition hasn’t. If the connection between them was designed as a rigid joint, all of that differential movement has nowhere to go except into your drywall, your trim, and eventually your structural header.
We see this constantly in Lewisville, particularly in neighborhoods like Old Town and the older pockets off Mill Street, where a 1960s single-story ranch gets a 2020s primary suite tacked onto the back. The original house sits on a pier-and-beam or an early slab; the addition sits on a modern post-tension slab. Those two systems move differently against North Texas’s expansive clay soil, which swells after a wet spring and shrinks hard in August.
Signs the tie-in is the source of your problem:
- Diagonal cracks radiating from the corners of doors or windows on the shared wall
- Doors that stick in the addition but work fine in the original house
- A visible gap or step where the roofline meets
- Trim separation along the ceiling line at the junction
- Stair-step cracks in brick or stone veneer at the connection
The fix depends on how the joint was framed. A properly designed tie-in uses slip joints, engineered connectors, and often a reinforced header that allows some movement without transferring stress into the finish. If yours was built rigid, a structural contractor will need to open the wall, assess the framing, and retrofit the connection before any cosmetic repair makes sense. Patching the drywall first is a waste of money.
In our experience, this is the repair homeowners most often skip because the visible symptom (a crack) looks minor. It isn’t. Left alone for years, a bad tie-in can telegraph movement into the existing structure and create problems far from the addition itself.
Foundation Transitions: Where Cracks Really Start
An addition almost always involves a foundation type that differs from the original house. That transition is the second major failure point, and in Lewisville’s soil it deserves serious attention. The blackland clay under most of Denton County expands and contracts dramatically with moisture. A slab that’s tied rigidly to a pier-and-beam foundation, or two slabs poured at different depths without a proper isolation joint, will fight each other every season.
What goes wrong, in plain terms:
- Differential settlement. The new foundation settles more than the old one in the first two to three years. If the two aren’t engineered to move independently, the stress shows up as cracks in the wall above.
- Missing or failed isolation joint. A proper joint separates the two foundations with a barrier that allows movement. When it’s omitted or installed incorrectly, the slabs bind.
- Poor drainage at the transition. Water pooling against the new foundation line softens the clay unevenly and accelerates settlement on one side.
- Inadequate reinforcement at the step. Where the foundation steps down or changes depth, the rebar detail matters. A shortcut here is invisible until the cracks appear.
You can do a basic visual check yourself. Walk the exterior perimeter where the addition meets the original house and look for a vertical crack wider at the top than the bottom (that’s settlement) or one that’s uniform (that’s often a shrinkage crack and less serious). Check that the soil slopes away from both foundations at roughly 6 inches of fall over the first 10 feet. If you see ponding or a negative slope, that’s a drainage fix you can address right away with grading and downspout extensions.
Anything beyond grading and observation needs a professional. Evaluating foundation movement requires measurements, not guesses. If you’re planning the addition rather than fixing one, our Home Additions & ADU in Lewisville page covers how a proper foundation transition is designed from the start.
Water Intrusion: Why It’s Almost Never the Window
Homeowners almost always blame the window when water shows up on an interior wall near the addition. In our experience, the leak is at the roof-to-wall flashing connection between the existing structure and the new one, and the water travels along the top plate or wall sheathing before it ever shows a stain. By the time you see it, the actual entry point could be 15 feet away and a full story up.
The reason is simple. A window is a known opening, so it gets attention. The flashing detail where a new roof meets an existing wall is a small, hidden, and easy-to-rush part of the build. If the step flashing wasn’t woven correctly into the existing siding, or the counter-flashing wasn’t sealed and lapped in the right order, water finds it during the first hard rain. Lewisville gets its share of spring gully-washers and hail-driven storms, and wind-driven rain will exploit any gap in that detail.
Here’s how to trace it:
- Check the interior stain’s location first. Water that appears at the ceiling-wall seam, high on the shared wall, or along the top of a door frame points up and toward the roofline, not the window.
- Look at the exterior at the roof-to-wall junction. Missing, lifted, or rusted step flashing is the tell. So is caulk where metal should be.
- Test with a hose, not a storm. A controlled spray at the suspect flashing, watched from inside, confirms the path far better than waiting for rain.
- Check attic or crawl access after a rain. Water staining on the top plate or sheathing below the roof junction confirms the source.
Repairing this correctly means removing the siding or roofing at the junction, installing proper step and counter-flashing with the right laps, and sealing it to shed water, not just block it. Caulk is a patch, not a fix. If your addition includes new windows and doors, quality products help but they don’t compensate for a bad flashing detail. That’s part of why we work with brands like Therma-Tru and ES Windows, but the installation detail matters more than the name on the frame.
HVAC Underperformance in Additions and the Manual J Problem
If your new room never quite reaches the temperature the thermostat calls for, the system was probably sized without a Manual J load calculation that included the addition. Manual J is the industry method for calculating how much heating and cooling a space actually needs based on insulation, window area, orientation, and air infiltration. When a contractor adds 400 square feet and simply extends the existing ductwork, the original system ends up serving more space than it was designed for. The result is a room that runs 5 to 8 degrees off target, and a compressor that works harder and fails sooner.
Common symptoms and what they point to:
- Room is cold in summer, warm in winter, everywhere. Likely a load calculation problem: the system is undersized for the new total square footage.
- Room is fine at the register but uncomfortable at the far end. Duct design or airflow issue, often an undersized or overly long run.
- Room is stuffy and humid even when cool. Return air is inadequate, so the space can’t cycle properly.
- Rest of the house got worse after the addition. Classic sign the original system is now overextended.
A quick airflow check you can do: hold a tissue or a strip of thin plastic at the supply register. It should flutter steadily. Then check the return air path for the room. Many additions were built with a supply but no dedicated return, which starves the space. If the register flow is weak or the return is missing, that’s information a contractor needs.
The fix ranges from rebalancing dampers to adding a dedicated mini-split for the addition to a full system replacement with a properly sized unit. None of that should be guessed. Get a load calculation, in writing, that accounts for the addition’s specific construction. A Lewisville home with west-facing windows and a modern tight envelope will calculate very differently from the original 1970s build it’s attached to.
Electrical Tripping After an Addition: Panel Capacity vs. Routing Errors
Breakers that trip after an addition come from one of two places: the panel can’t carry the new load, or a circuit from the rough-in was wired wrong. Distinguishing between them saves you from paying for the wrong fix.
How to tell which one you have:
- Note which breaker trips and when. If it’s the same breaker every time a specific appliance runs, you likely have an overloaded or miswired circuit. If different breakers trip under normal combined use, suspect panel capacity.
- Check the panel label and the breaker sizes. A licensed electrician can tell you in minutes whether the panel has spare capacity and whether any breakers are undersized or double-tapped.
- Listen for the tripping pattern. A circuit wired with a shared neutral from the rough-in (common in rushed additions) will trip intermittently in ways that look random.
- Test the addition’s dedicated circuits alone. If the new circuits trip with nothing but the new room’s loads on them, the problem is routing, not capacity.
Panel capacity is a real limit. Modern additions often add a heat pump, an EV charger, a bathroom with a hair dryer and a space heater on the same circuit, and lighting. An older 100-amp service in a Lewisville home from the 1970s may simply not have room, and the answer is a service upgrade. A routing error from the rough-in is a smaller fix but needs the wall opened or the circuit traced to find it.
Electrical is one area where we strongly recommend you stop at observation. Panel work, circuit tracing, and anything involving the service entrance is genuinely dangerous and in most jurisdictions requires a licensed electrician and a permit. Do not open the panel to “take a look.” Note the symptoms, take photos of the tripping breakers, and call a licensed electrician.
What You Can Check Yourself vs. What Needs a Licensed Pro
You can gather a lot of useful information before you call anyone, and doing so makes the professional’s job faster and your estimate more accurate. What you should never do is touch the dangerous parts. Here’s the split.
Safe to verify yourself:
- Photograph and measure cracks (width, length, location, whether they’re growing)
- Check exterior grading and downspout discharge at both foundations
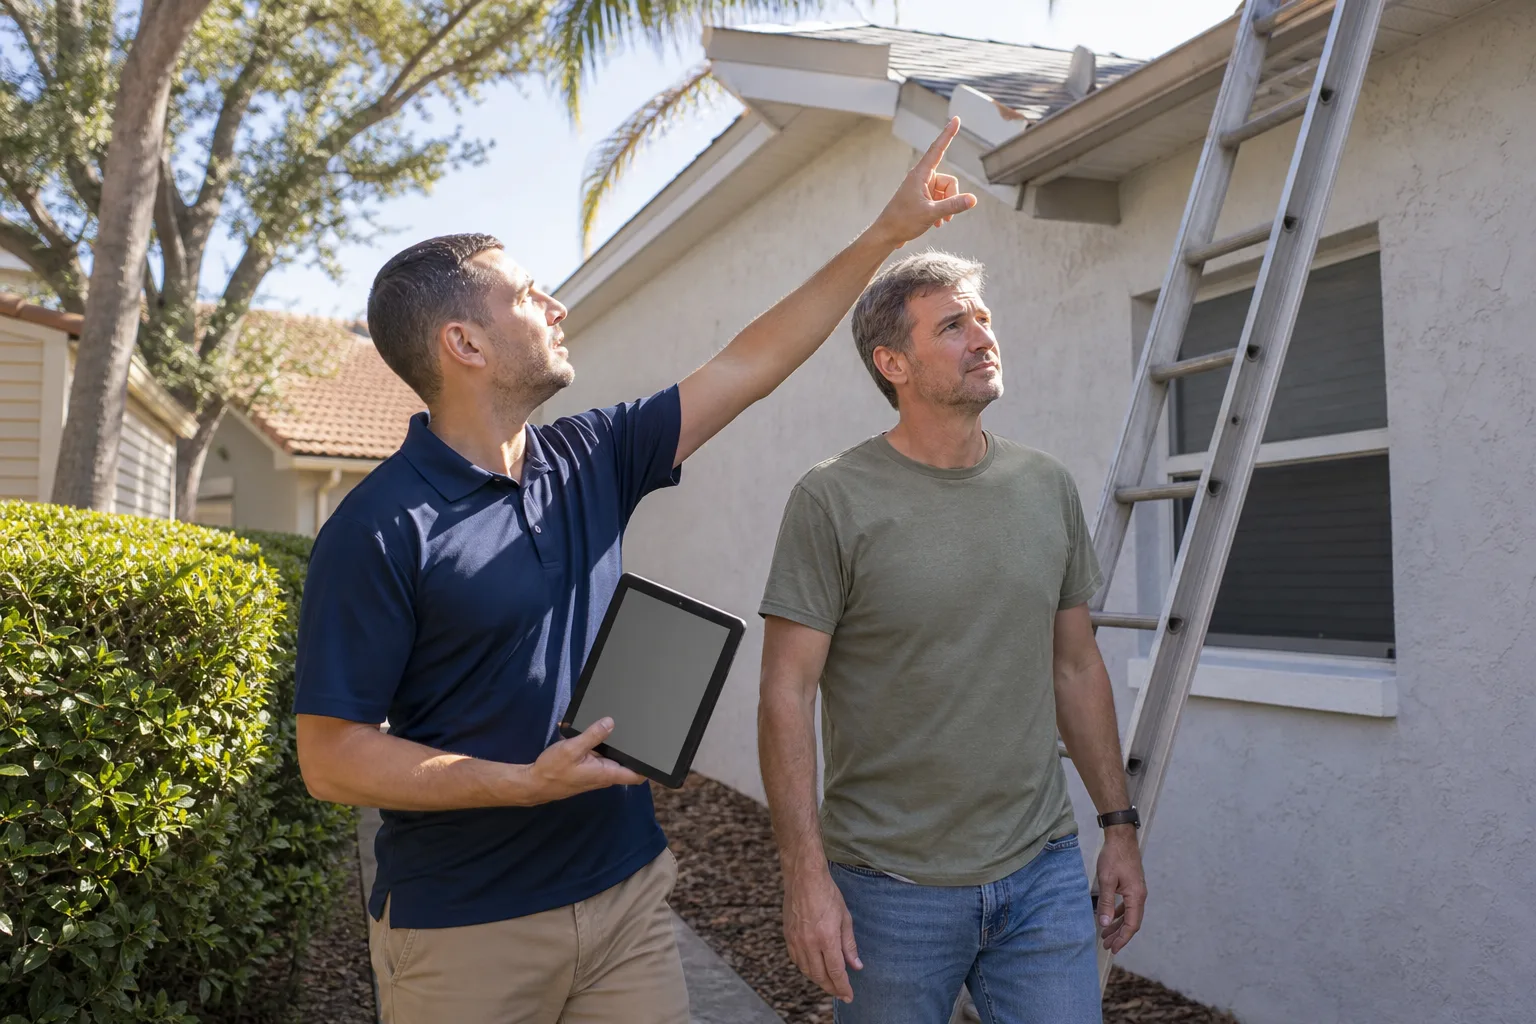
- Visual inspection of the roof-to-wall flashing from the ground with binoculars
- Airflow check at supply registers with a tissue
- Confirm the addition has a return air path
- Note which breakers trip and under what conditions
- Document when stains appear (after rain, after specific weather)
Requires a licensed professional:
- Any foundation evaluation or repair
- Opening walls to inspect framing or tie-in details
- Roof flashing repair at the junction
- Any electrical panel work or circuit tracing inside the panel
- HVAC load calculations, refrigerant work, and system changes
- Anything involving gas lines
There’s a safety reason for that second list, not just a liability one. Foundation work involves jacking and load transfer. Roof work at a junction means working at height on a surface that may already be compromised. Panel work carries lethal voltage. A trained professional with the right tools and insurance is the only sane call for those.
ADU-Specific Problems: Permits, Utilities, and Occupancy
Accessory dwelling units run into a different set of trouble than a standard addition, mostly because an ADU is a second dwelling with its own utilities, occupancy, and code obligations. The problems we see in Lewisville ADUs cluster around three issues.
Permit and occupancy gaps. An ADU needs its own permits, and in many cases a separate utility meter to be legally rented or occupied. If the ADU was built or finished without those, you may have a structure that can’t be legally rented, financed, or insured as a dwelling. That’s a paperwork problem with real financial teeth, and it’s worth resolving before you market the unit.
Utility capacity. A detached ADU often needs its own electrical service, water line, and sewer or septic connection. Tying into the main house works only if the main service has the capacity, and often it doesn’t. The same Manual J logic applies: an ADU is a separate thermal envelope and needs its own HVAC design.
Setbacks and drainage. Detached ADUs sit close to property lines more often than main structures do, and drainage from the ADU roof has to be managed so it doesn’t push water onto a neighbor’s lot or back against the main house. In the tighter lots around Lewisville, this gets overlooked.
If you’re troubleshooting an existing ADU, start by pulling the permit history from the city. If you’re planning one, the design and permitting stage is where these get solved. Our guide to home additions and ADUs in Lewisville walks through the planning side.
Common Mistakes to Avoid
- Patching the crack before finding the cause. Drywall patch and paint will hide a tie-in or foundation problem for about a year. Then it’s back, and you’ve spent money twice.
- Caulking the window when the leak is at the roof. Water travels. Sealing the window without confirming the flashing detail leaves the actual entry point open.
- Extending ducts into an addition without a load calculation. The cheapest HVAC move is usually the one that leaves the room permanently uncomfortable and shortens the life of the system.
- Ignoring grading and downspouts. Water management at the foundation line is the one fix most homeowners can make themselves, and skipping it accelerates settlement in Lewisville’s clay.
- Adding electrical load without checking panel capacity. A 100-amp panel in an older Lewisville home may not carry a modern addition’s loads, and finding out by tripping breakers is the expensive way.
- Assuming a finished ADU is a legal ADU. Without the right permits and utility setup, a finished unit may not be rentable or financeable.
- Letting a contractor skip the rough-in inspection. Most of the problems in this guide trace back to a detail that would have been caught at framing or rough-in inspection. If the inspection wasn’t done or the corrections weren’t made, that’s the first thing to check.
See the difference
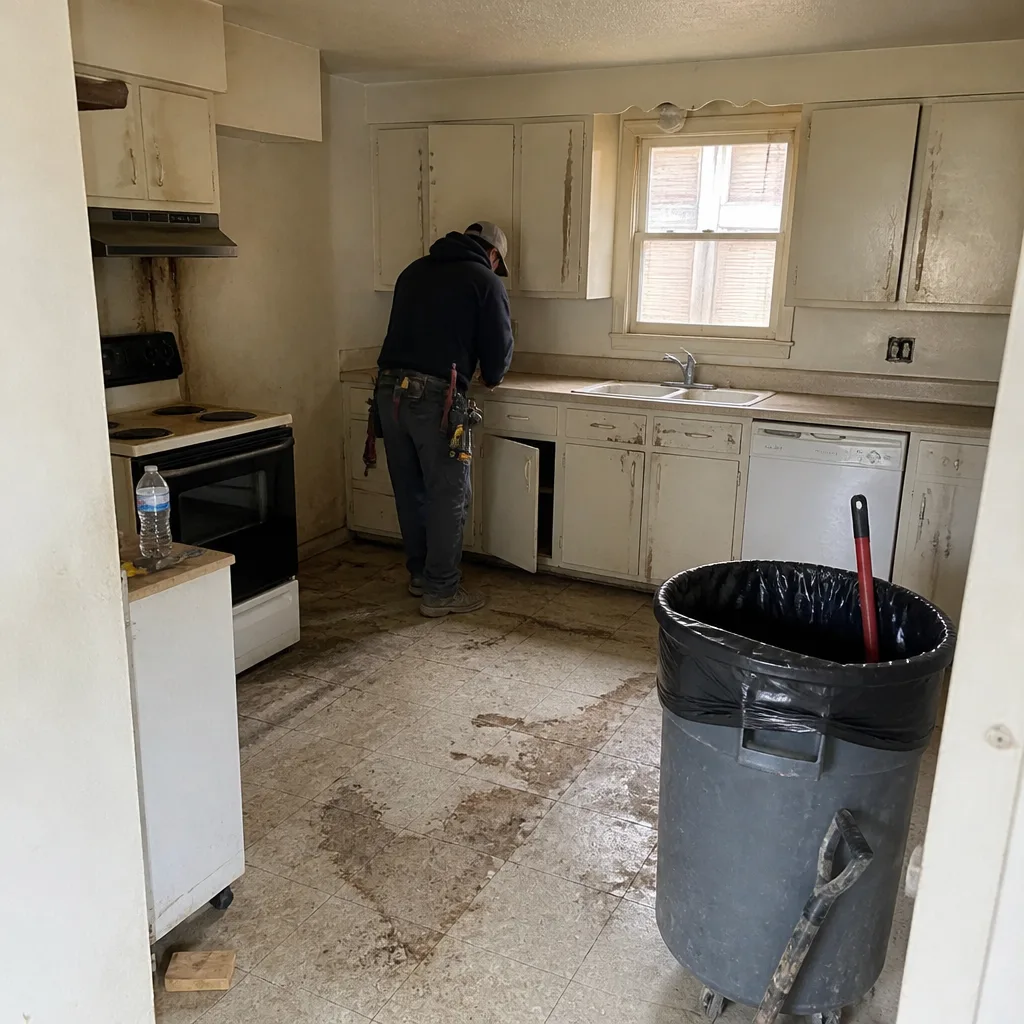 Before
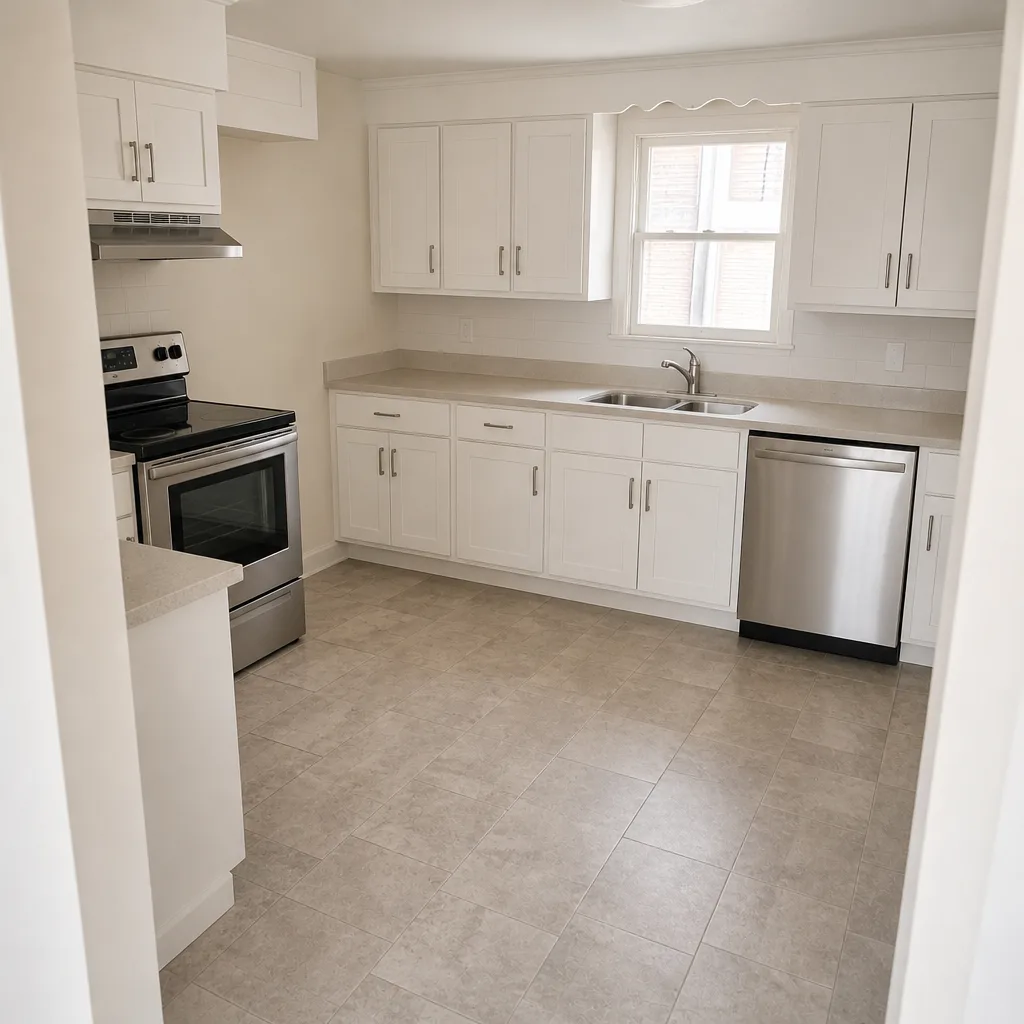 After
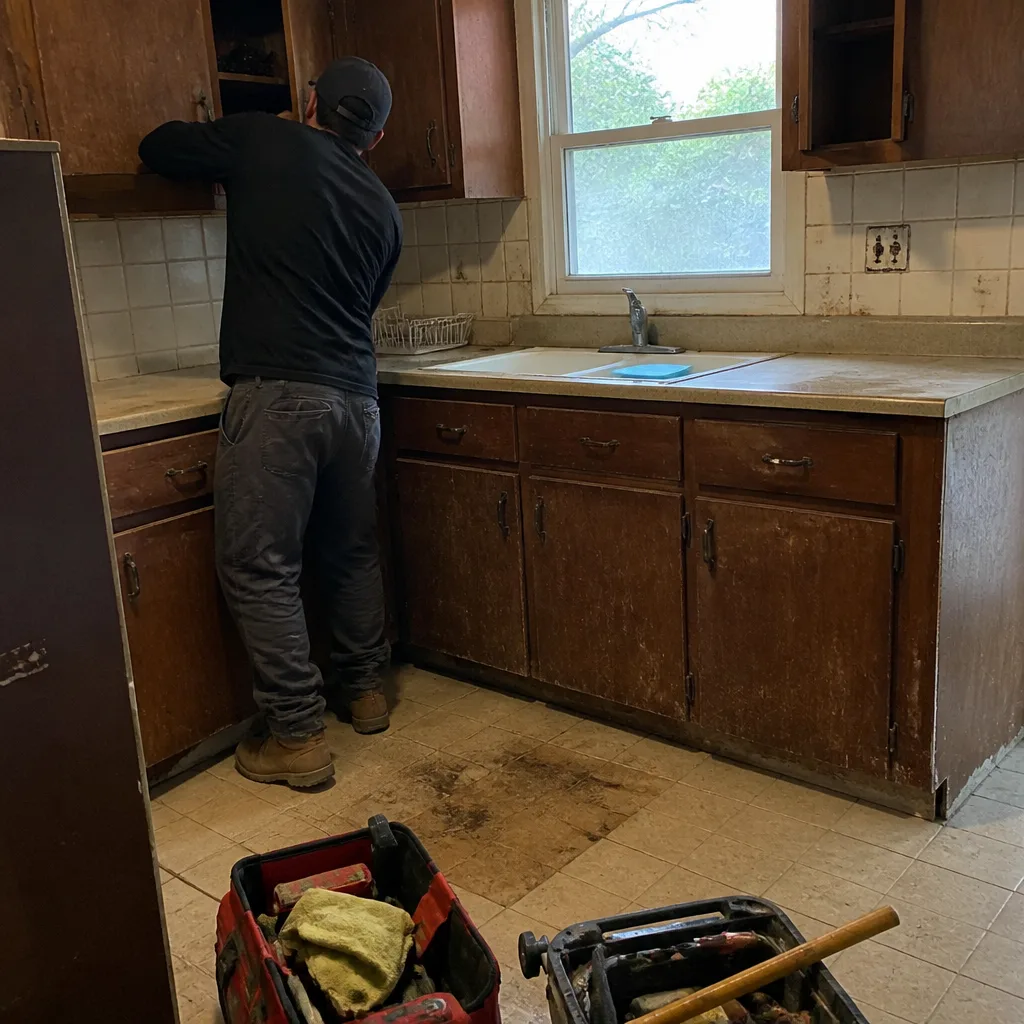 Before
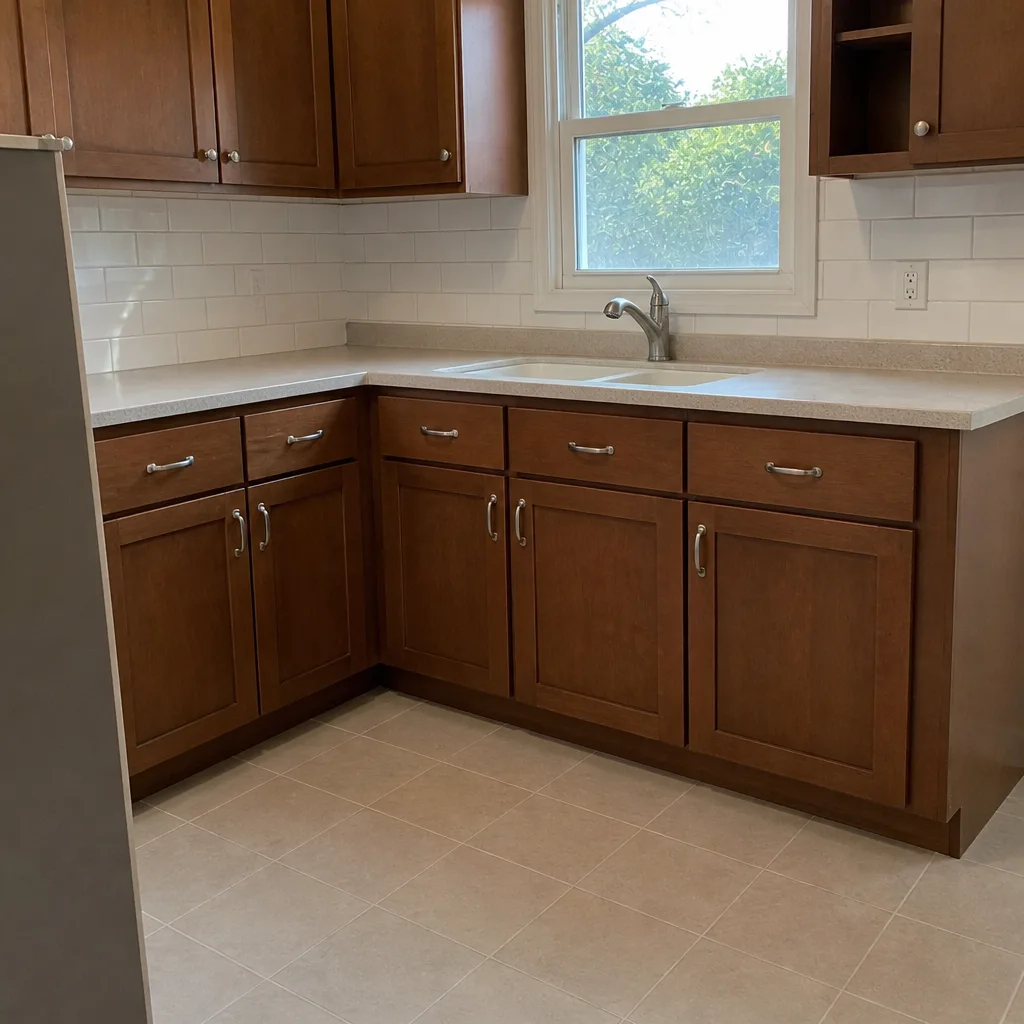 After
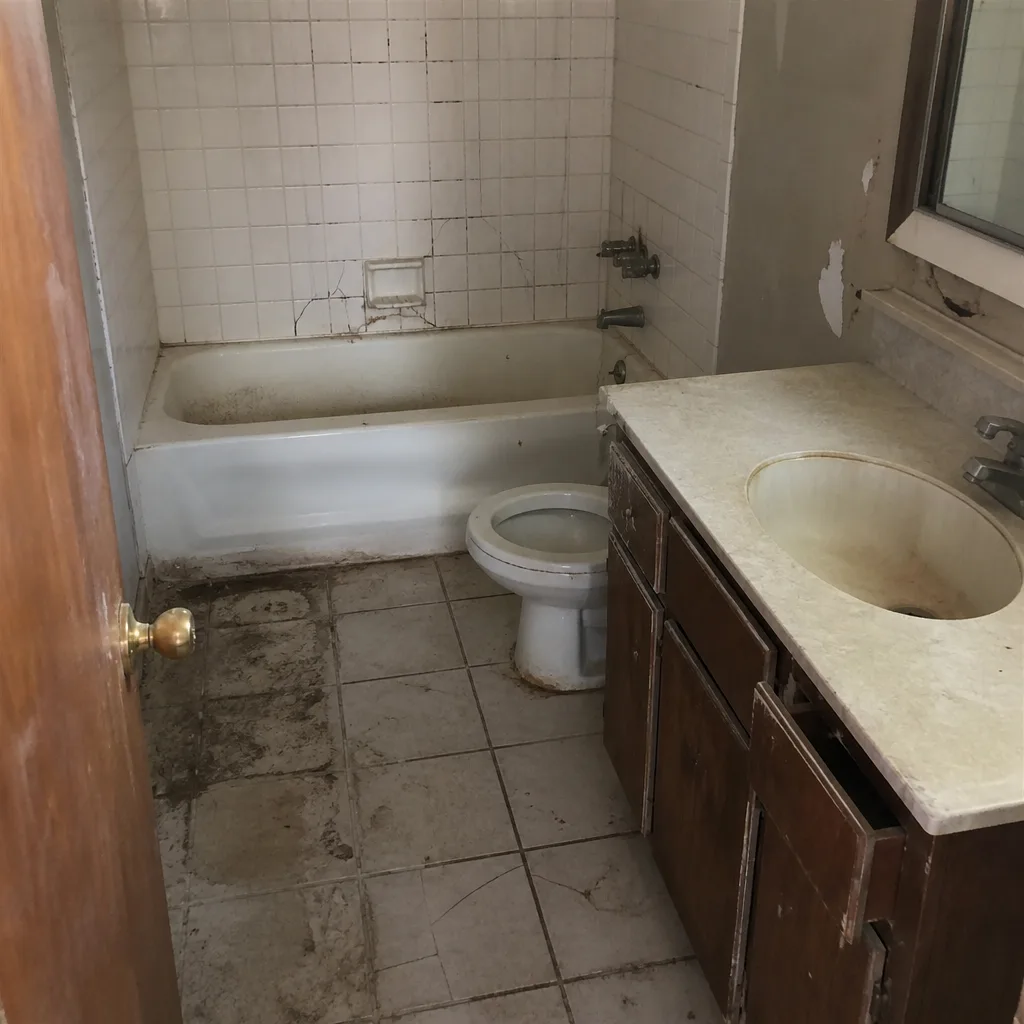 Before
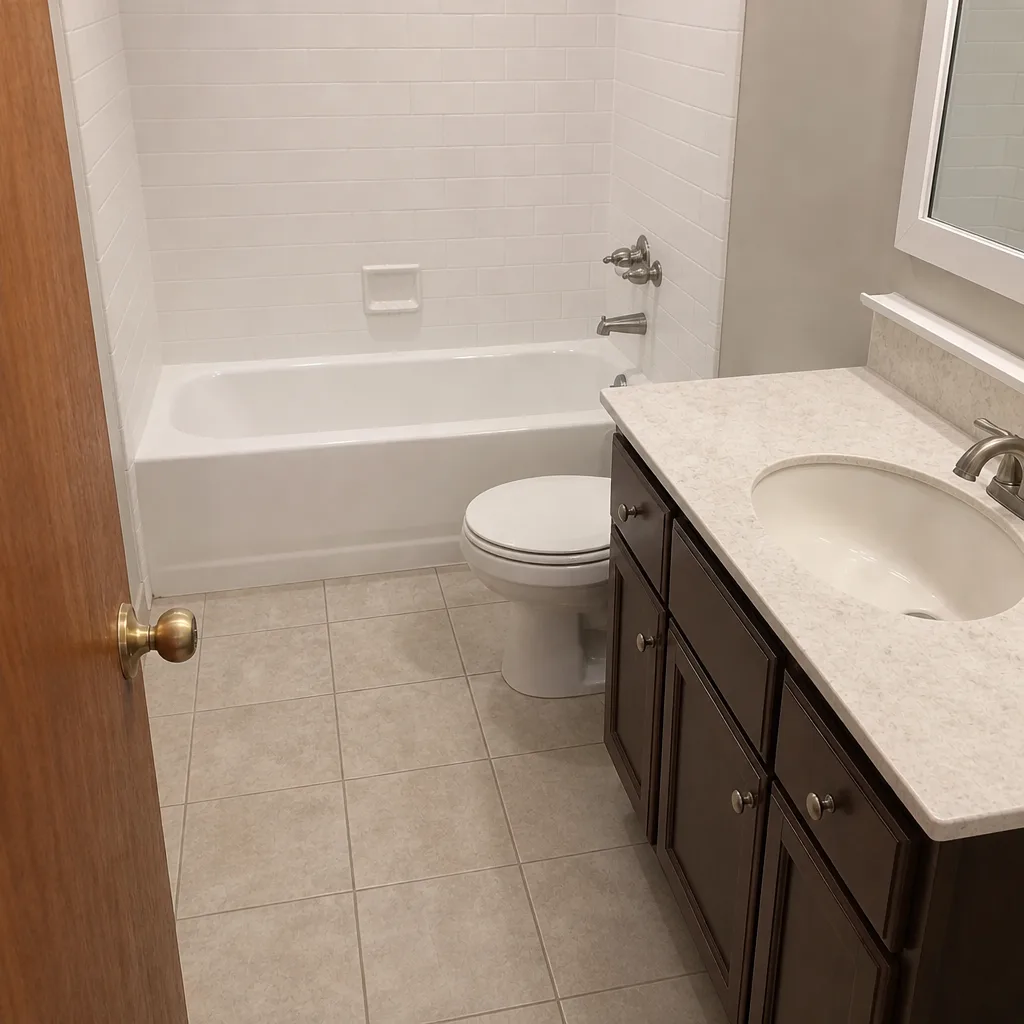 After
When to Call a Professional
Call a professional when the crack is diagonal and growing, when water shows up after every rain in the same place, when a room can’t hold temperature, when a breaker trips repeatedly, or when your ADU’s permit status is unclear. Those are the scenarios where a surface fix wastes money and delays the real repair. Any foundation, roof flashing, electrical panel, or gas work should go to a licensed professional without exception. For homeowners in Lewisville who want an honest read on what’s actually wrong before committing to a repair, Groundwork Construction Co. of Lewisville offers free estimates. Call (844) 560-4467 to schedule a walkthrough, and you’ll get a written diagnosis of the cause, not just a quote for cosmetic work. If the addition is still on the drawing board rather than in the ground, it’s worth talking through the tie-in and foundation plan before anything is poured.
Frequently Asked Questions
Cracks in an addition usually come from differential settlement between the old and new foundation, or from a rigid tie-in that transfers movement into the finish. Diagonal cracks from window and door corners point to a load or tie-in issue, while hairline uniform cracks are often ordinary shrinkage. Either way, patching the drywall without addressing the structural cause means the crack returns within a year, so get a professional diagnosis first. Call (844) 560-4467 to schedule a free estimate in Lewisville.
Water at the ceiling-wall seam almost always enters at the roof-to-wall flashing where the new structure meets the old one, not at the window or door below. Step flashing that wasn’t woven correctly or counter-flashing that wasn’t lapped and sealed lets wind-driven rain in, and the water travels along the top plate before staining the interior. The fix is to repair the flashing detail, not to caulk the interior. A free estimate in Lewisville will confirm the source.
An addition that never reaches the thermostat setting was usually added without a Manual J load calculation, so the existing HVAC system is serving more square footage than it was sized for. Weak airflow at the register or a missing return path for the room makes it worse. The fix ranges from rebalancing to a dedicated mini-split to a properly sized system, chosen based on a load calculation. Call (844) 560-4467 for an exact evaluation.
Structural repairs, foundation work, roof flashing at the junction, electrical, and HVAC changes all require permits in most cases, and ADU work needs its own separate permits. Pulling them protects you at resale and ensures the work is inspected. The local pro we connect you with is licensed and insured as their state requires, and we recommend confirming permit requirements before any repair begins. Call for a free estimate to sort out what your project needs.
You can safely verify a lot on your own: photograph and measure cracks, check exterior grading and downspouts, inspect flashing from the ground, test register airflow, and note which breakers trip. You should not open walls, touch the electrical panel, work on a roof at the junction, or attempt foundation repair. Those require a licensed professional, and for good reason. Call (844) 560-4467 to talk through what you’re seeing before you decide.
A properly scoped repair should come with a written, line-item quote and fixed pricing, so the number you agree to is the number you pay. The one legitimate exception is hidden damage found after walls are opened, like rotted framing or failed flashing under siding, which gets documented and priced before proceeding. Upfront pricing with no change-order surprises is standard when the diagnosis is done first. Call (844) 560-4467 for a free estimate with the full scope in writing.
The Bottom Line
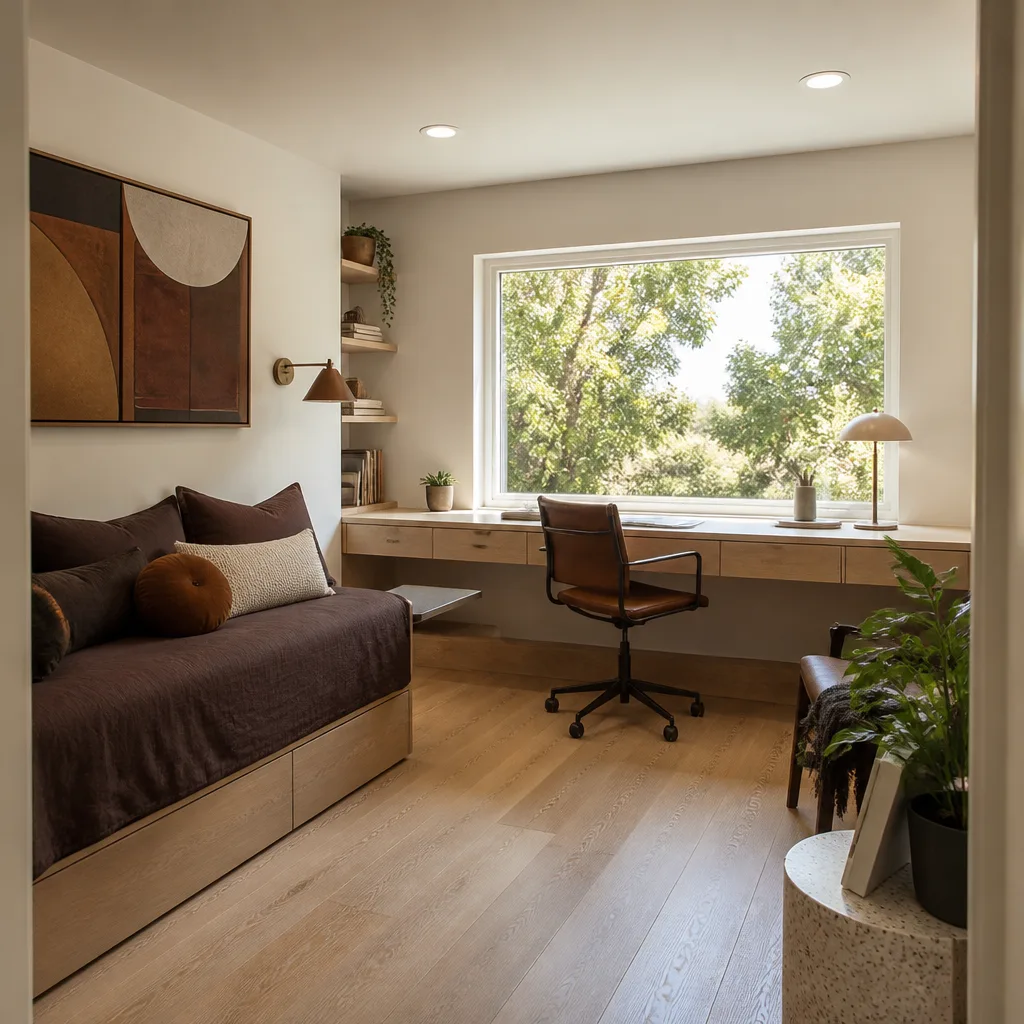
Almost every problem in a home addition or ADU traces back to one of three root causes: a bad tie-in between old and new structure, a foundation transition that wasn’t engineered for differential movement, and HVAC capacity that was never recalculated. The visible symptoms, whether a crack, a water stain, a room that won’t heat, or a tripping breaker, are just where the underlying issue shows up. Find the source before you repair the surface. That one habit saves most homeowners the cost of fixing the same problem twice. In Lewisville’s expansive clay and storm-driven rain, the details that matter most are the ones you can’t see once the drywall is up. For help diagnosing what’s actually wrong with your addition or ADU, call (844) 560-4467 to schedule a free estimate. Our technicians have up to 12 years of experience, and every repair is covered by the 730-Day Done Right Promise: if it’s not done right, we make it right.
Written by the team at Groundwork Construction Co. of Lewisville.